
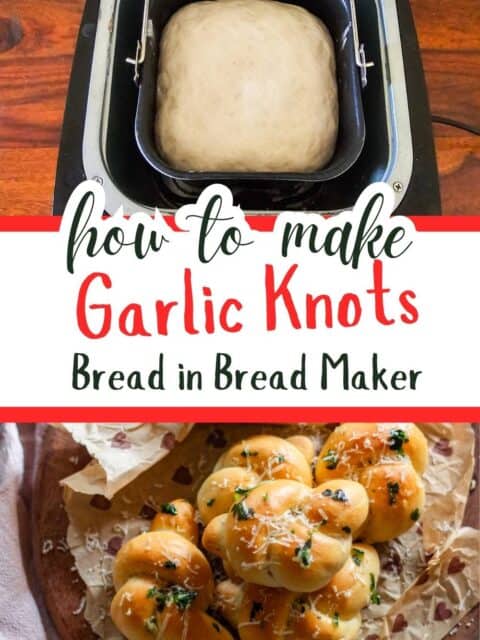
These Bread Machine Garlic Knots are made with a simple bread dough that comes together effortlessly in the bread machine, making homemade garlic knots easier than ever.
Soft, fluffy, and perfectly pull-apart, these bread machine garlic knots are delicious served alongside pasta dishes, soups, or marinara sauce for dipping. I dusted mine with a little Parmesan cheese after brushing them with garlic butter, and they disappeared even faster than I could get them to the table!
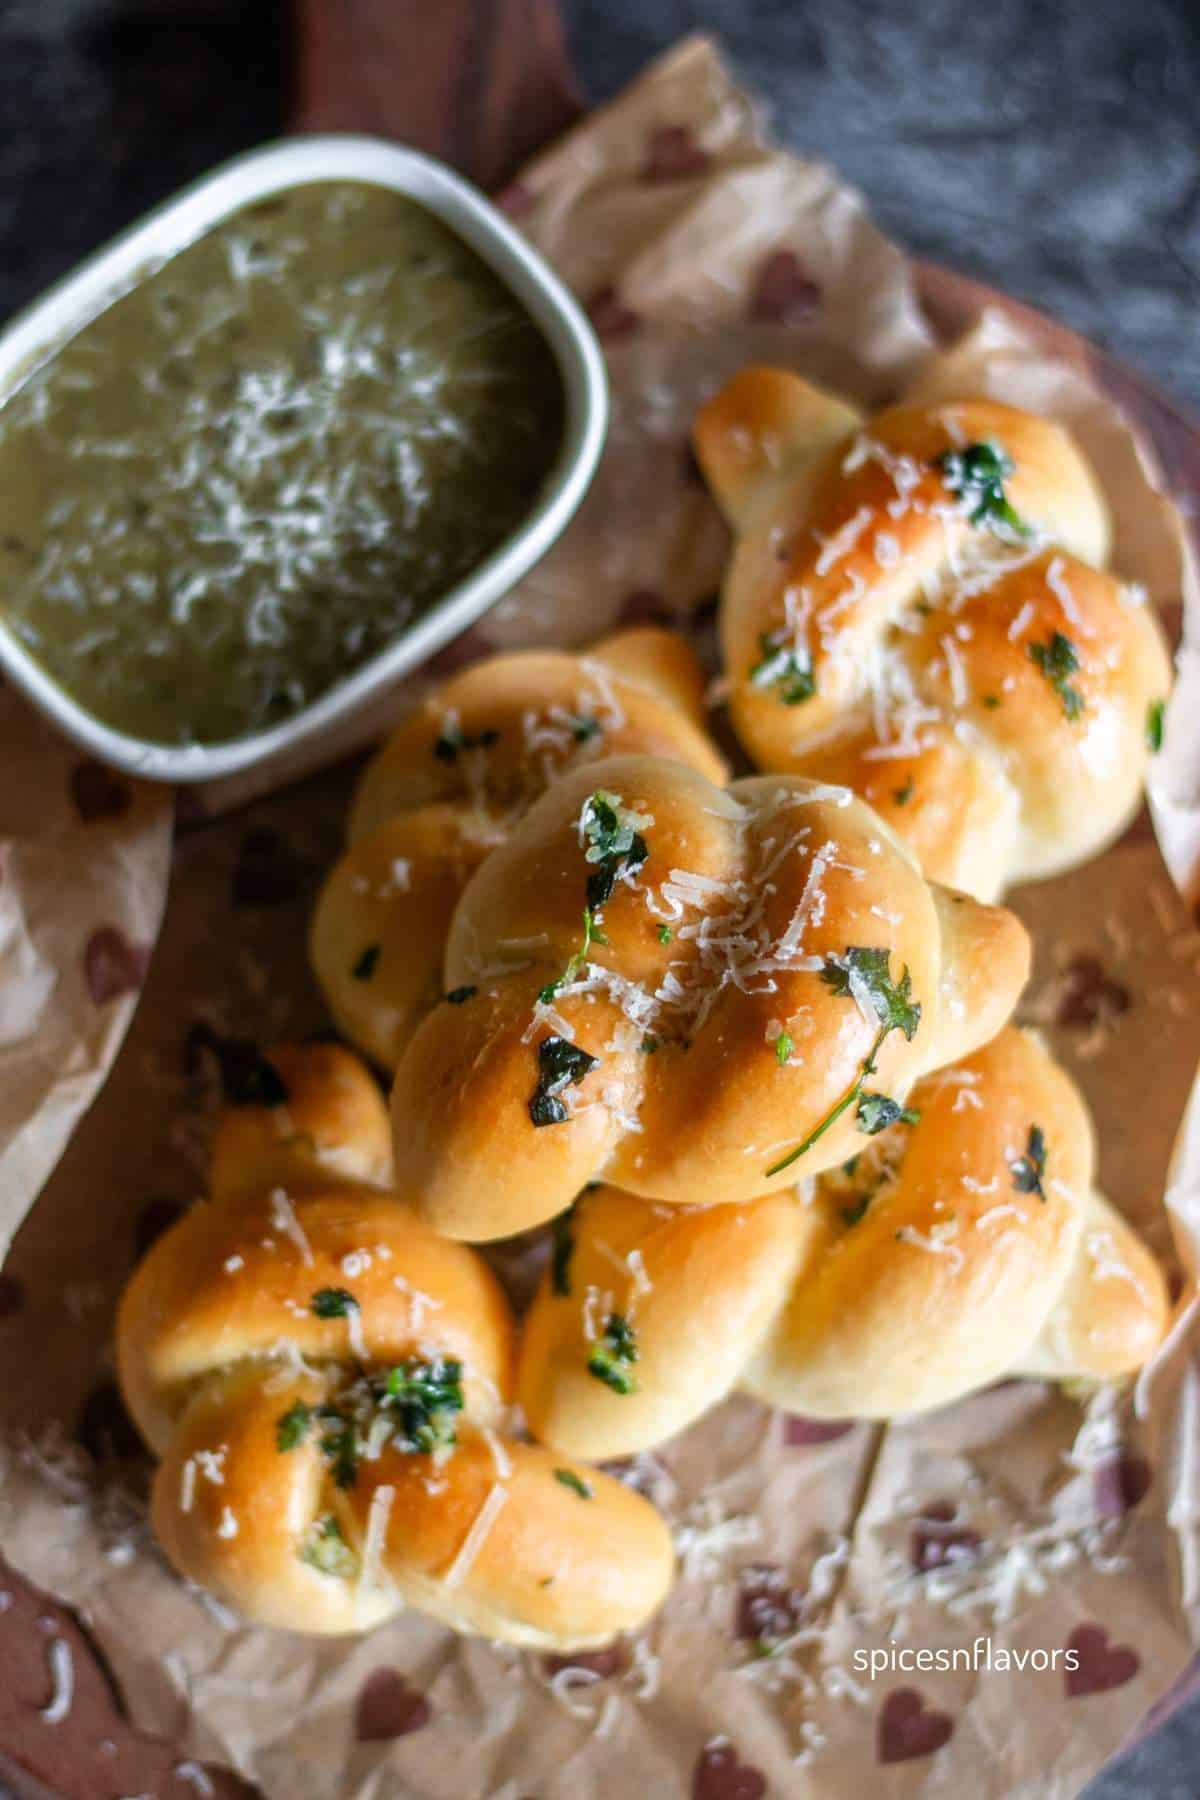
Bread Machine Garlic Knots
Whether you're serving them for a weeknight dinner, game day, Thanksgiving, Holidays or a family gathering, these delicious garlic knots make a wonderful side dish and pair beautifully with your favorite dips and spreads.
You can also serve them alongside Baked Feta Pasta for an easy weeknight dinner or add them to the table with my Jalapeño Corn Casserole with Cream Cheese when feeding a crowd.
Ingredients
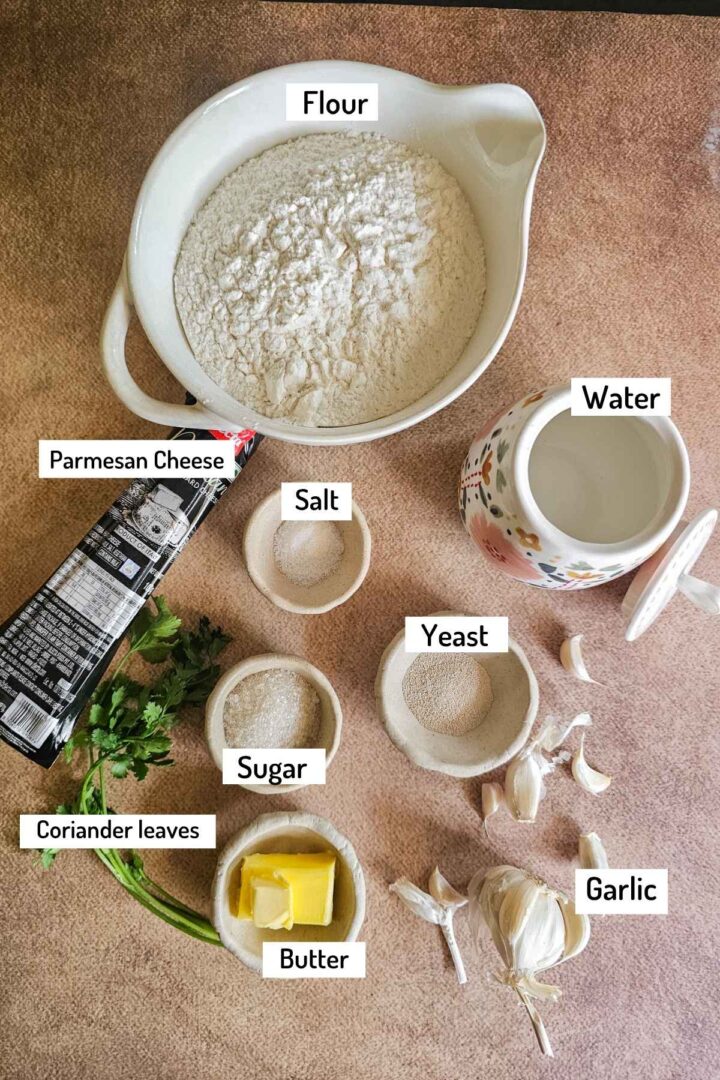
- For the Dough
- 350 g (2¾ cups) all-purpose flour (maida)
- 5 g (1¼ tsp) instant yeast
- 15 g (1 tbsp) granulated sugar
- 4 g (½ tsp) salt
- 195 ml (3/4 cup + 1 tbsp) warm water or milk
- 20 g (1½ tbsp) unsalted butter, softened
- For the Garlic Butter
- 50 g (3½ tbsp) unsalted butter, melted
- 5 garlic cloves, finely minced
- 1 tbsp chopped fresh coriander or parsley
- ¼ tsp red chilli flakes (optional)
- Freshly grated Parmesan cheese, for topping
Ingredient Notes:
- Flour - Regular all-purpose flour (maida) works perfectly for this recipe and keeps it accessible for most home bakers. If using bread flour, you may need to add a little extra water to achieve a soft, smooth dough consistency, as bread flour tends to absorb more liquid than all-purpose flour.
- Water or Milk - I used water in this recipe to keep the ingredient list simple and pantry-friendly. However, you can substitute it with milk for softer garlic knots with a more tender crumb. Milk also helps create a deeper golden-brown crust, which can be especially helpful if you prefer more colour on the baked knots.
- Yeast - I used instant yeast in this bread machine recipe. If using bread machine yeast, use the same amount. Active dry yeast can also be used, though it may need to be dissolved in the water first depending on the manufacturer's instructions.
- Garlic - Fresh garlic provides the best flavor, but you can substitute it with garlic powder in a pinch. Feel free to adjust the amount of garlic to suit your taste.
- Herbs and Seasonings - Fresh parsley or coriander adds freshness and colour to the garlic butter. You can also add a teaspoon of Italian seasoning for extra flavor. The chilli flakes add a gentle kick but can be omitted if you're serving these garlic knots to children or prefer a milder version.
- Parmesan Cheese- A light sprinkling of freshly grated Parmesan cheese adds a savory finish and pairs beautifully with the garlic butter. While optional, it adds an extra layer of flavor that makes these garlic knots even more irresistible.
Step-by-Step Instructions
Step 1: Prepare the Dough
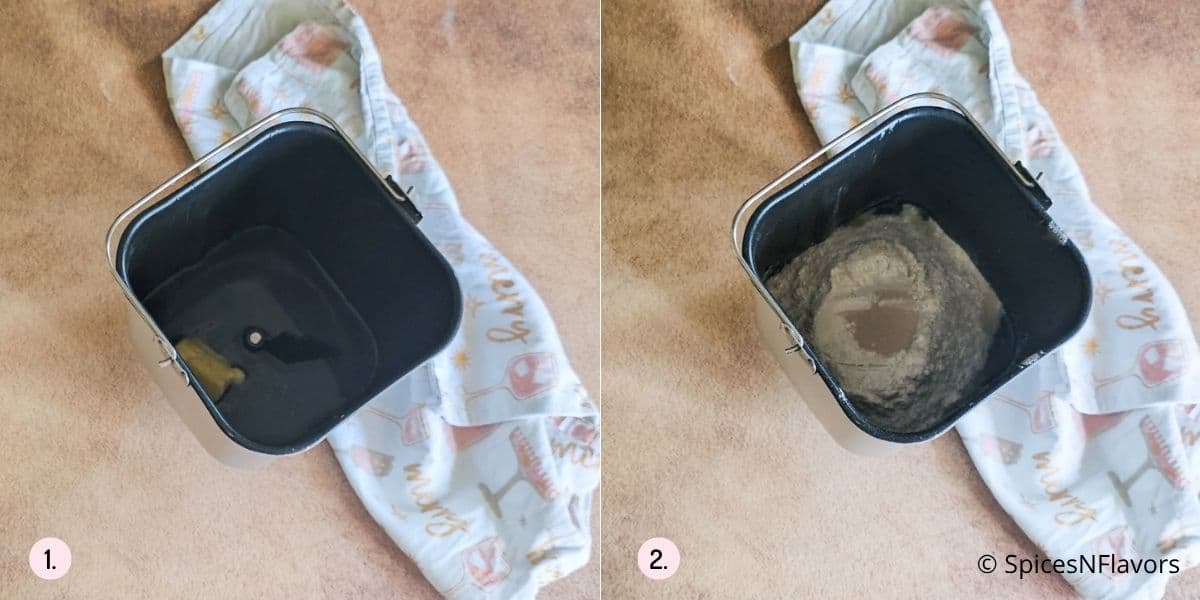
Add the salt, water, sugar, and softened butter to the bread machine pan (image 1).
Top with the flour, making sure the liquid ingredients are completely covered. Make a small well in the center of the flour and add the instant yeast (image 2).
Step 2: Run the Dough Cycle
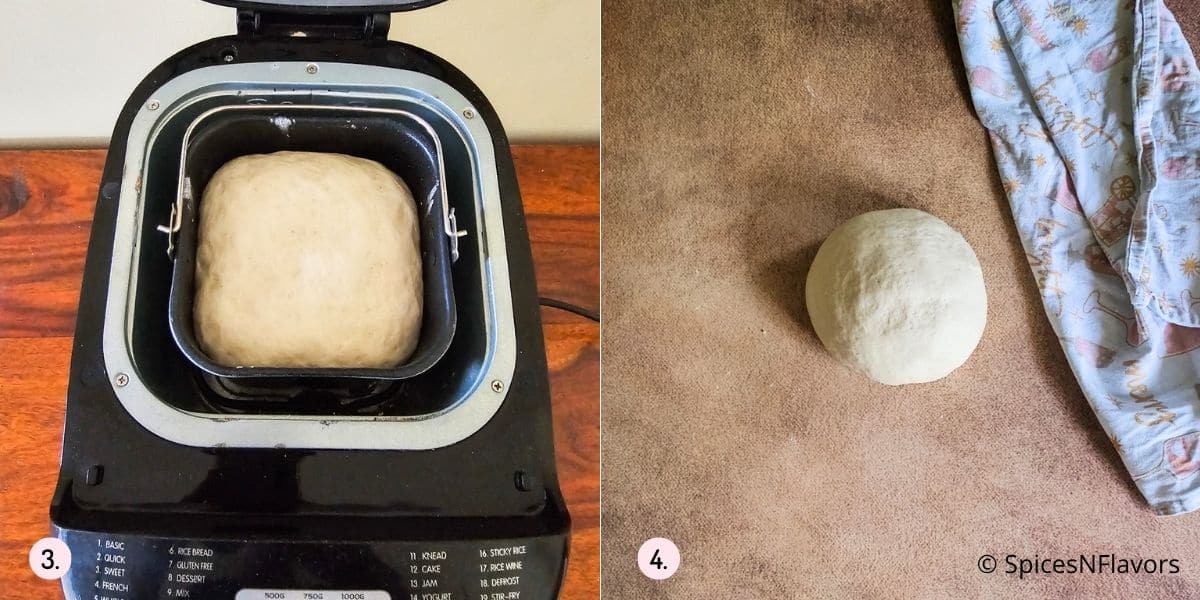
Place the pan in the bread machine and select the Dough Cycle and press start. Let the machine do all the work of mixing, kneading, and proofing the dough. Depending on your machine, this should take about 1½ hours (images 3 and 4).
Step 3: Divide the Dough
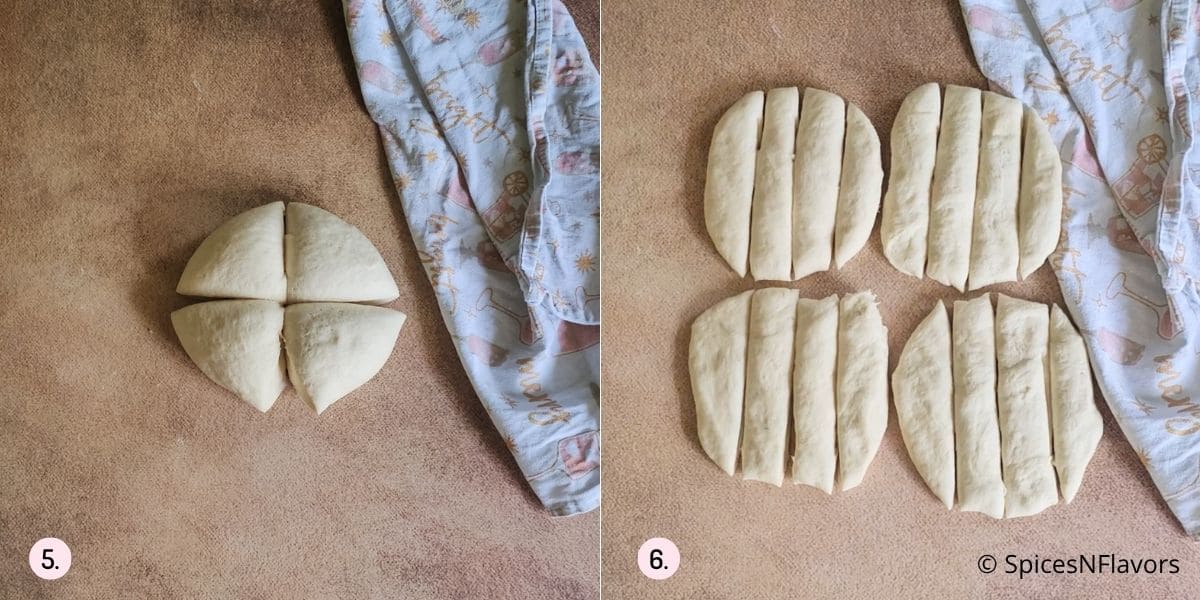
Once the dough cycle is complete, transfer the dough to a lightly floured work surface. Gently deflate the dough and divide it into 4 equal portions (image 5).
Flatten each portion slightly, then divide each one into 3 equal pieces to give you a total of 12 evenly sized pieces of dough (image 6).
Step 4: Shape the Garlic Knots
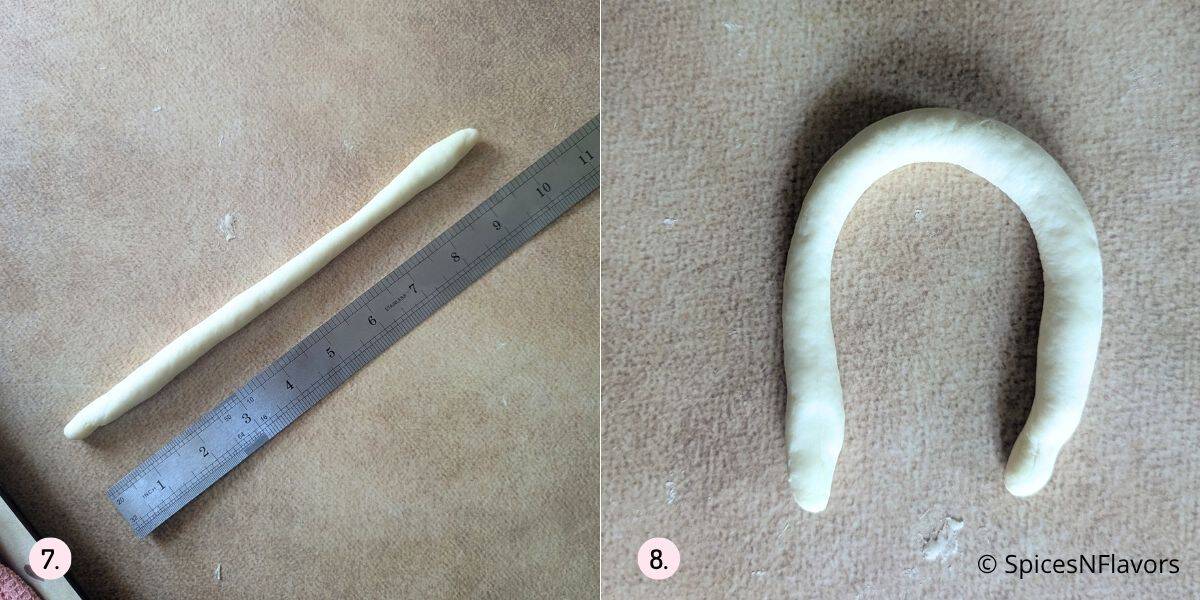
Roll each piece of dough into a rope about 8 to 10 inches long (image 7).
Bend the rope into a U-shape (image 8).
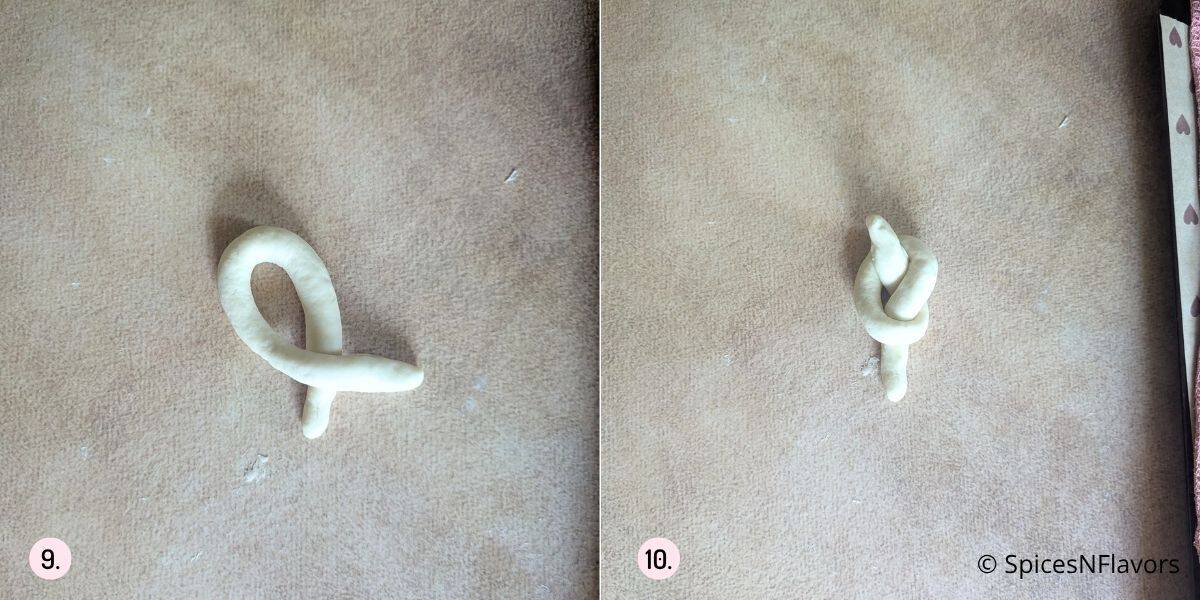
Cross one end over the other to create a loop (image 9).
Pull the lower end up through the hole in the center to form a knot (image 10).
Place the shaped garlic knots upside down on a prepared baking sheet lined with parchment paper, leaving some space between each knot for expansion during the second rise and baking.
As you work, keep the remaining dough covered with a tea towel to prevent it from drying out. If needed, lightly grease your hands with olive oil to make rolling the dough into ropes easier.
Step 5: Proof the Knots
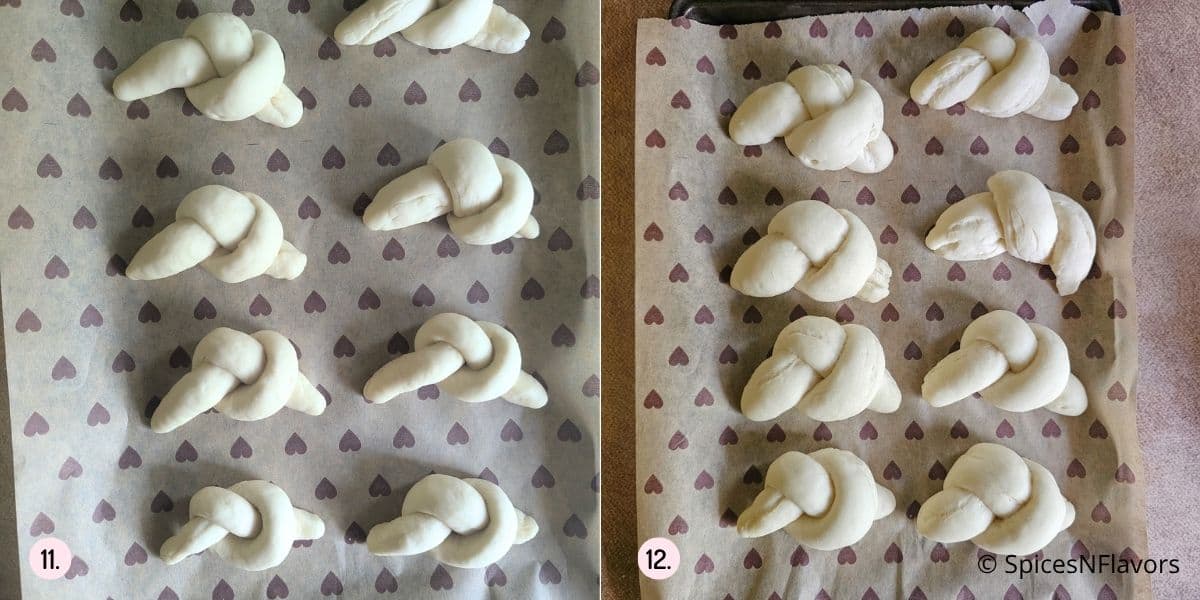
Cover the tray loosely with a clean kitchen towel or plastic wrap and let the knots proof for 30–45 minutes
Step 6: Prepare the Garlic Butter
While the knots are proving, prepare the garlic butter. Melt the butter in a small saucepan over low heat and add the minced garlic.
Cook for 30 to 60 seconds, just until the raw smell disappears.
Remove the saucepan from the heat and allow the butter to cool slightly before stirring in the chopped coriander or parsley and chilli flakes.
Step 7: Bake
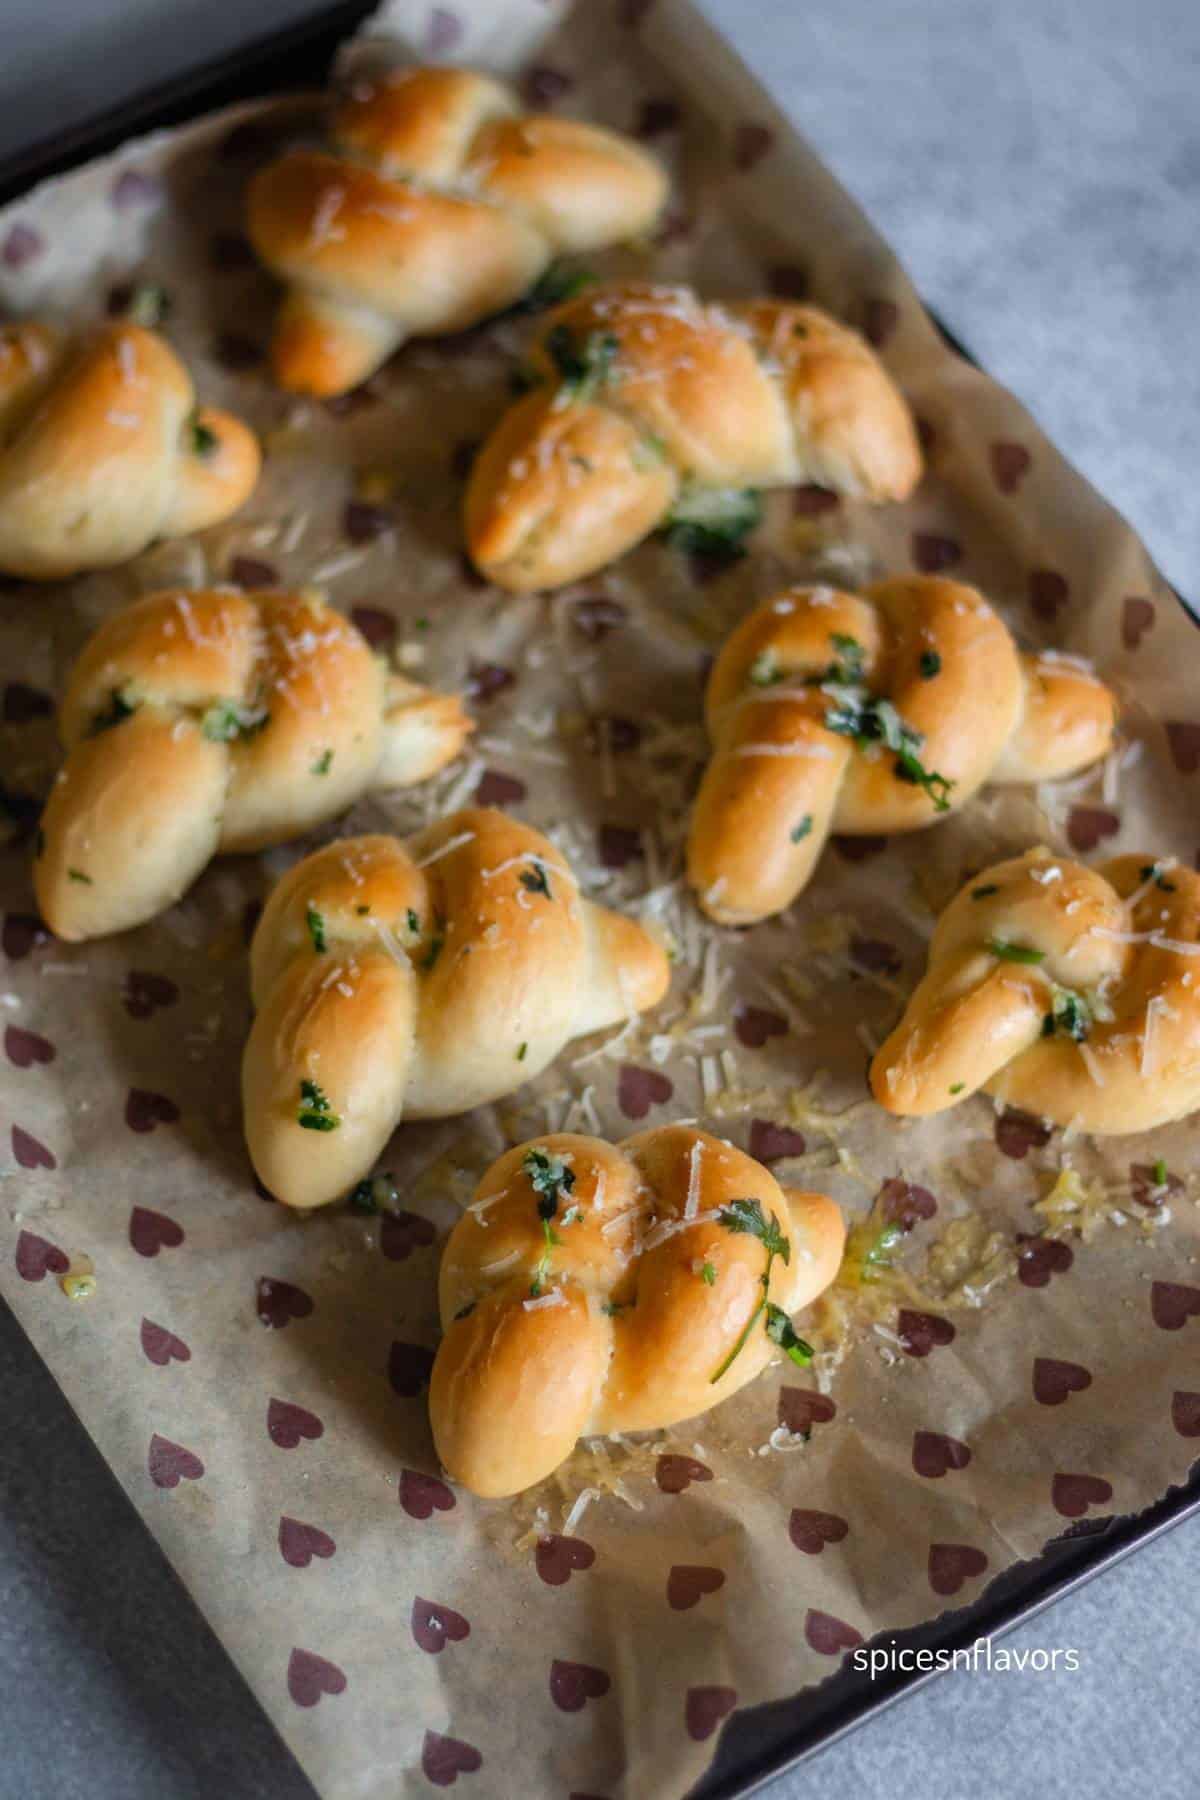
Preheat the oven to 190°C (375°F). Bake the garlic knots for 20 minutes, or until lightly golden on top and cooked through.
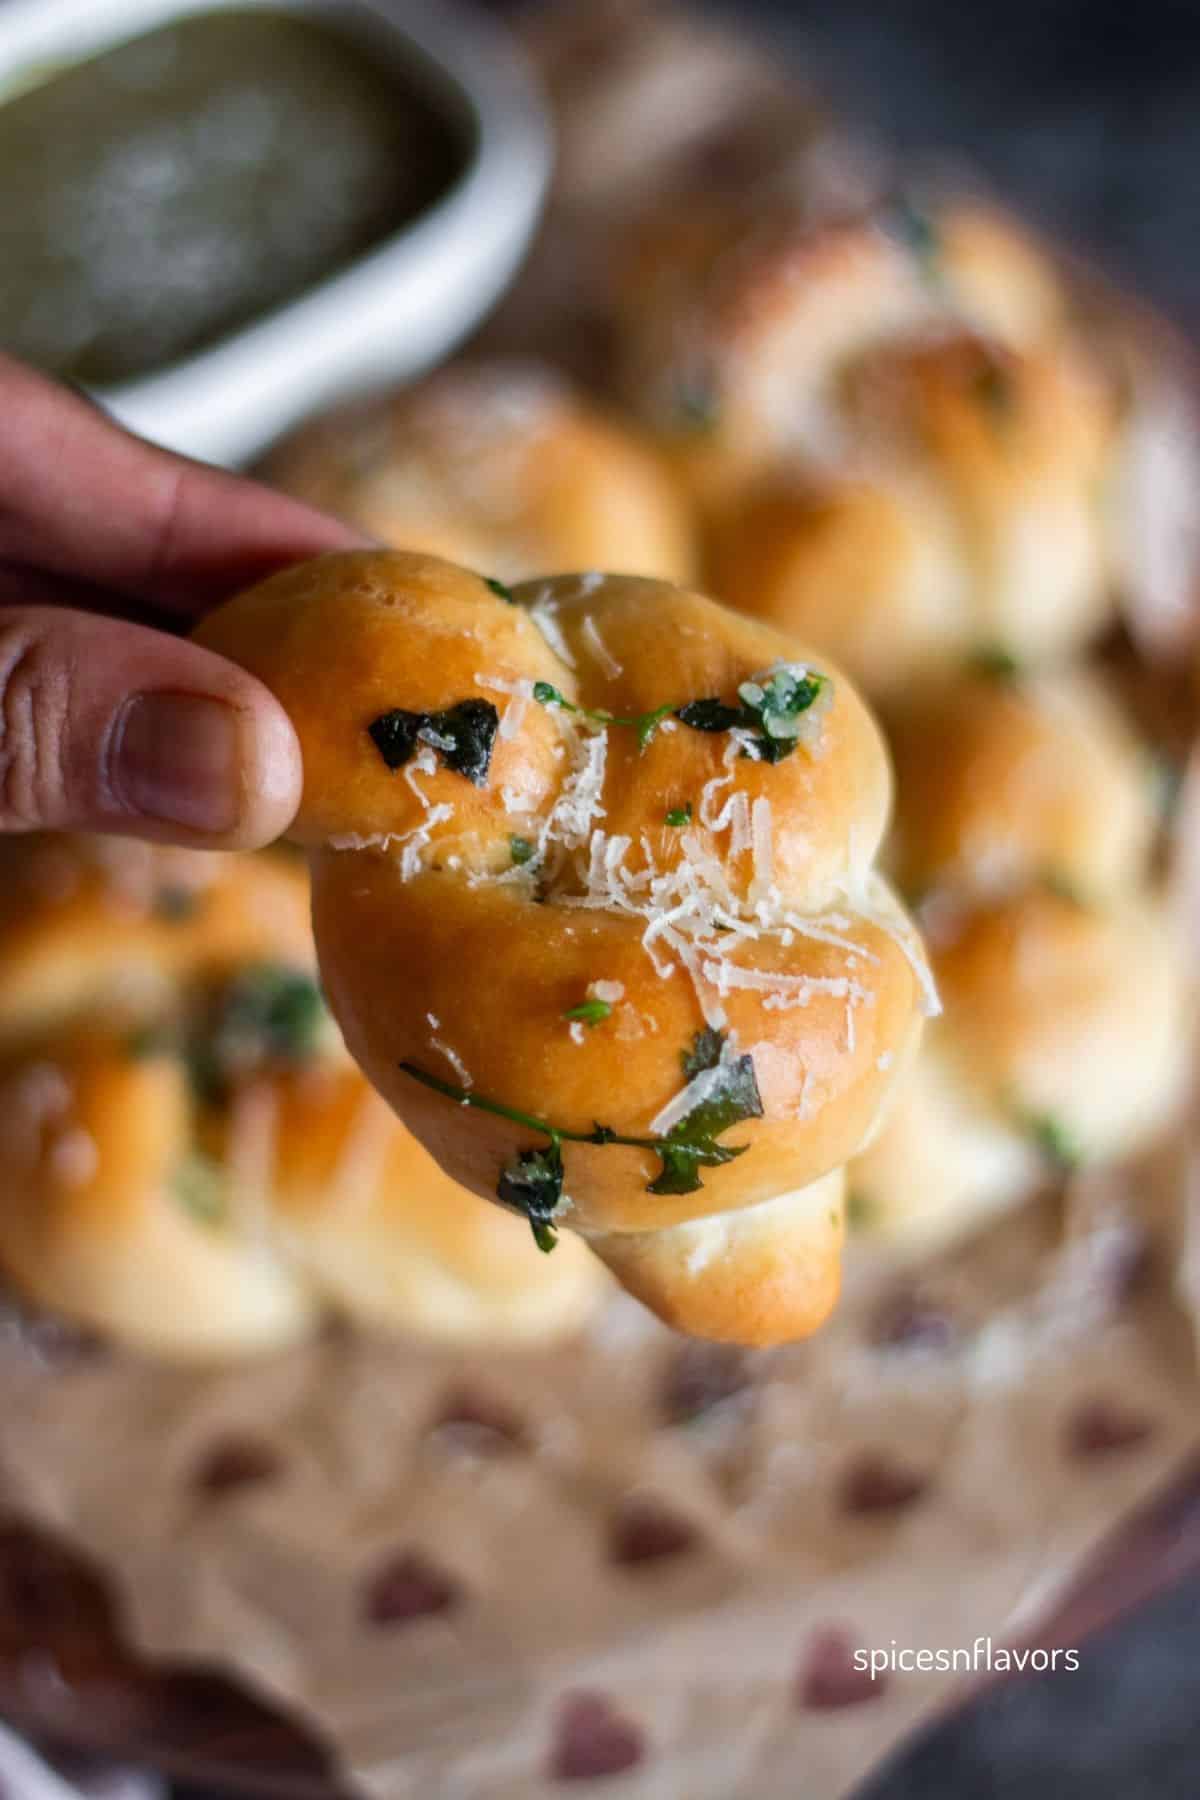
As soon as the garlic knots come out of the oven, brush them generously with the homemade garlic butter using a pastry brush and finish with a sprinkling of Parmesan cheese. Serve warm.
How to Make Garlic Knots Without a Bread Machine
Using a Stand Mixer
Add the water, sugar, instant yeast, flour and salt to the bowl of your stand mixer fitted with the dough hook attachment.
Knead on low speed for 2 to 3 minutes until the ingredients come together, add the softened butter then increase to medium-low speed and knead for another 6 to 8 minutes until the dough is soft, smooth, and elastic.
Transfer the dough to a lightly greased bowl, cover, and let it rise in a warm place for about 1 hour or until doubled in size. Proceed with shaping, proofing, and baking as directed in the recipe.

Kneading by Hand
Combine the water, sugar, softened butter, flour, salt, and instant yeast in a large mixing bowl. Stir until a shaggy dough forms, then transfer it to a lightly floured work surface.
Knead the dough for 20 to 22 minutes, or until it becomes smooth and elastic. Place the dough in a lightly greased bowl, cover, and let it rise until doubled in size, about 1 to 1½ hours. Once risen, continue with shaping, proofing, and baking as instructed.

Storage Instructions
Store any leftover garlic knots in an airtight container at room temperature for up to 2 days. While they are best enjoyed fresh from the oven, they remain soft and flavorful the next day as well.
Avoid storing them in the refrigerator, as the cold temperature causes bread to stale more quickly and can dry out the garlic knots.
To reheat, lightly sprinkle the garlic knots with a little water and microwave for 10 to 15 seconds until warm. The added moisture helps restore their soft texture. Alternatively, warm them in a preheated 180°C (350°F) oven for 4 to 5 minutes.
For longer storage, place the cooled garlic knots in a freezer-safe bag or container and freeze for up to 2 months. Thaw at room temperature and reheat before serving. If desired, brush with a little extra garlic butter after reheating for the best flavor and texture.

Best Tips
- Different brands of flour absorb liquid differently. Check the dough during the first few minutes of the dough cycle. It should feel soft and smooth. If it looks too sticky, add a tablespoon of flour at a time until it comes together.
- Keep the knots loosely tied. A loose knot gives the dough room to expand during the second rise and baking, resulting in a lighter texture.
- Keep the remaining dough covered while shaping. As you shape each garlic knot, keep the remaining pieces of dough covered with a clean tea towel. This prevents the surface from drying out and makes the dough easier to work with.
- Lightly grease your hands with olive oil. If the dough feels slightly tacky while shaping, rub a little olive oil on your palms. This makes rolling the dough into ropes much easier without incorporating extra flour, which can make the garlic knots dry.
- Don't rush the second proof. The shaped knots should look noticeably puffy before they go into the oven. This extra rise helps create a soft and fluffy texture.
- Cook the garlic gently. There's no need to brown the garlic. A brief sauté is enough to remove the raw smell while keeping the garlic butter smooth and flavorful.
- Add the herbs after the butter cools slightly. This helps preserve the fresh flavor and vibrant green colour of the coriander or parsley.
- Brush the garlic knots while they're still warm. The warm bread absorbs the garlic butter more effectively, giving you better flavour in every bite.
- Don't skip the Parmesan. While optional, a light sprinkling of Parmesan cheese adds a savory finish and makes the garlic knots even more irresistible
Related Recipes
Wish to Join US for the love of BAKING? Subscribe to our newsletter and Youtube channel. Follow along on Facebook, Instagram, and Pinterest for all the latest updates!

Bread Machine Garlic Knots recipe
Ingredients
For the Dough
- 4 g Salt
- 195 ml Warm water
- 15 g Sugar
- 20 g Unsalted Butter softened
- 350 g All-purpose Flour maida
- 5 g Instant Yeast
For the Garlic Butter
- 50 g Unsalted Butter
- 5 Garlic cloves finely minced
- 1 tbsp Chopped fresh coriander or parsley
- ¼ tsp Red chilli flakes optional
- Freshly grated Parmesan cheese for serving
Instructions
- Add the salt, water, sugar, and softened butter to the bread machine pan. Top with the flour and make a small well in the center. Add the yeast to the well.
- Select the Dough Cycle and allow the machine to mix, knead, and complete the first rise.
- Transfer the dough to a lightly floured surface and gently deflate it. Divide into 4 equal portions, then divide each portion into 3 pieces to make 12 equal pieces in total.
- Working with one piece at a time, roll the dough into a rope about 8 to 10 inches long. Bend it into a U-shape, cross one end over the other, and pull the lower end through the center opening to form a knot.
- Arrange the knots on a parchment-lined baking tray. Cover loosely and allow to rise for 30 to 45 minutes, or until puffy.
- Meanwhile, prepare the garlic butter. Melt the butter in a small saucepan over low heat. Add the garlic and cook for 30 to 60 seconds, just until the raw aroma disappears. Remove from the heat and allow to cool slightly before stirring in the coriander or parsley and chilli flakes.
- Preheat the oven to 190°C.
- Bake the garlic knots for 18 minutes, or until lightly golden.
- While still warm, brush generously with the garlic butter and sprinkle with Parmesan cheese. Serve immediately.
Notes
- Different brands of flour absorb liquid differently. If the dough appears overly sticky during mixing, add a little extra flour, 1 tablespoon at a time.
- Keep the remaining dough covered with a clean tea towel while shaping to prevent the surface from drying out.
- Lightly grease your palms with olive oil if the dough feels tacky. This makes rolling the dough into ropes easier without adding excess flour.
- Milk can be used in place of water for a softer crumb and deeper colour on the baked knots.
- There is no need to brown the garlic. A brief sauté is enough to remove the raw flavour while keeping the garlic butter smooth and aromatic.
- Add the herbs after the butter has cooled slightly to help preserve their fresh flavour and vibrant green colour.
- For best results, brush the garlic knots with garlic butter as soon as they come out of the oven so the warm bread can absorb the flavour.
- Store leftovers in an airtight container at room temperature for up to 2 days. To refresh, lightly sprinkle with water and microwave for 10–15 seconds before serving.
Leave a Reply