

For these soft, fluffy homemade garlic breadsticks, you only need a handful of pantry staples and a little patience while the dough rises.
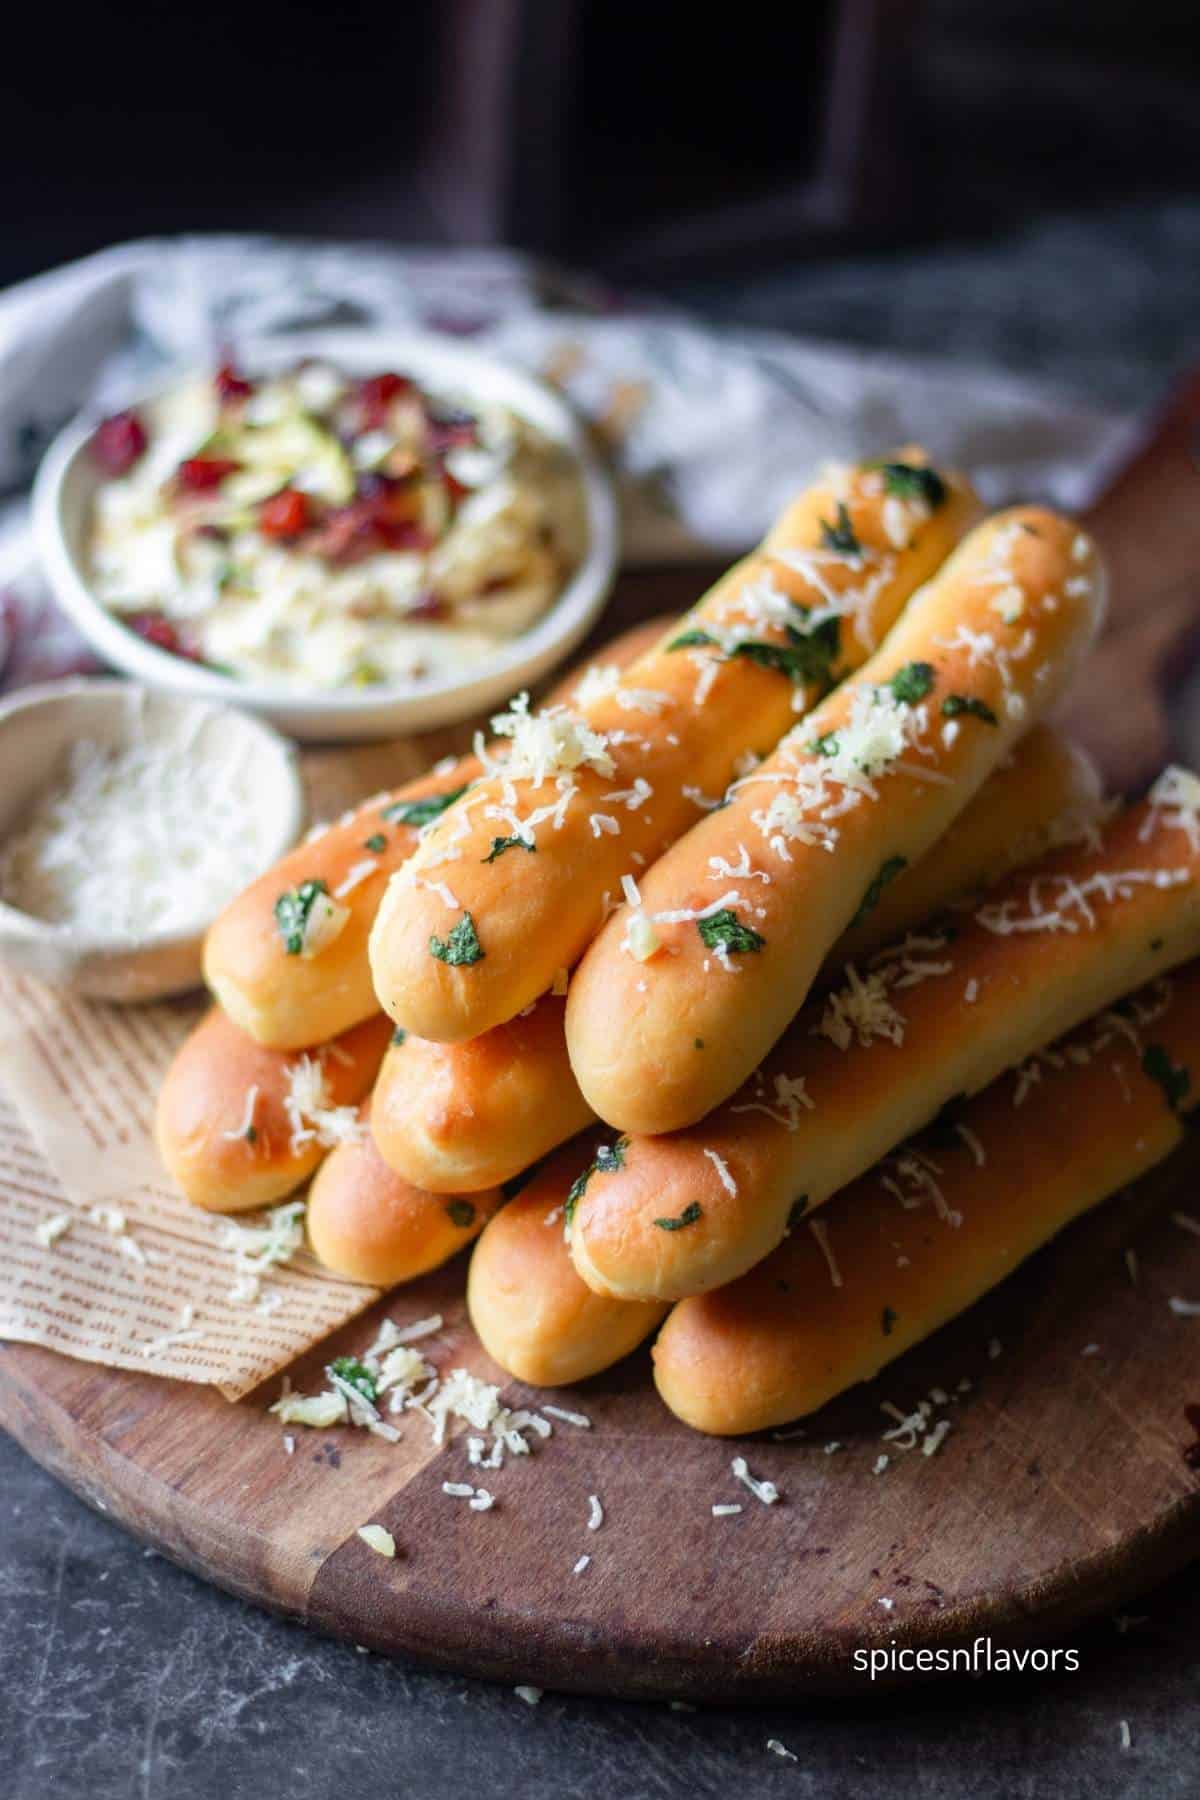
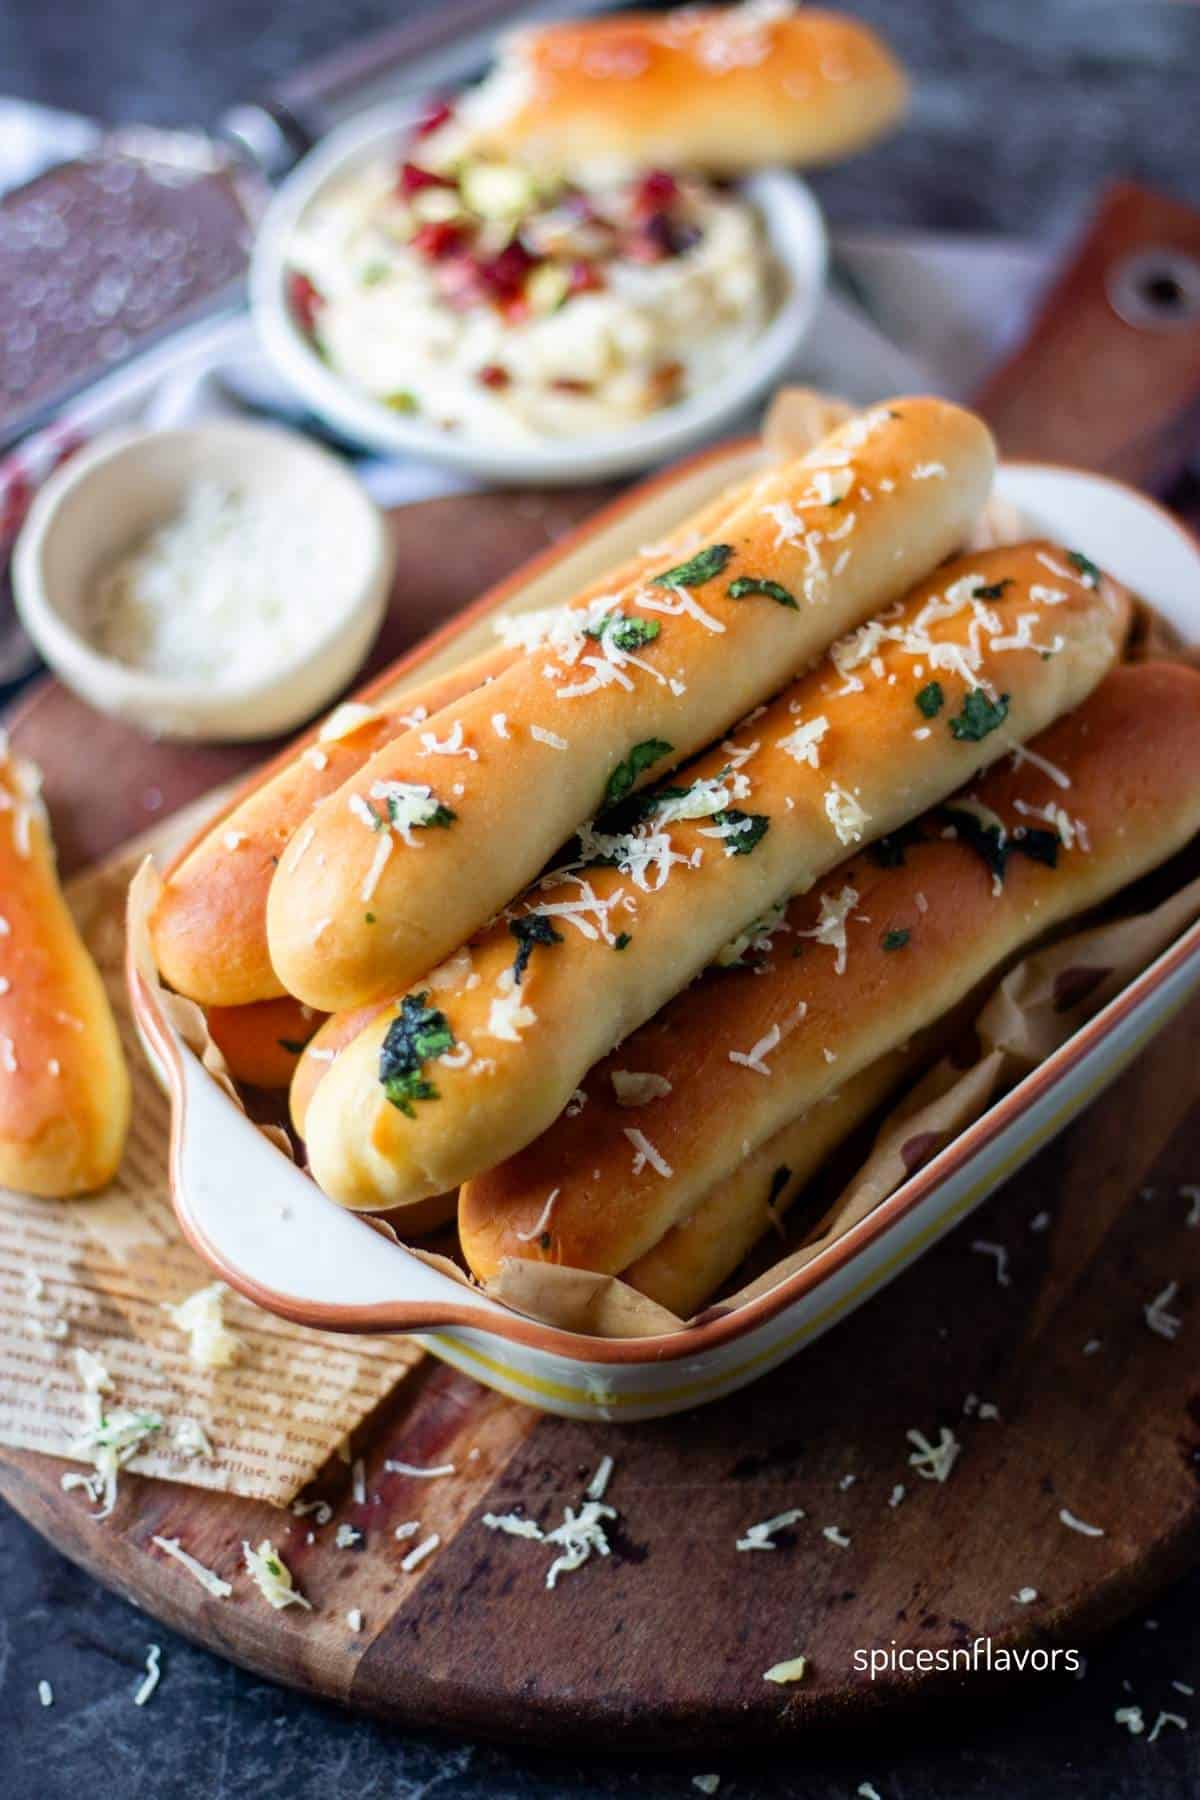
Brushed with garlic butter and topped with cheese, these homemade breadsticks are the perfect side for pasta night, soups, salads, or your favorite dipping sauce.
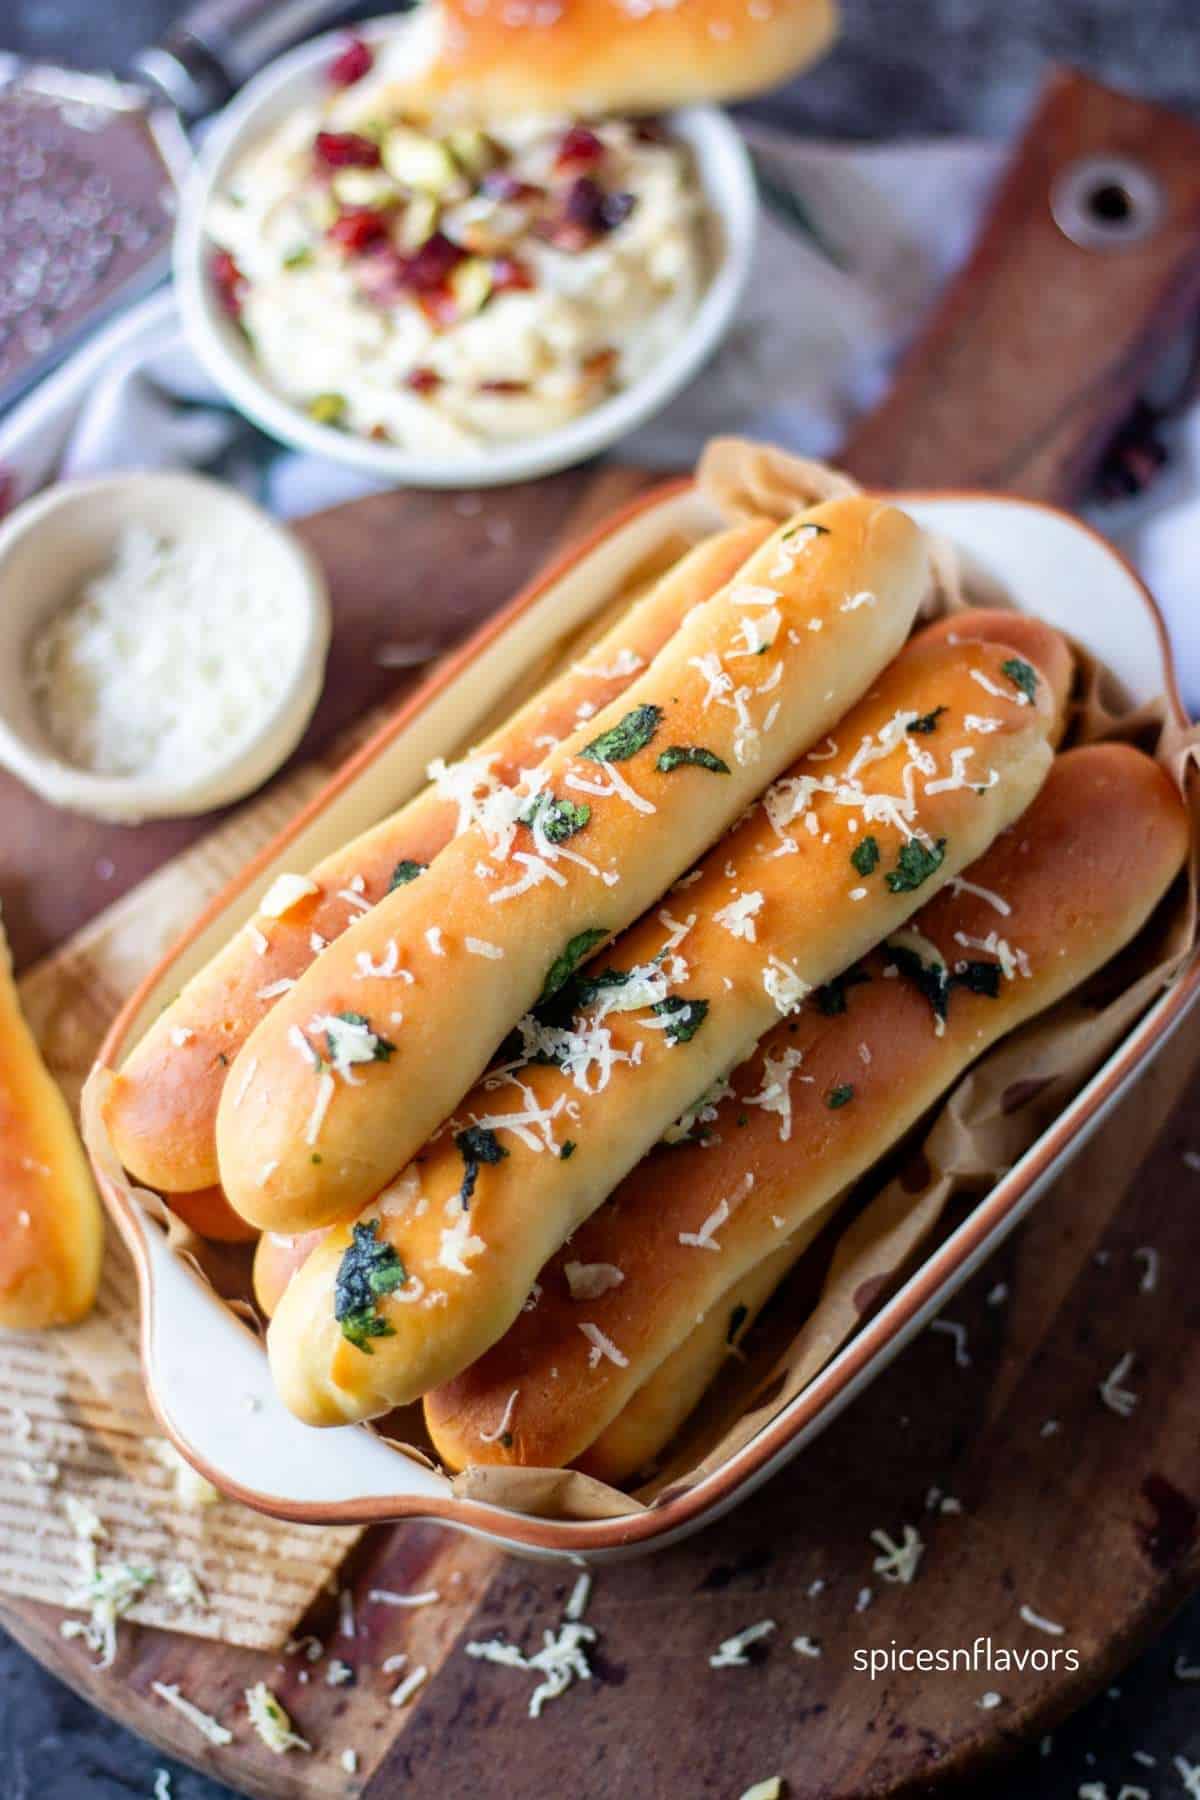
Garlicky Breadsticks
As the weather starts to cool down, there's something so comforting about a batch of warm, homemade breadsticks fresh from the oven.
While I often make my Bread Machine Garlic Knots, these breadsticks are my go-to when I want something easy to shape and serve alongside soup, pasta, or a cozy movie-night snack.
A generous brush of garlicky butter and a sprinkle of parmesan cheese on top gives them plenty of flavor, and they're especially delicious dunked into a creamy Whipped Feta Dip.
Ingredients
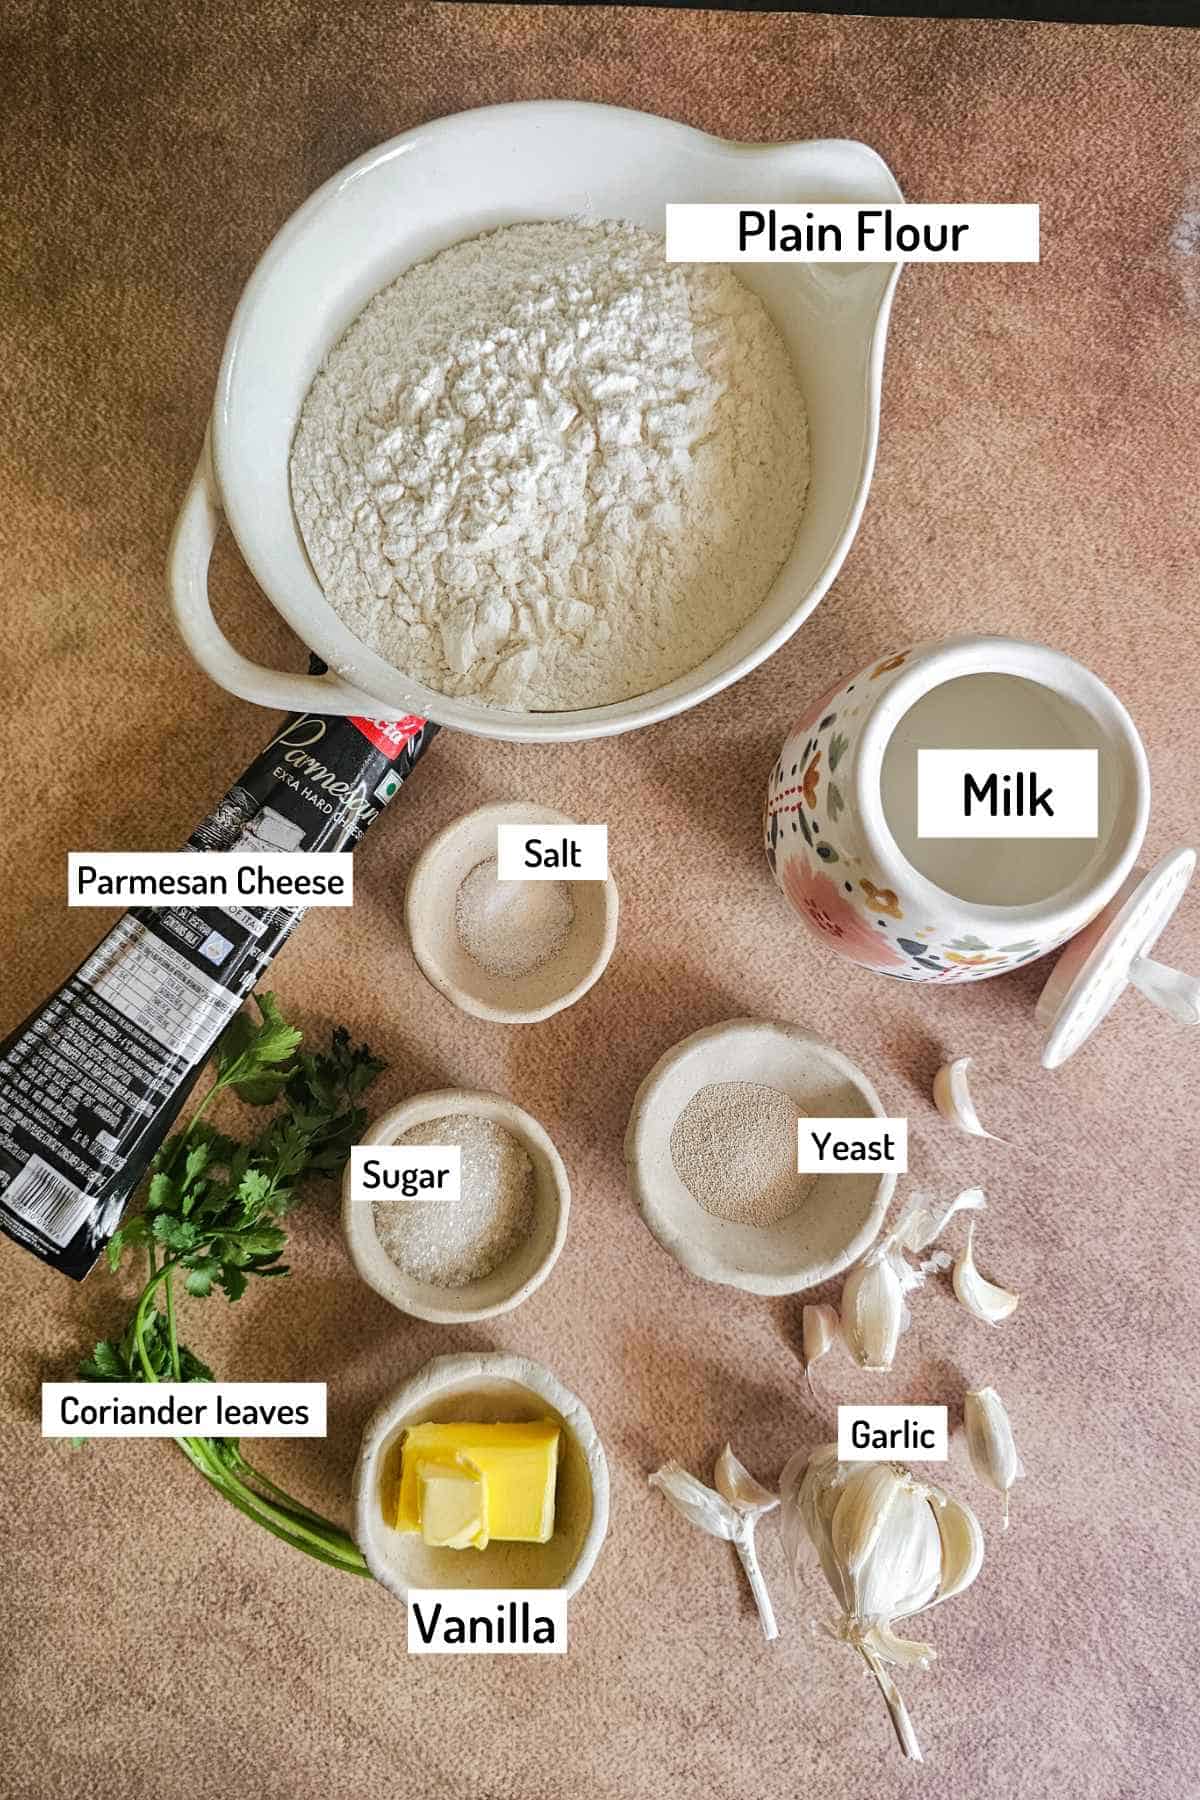
For the Breadsticks
- 250 g (2 cups) all-purpose flour
- 5 g (1 tsp) instant yeast
- 15 g (1 tbsp) sugar
- 3 g (½ tsp) salt
- 180 ml (¾ cup) warm milk
- 20 g (1½ tbsp) unsalted butter, softened
For the Garlic Butter
- 40 g (3 tbsp) butter
- 4–5 garlic cloves, finely minced
- 1 tbsp finely chopped parsley or coriander
- Chilli flakes, optional
For Topping
- Parmesan cheese, as needed
Ingredient Notes
- All-purpose flour: You don't need bread flour for this recipe. Regular all-purpose flour (maida) works beautifully and gives you soft, fluffy breadsticks without making them unnecessarily chewy.
- Instant yeast: I use instant yeast because it can be mixed directly with the flour. If you're using active dry yeast, dissolve it in the warm milk with the sugar and let it sit for 5–10 minutes before adding it to the flour.
- Warm milk: The milk should be warm to the touch, not hot. Milk that's too hot can kill the yeast and affect how well the dough rises.
- Butter: Softened butter makes the dough richer and gives you those soft, buttery breadsticks. I prefer butter here over olive oil, especially because we're also brushing the baked breadsticks with garlic butter.
- Garlic: Fresh garlic cloves give the best flavor. Finely mince them so they mix evenly into the butter. You can use garlic powder if you're out of fresh garlic, but fresh garlic gives a much more pronounced garlicky flavor.
- Herbs: Use either fresh parsley or coriander. Both work beautifully with the garlic butter, so I usually just use whatever I have in the fridge.
- Chilli flakes: I skipped these when making the breadsticks because my children prefer them without any heat. But if you enjoy a little spice, add a pinch of chilli flakes or red pepper flakes to the garlic butter.
How to Make Garlic Breadsticks
1. Make the dough
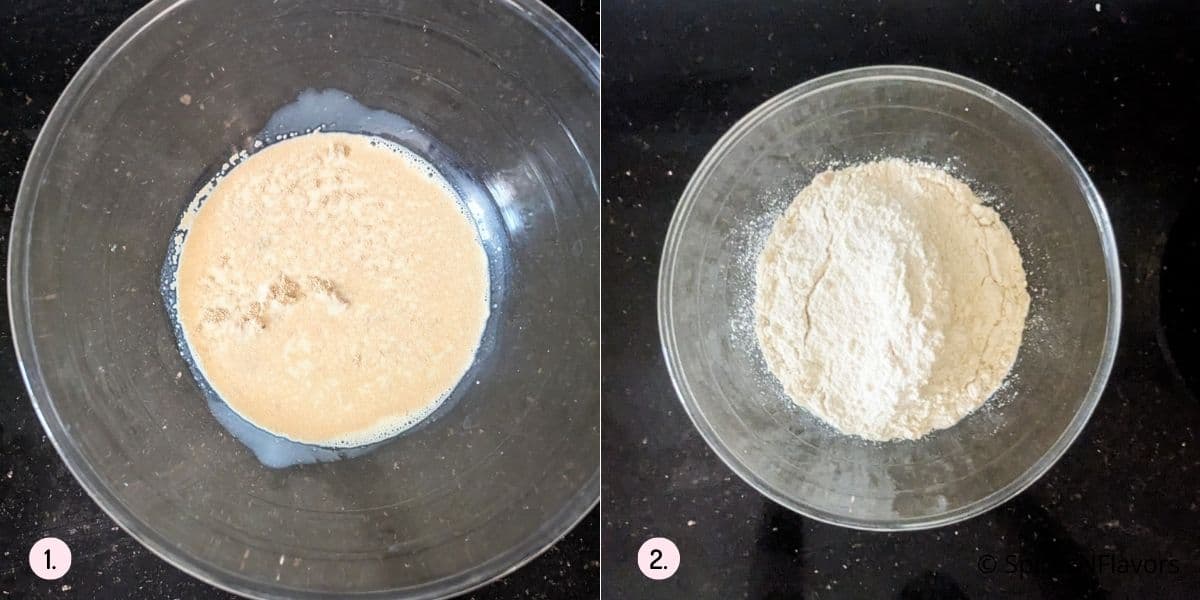
Add the warm milk, sugar, and instant yeast to a large mixing bowl and mix well. In a separate bowl, combine the all-purpose flour and salt (images 1 and 2).
Add the dry ingredients to the milk mixture and use a wooden spoon to mix until it comes together into a shaggy bread dough.
2. Knead the Dough
Transfer the shaggy dough to a lightly floured surface and knead by hand for about 10 minutes. The dough will gradually become smoother and more elastic.
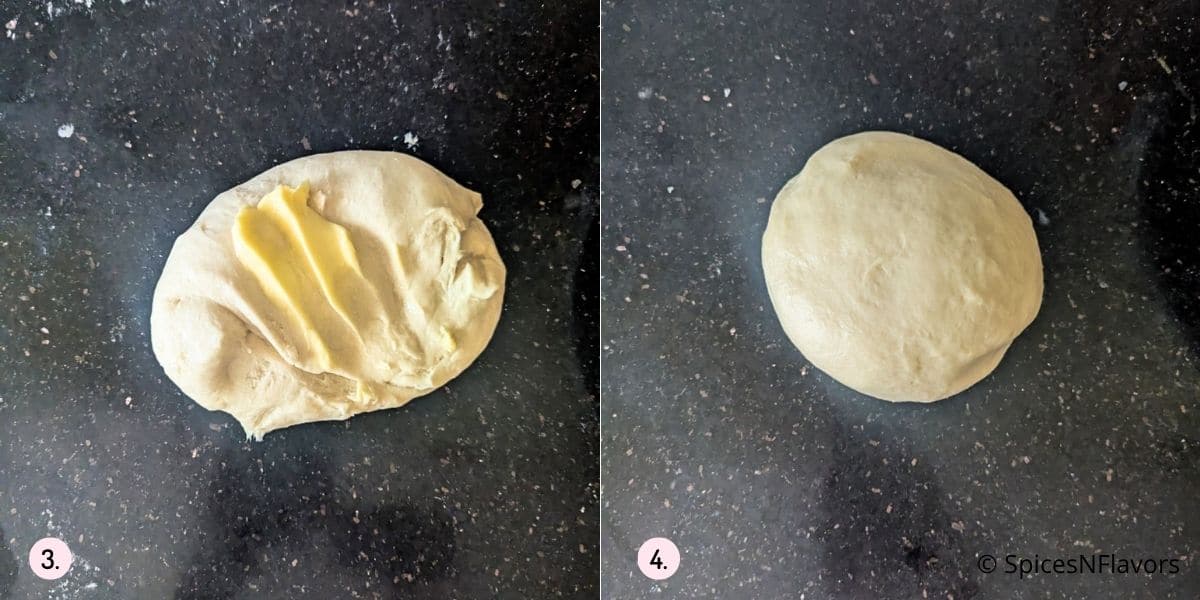
Add the softened butter little by little, kneading well after each addition until it is completely absorbed into the dough (image 3).
Once all the butter has been incorporated, continue kneading for another 10 minutes, until you have a smooth, soft and elastic dough (image 4).
Using a stand mixer: Add the flour, salt, warm milk, sugar, and instant yeast to the bowl of your stand mixer fitted with the dough hook attachment. Mix on low speed until the ingredients come together into a shaggy dough.
Continue kneading on low-medium speed for about 6 minutes. Then add the softened butter gradually and continue kneading for another 4 minutes, until the dough is smooth, soft, and elastic. The dough should pull away from the sides of the bowl.
Using a bread machine: You can also make the dough in a bread machine using the dough cycle, just like I do for my Bread Machine Garlic Knots which makes the process almost completely hands-off.
3. First proof
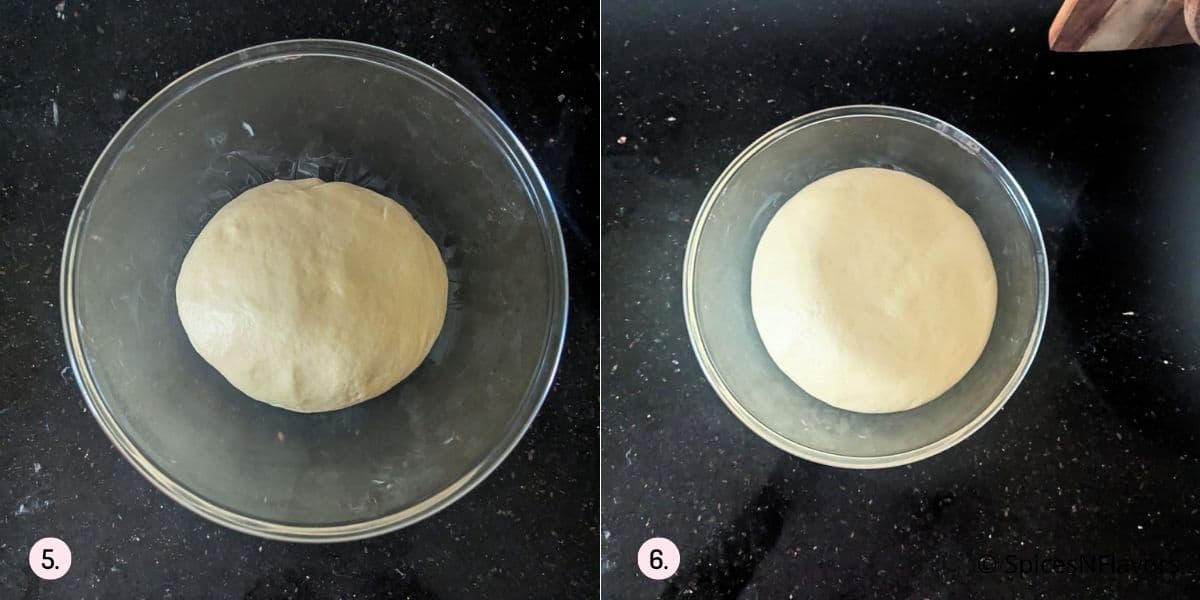
Use any leftover butter from your softened butter to lightly grease a bowl (image 5).
Place the dough inside, cover, and let them rise in a warm place for about 1 hour, or until doubled in size (image 6).
The actual proofing time can vary depending on how warm your kitchen is, so look for the dough to double rather than relying only on the clock. If your kitchen is cool, the first rise may take a little longer.
4. Shape the breadsticks
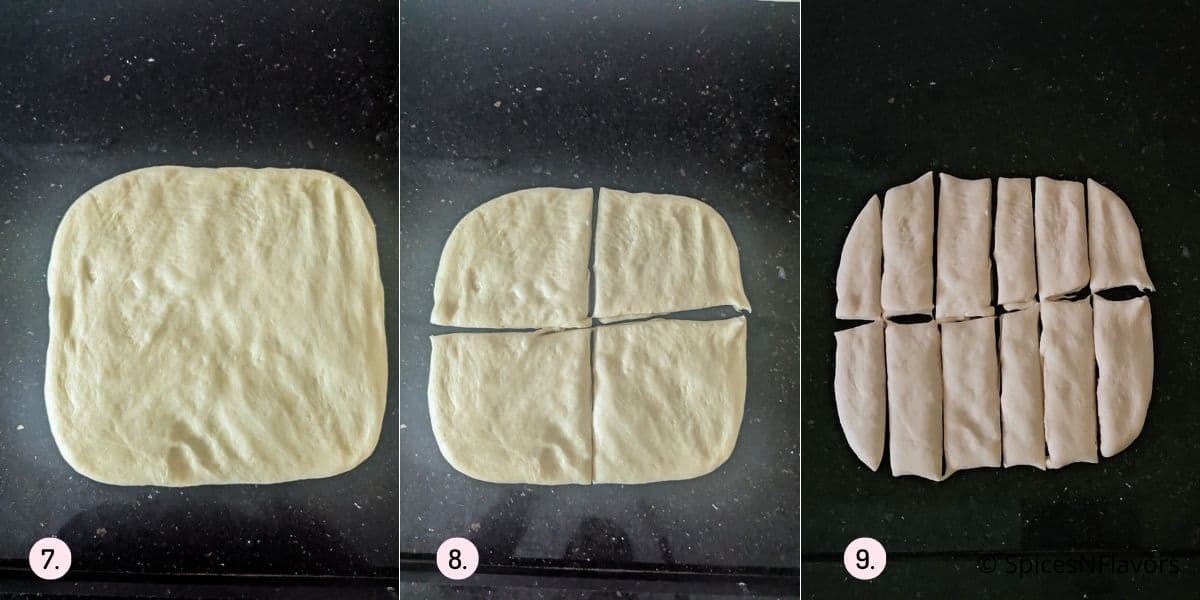
Once the dough has doubled, gently deflate it and transfer it to your work surface. Flatten it into a rectangle (image 7).
Divide the dough into 4 equal portions, then divide each portion into 3 pieces to get 12 breadsticks in total (images 8 and 9).
For evenly sized breadsticks, you can also simply weigh the dough and divide it into 12 pieces of approximately 39 g each.
Take each piece of dough and roll it into a smooth log shape about 7 inches long (image 10).
Place the shaped breadsticks on a baking sheet lined with parchment paper, leaving a little space between each one.
5. Second Proof
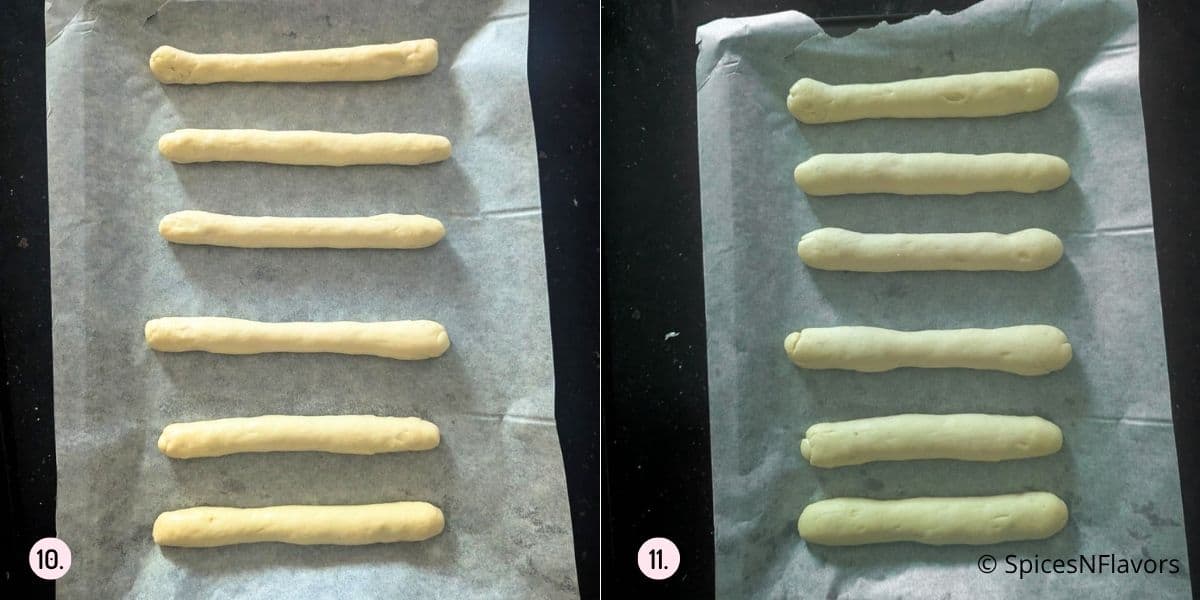
Cover the shaped breadsticks loosely and let them proof again for about 30 minutes (image 11).
The exact time can vary depending on the temperature of your kitchen, so look for the breadsticks to become noticeably puffy rather than relying only on the clock.
While the breadsticks are going through their second proof, prepare the garlic butter.
Make the garlic butter
Melt the butter in a small saucepan over low heat. Add the finely minced garlic cloves and cook for about 1–2 minutes, just until the garlic becomes fragrant.
You don't need to brown the garlic or change its colour. We're simply cooking it enough to release all that lovely garlic aroma.
Switch off the heat and let the butter mixture cool slightly. Once it is warm rather than piping hot, stir in the chopped parsley or coriander and Italian seasoning.
6. Bake the Breadsticks
Preheat the oven to 190°C.
Once the breadsticks have finished their second proof, bake them for 12–15 minutes, or until lightly golden brown on top. I baked mine for about 13 minutes, rotating the baking tray around the 10-minute mark so they browned evenly.
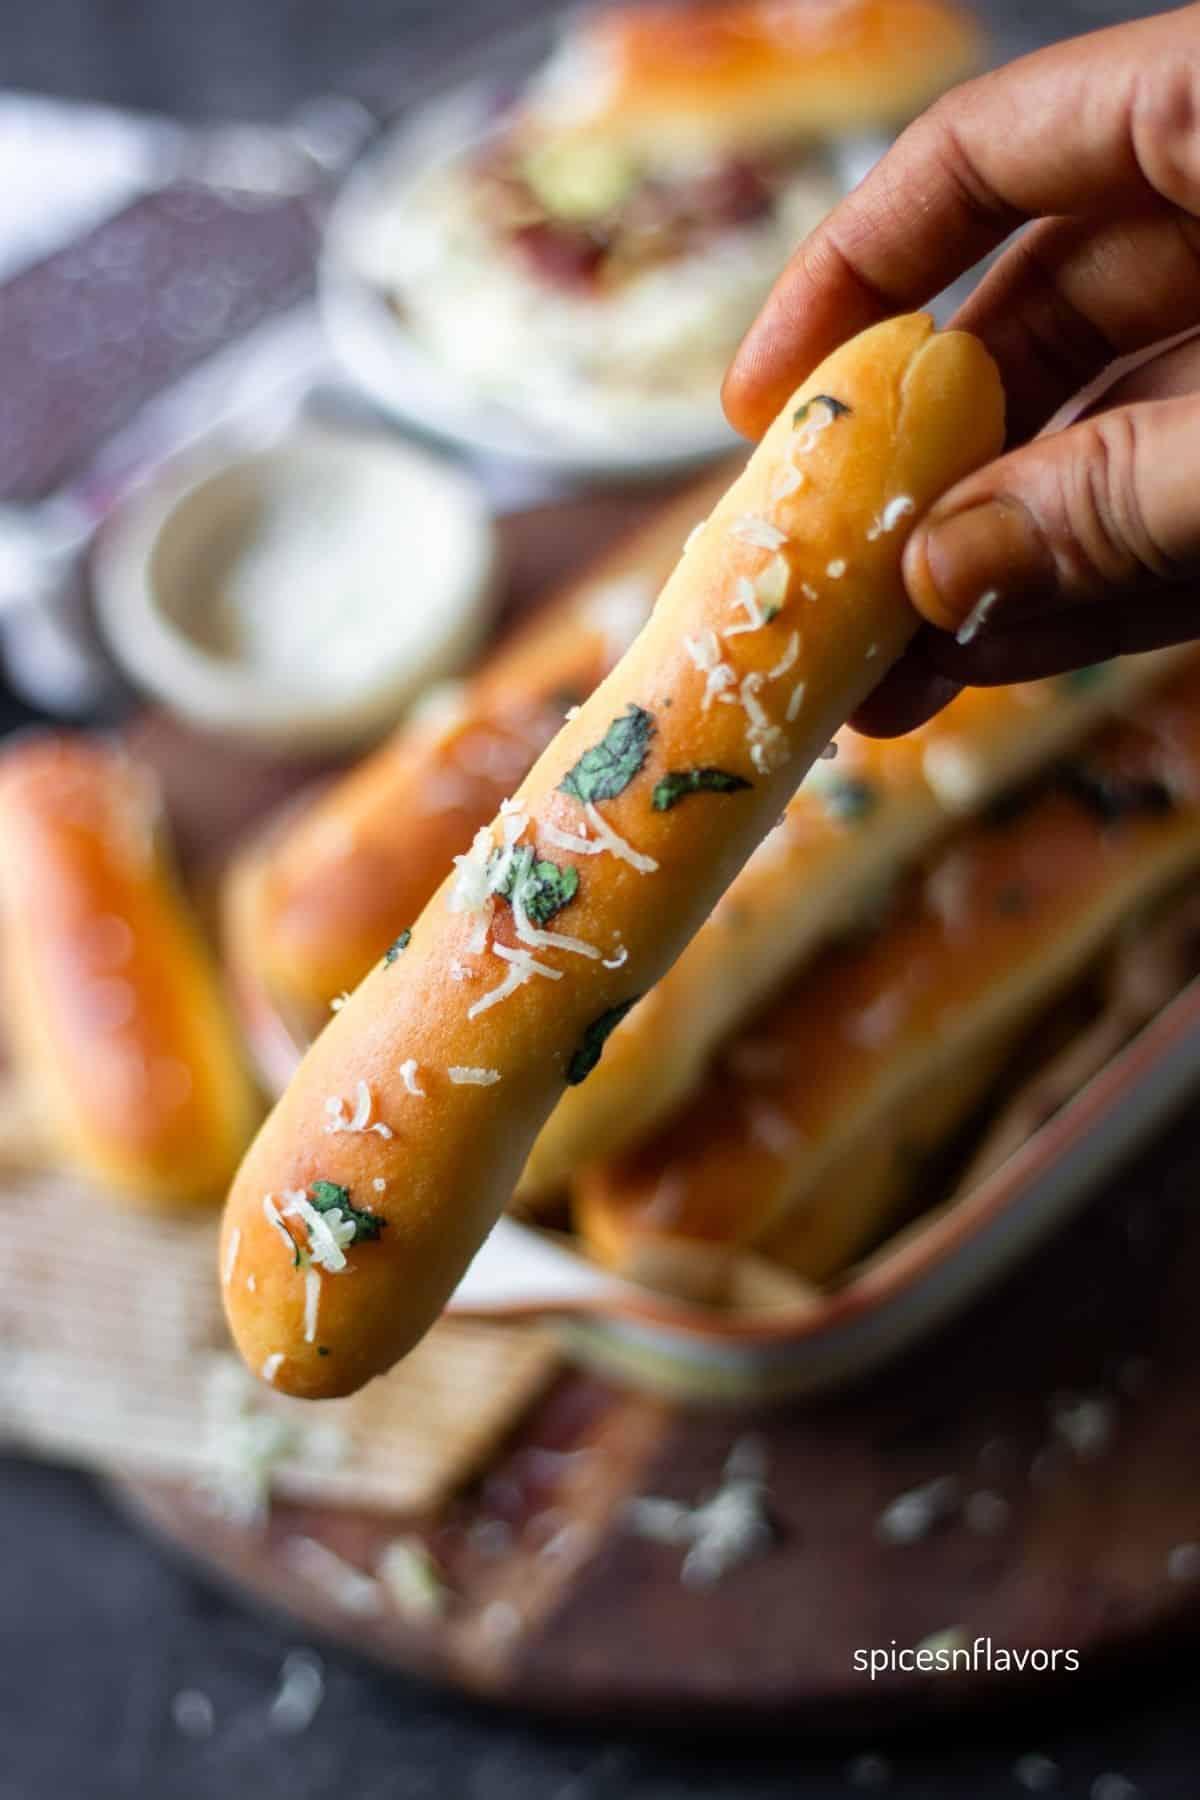
As soon as they come out of the oven, brush the warm breadsticks with the prepared garlic butter.. Sprinkle with parmesan cheese and serve warm with soup, pasta, or a dip of your choice.
Storage Instructions
Storing the Bread Dough
If you want to prepare the breadstick dough ahead of time, you can refrigerate it after the first rise.
Place the dough in a lightly greased bowl, cover tightly with plastic wrap, and refrigerate for up to 24 hours.
When you're ready to bake, let the dough come to room temperature for about 30–60 minutes, then shape the breadsticks, allow them to go through the second proof, and bake as directed.
Storing Baked Breadsticks
Freshly baked garlic breadsticks are best enjoyed warm, but you can store any leftovers in an airtight container at room temperature for 1–2 days.
Make sure they have cooled completely before storing to prevent excess moisture from making them soggy.
For longer storage, place the cooled breadsticks in a freezer-safe bag or container and freeze for up to 2 months.
How to Reheat Garlic Breadsticks
For the best texture, reheat the breadsticks in a preheated oven at 180°C for 5–8 minutes. If reheating from frozen, allow a few extra minutes.
You can also reheat them in an air fryer at 160°C for 3–4 minutes.
If the breadsticks seem a little dry, brush them with a small amount of melted butter or garlic butter before reheating. This helps bring back some of that soft, buttery texture.
Best Tips
- Use pizza dough for a shortcut: If you're making these for guests and want to save some time, using store-bought pizza dough is a good idea. You can skip making the breadstick dough from scratch and go straight to shaping and baking.
- Add the fresh herbs later: Don't add parsley or coriander to the butter while it is still very hot. The heat can darken the herbs and make them look almost black. Let the melted butter cool slightly before stirring in the fresh herbs and Italian seasoning.
- Use milk for soft breadsticks: Milk helps give these Olive Garden-inspired breadsticks their soft, tender texture. It also adds a little richness to the dough.
- Keep the dough covered: Always keep the dough covered while it is proofing and whenever you're not working with it. This prevents the surface from drying out and forming a crust.
- Don't add too much flour: The dough may feel slightly sticky while you're kneading it, especially at first. Avoid adding a lot of extra flour, as this can make the breadsticks dense instead of soft and fluffy.
- Don't skip the second proof: Once shaped, give the breadsticks enough time to become noticeably puffy. This second rise is what helps give you light and fluffy garlic bread sticks rather than dense ones.
- Brush with garlic butter while warm: For the best flavor, brush the freshly baked breadsticks with the garlic butter while they are still warm. The warm bread absorbs the butter beautifully and gives the breadsticks that extra garlic flavor.
Related Recipes
1. Bread Machine Garlic Knots
2. Whipped Feta Dip
Wish to Join US for the love of BAKING? Subscribe to our newsletter and Youtube channel. Follow along on Facebook, Instagram, and Pinterest for all the latest updates!


Soft Garlic Breadsticks recipe in 5 steps
Ingredients
For Garlic Breadsticks
- 250 g (2 cups) all-purpose flour
- 5 g (1 tsp) instant yeast
- 15 g (1 tbsp) sugar
- 3 g (½ tsp) salt
- 180 ml (¾ cup) warm milk
- 20 g (1½ tbsp) unsalted butter, softened
Garlic Butter
- 40 g 3 tbsp butter
- 5 garlic cloves finely minced
- 1 tbsp finely chopped parsley or coriander
- Chilli flakes optional
For Topping
- Parmesan cheese as needed
Instructions
Make the Dough
- Add the warm milk, sugar, and instant yeast to a large mixing bowl and mix well. Add the flour and salt and mix with a wooden spoon until a shaggy dough forms.
- Transfer the dough to a lightly floured surface and knead for about 10 minutes. Add the softened butter gradually, kneading well after each addition until completely absorbed. Continue kneading for another 10 minutes, until the dough is smooth, soft, and elastic.
First Rise
- Lightly grease a bowl and place the dough inside. Cover and let it rise in a warm place for about 1 hour, or until doubled in size.
Shape and Second Rise
- Gently deflate the dough and transfer it to your work surface. Using a rolling pin, flatten it into a rectangle and divide into 12 equal portions.
- Roll each portion into a smooth log about 7 inches long. Place on a parchment-lined baking sheet, leaving some space between each one. Cover loosely and let the garlic breadsticks proof for about 30 minutes, or until noticeably puffy.
Prepare the Garlic Butter
- Melt the butter in a small saucepan over low heat. Add the minced garlic and cook for 1–2 minutes, just until fragrant. Do not brown the garlic.
- Remove from the heat and let the butter cool slightly. Stir in the parsley or coriander and Italian seasoning.
Bake
- Preheat the oven to 190°C. Bake the garlic breadsticks for 12–15 minutes, or until lightly golden brown on top.
- As soon as they come out of the oven, generously brush with the prepared garlic butter. Sprinkle with parmesan cheese and serve warm.
Notes
- Stand mixer or bread machine: For detailed instructions using a stand mixer or bread machine, refer to the full recipe on the blog.
- Don't skip the second rise: This is important for soft, fluffy garlic breadsticks.
- Use fresh garlic: Freshly minced garlic gives the best flavor.
- Add herbs after cooling: Let the butter cool slightly before adding fresh herbs so they don't darken.
- Chilli flakes are optional: Skip them for mild garlic breadsticks or add a pinch for some heat.
- Brush after baking: Brush the garlic butter over the breadsticks while they are still warm for the best flavor.
- Don't overbake: Bake just until lightly golden brown to keep the garlic breadsticks soft inside.
Leave a Reply