Indulge your sweet tooth with the heavenly Middle Eastern dessert, Kunafa! Also known as Knafeh, this delectable pastry is a feast for both the eyes and the taste buds. With its crispy, golden layers of shredded phyllo dough and creamy filling, this drool-worthy Lebanese Kunafa recipe is sure to have you reaching for seconds. Try our easy-to-follow Knafeh recipes today!
What is Knafeh?
Knafeh (also spelled Kunafa, Konafa, or Kanafeh) is a Middle Eastern dessert made of crispy layers of shredded phyllo dough that are filled with either sweet cheese or ashta cream or a combination of both and then soaked in a sweet simple syrup that is scented with orange blossom water or rose water and often topped with chopped nuts or other garnishes.
Knafeh is a popular dessert throughout the Middle East and is often enjoyed on special occasions, such as weddings, Eid al-Fitr, and Ramadan. It is particularly associated with Palestinian and Levantine cuisine
What are the two types of kunafa?
There are two main types of Kunafa - na'ameh and kishneh.
The Palestinian na'ameh features a smooth crust made with ground semolina or farkeh, while the Lebanese kishneh version uses shredded phyllo dough for a crunchier texture.
But that's not all that sets Kunafa apart - there are many different variations depending on the region and recipe being used.
Whether you prefer it with a cheese or cream filling, topped with pistachios or honey syrup like the one we used in Baklava Cheesecake, there's a Kunafa out there for everyone.
In this Knafeh recipe version, we are making the Ashta Cream as the filling which is then sandwiched between the Knafeh dough.
Ingredients needed
There are three parts to this recipe - Shredded Pastry Base, smooth Knafeh filling (ashta cream), and orange blossom syrup.
It may seem like a lot of steps and daunting but each step takes hardly a few minutes to put together so definitely even though the list is long it definitely falls under the easiest way to make a delicious dessert kind of recipe.
For the Shredded Pastry Base
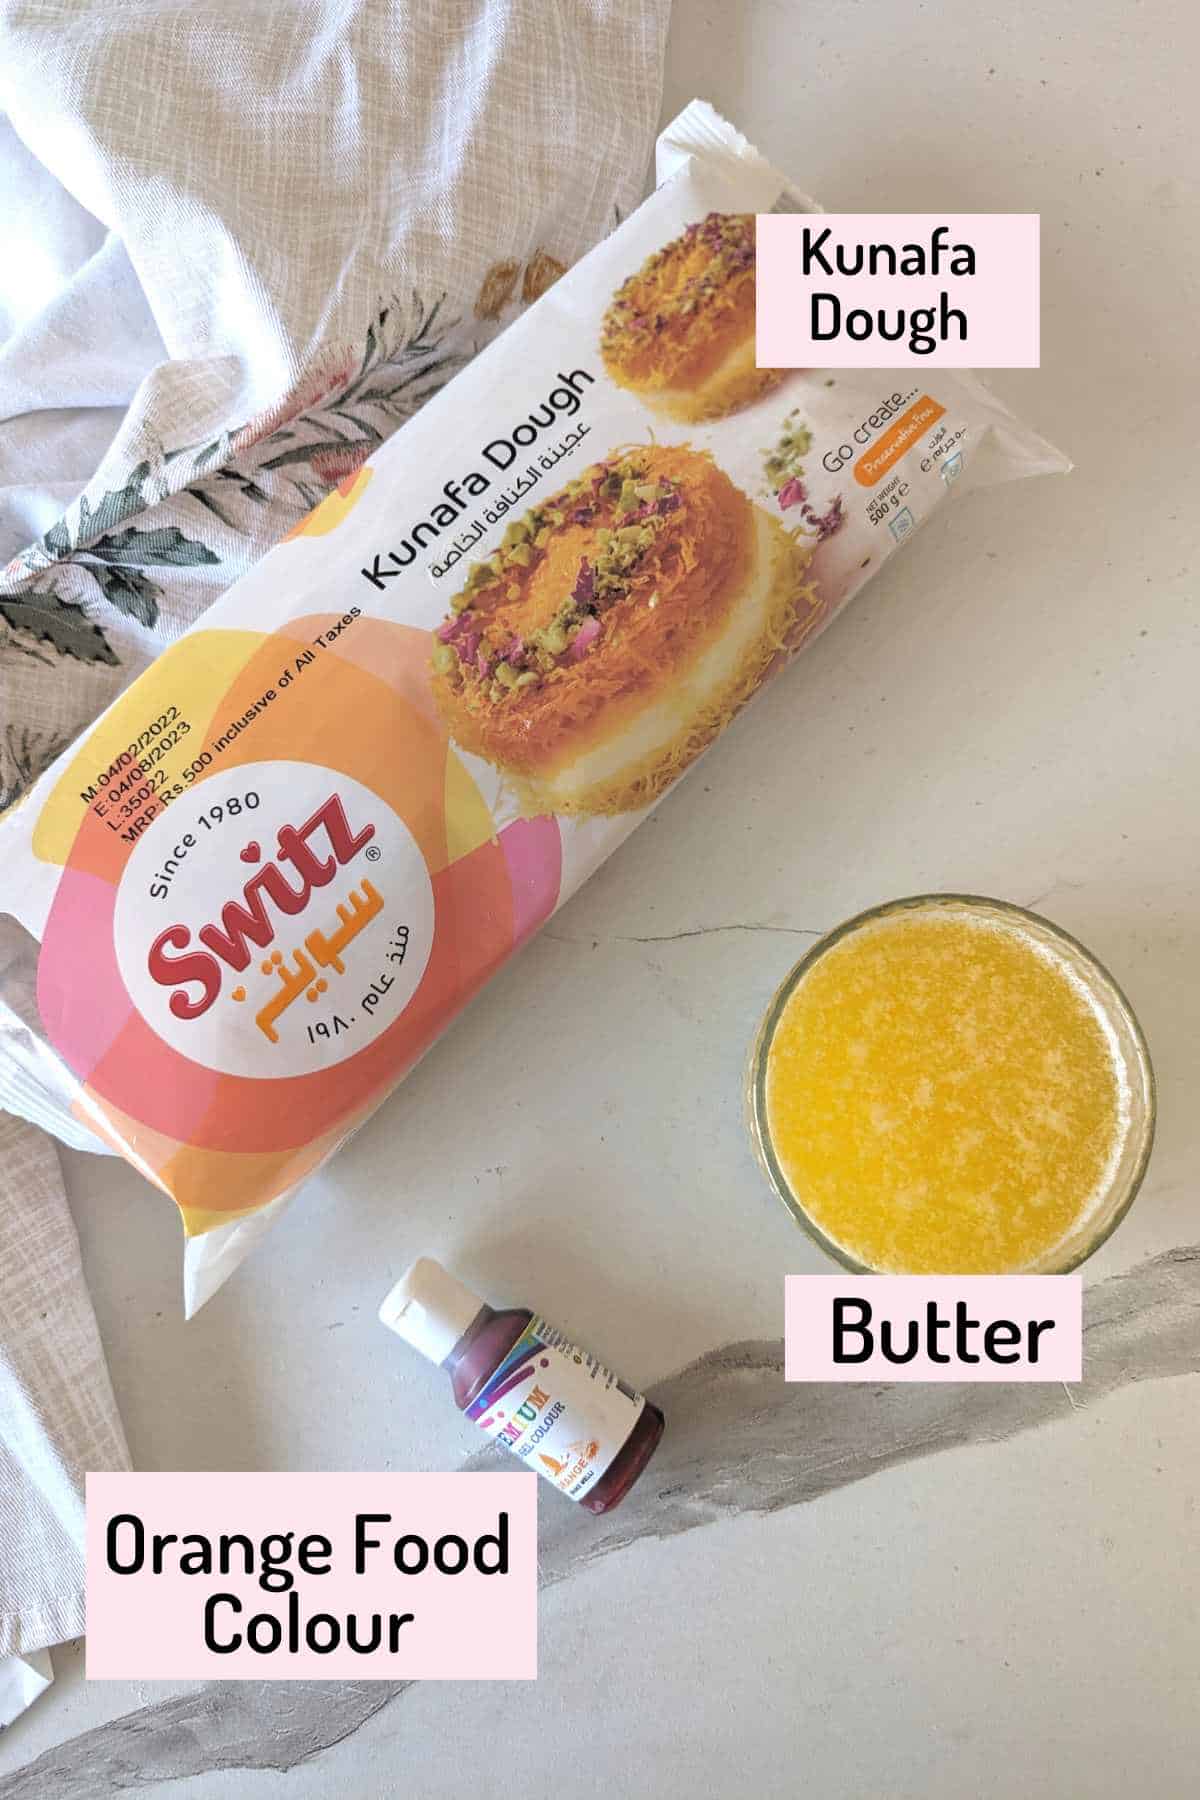
- 250 gms Kunafa dough - This can be found in the frozen section. Also known as kataifi dough or kataifi pastry. You need to thaw it before using it. I got mine from Bigbasket India.
- 160 gms (2/3 cup) melted butter - salted or unsalted any would work.
- Orange Food Colouring - This is optional. You can skip it if you like.
Smooth Knafeh Filling (Ashta)
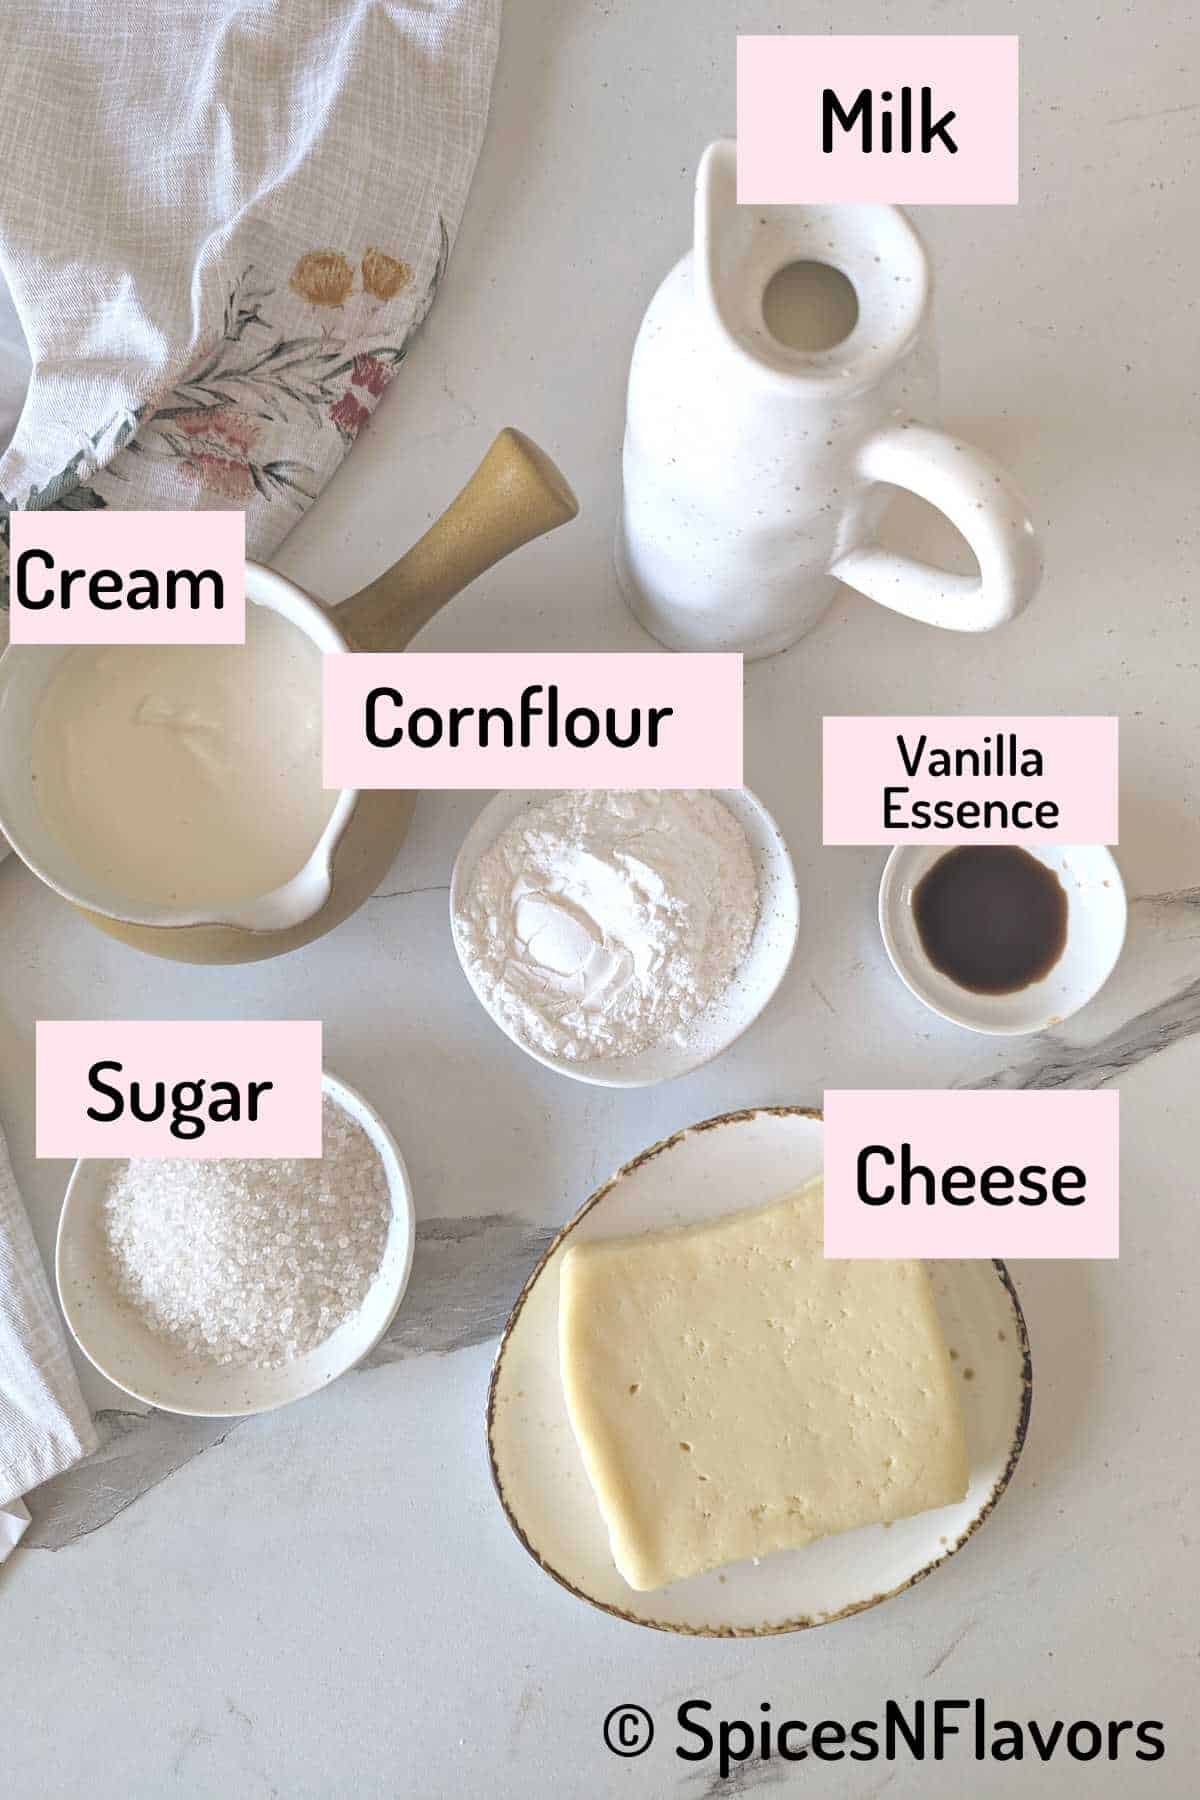
- 500 ml (2 cups) Milk
- 250 ml (1 cup) Cream - Use heavy cream or fresh cream here.
- 7 tbsp Cornflour
- 5 tbsp Sugar
- 1 tsp Vanilla
Even thought the image above shows mozzarella cheese in it, I did not use it in the final recipe and hence not including its measurements here.
For Orange Blossom Syrup
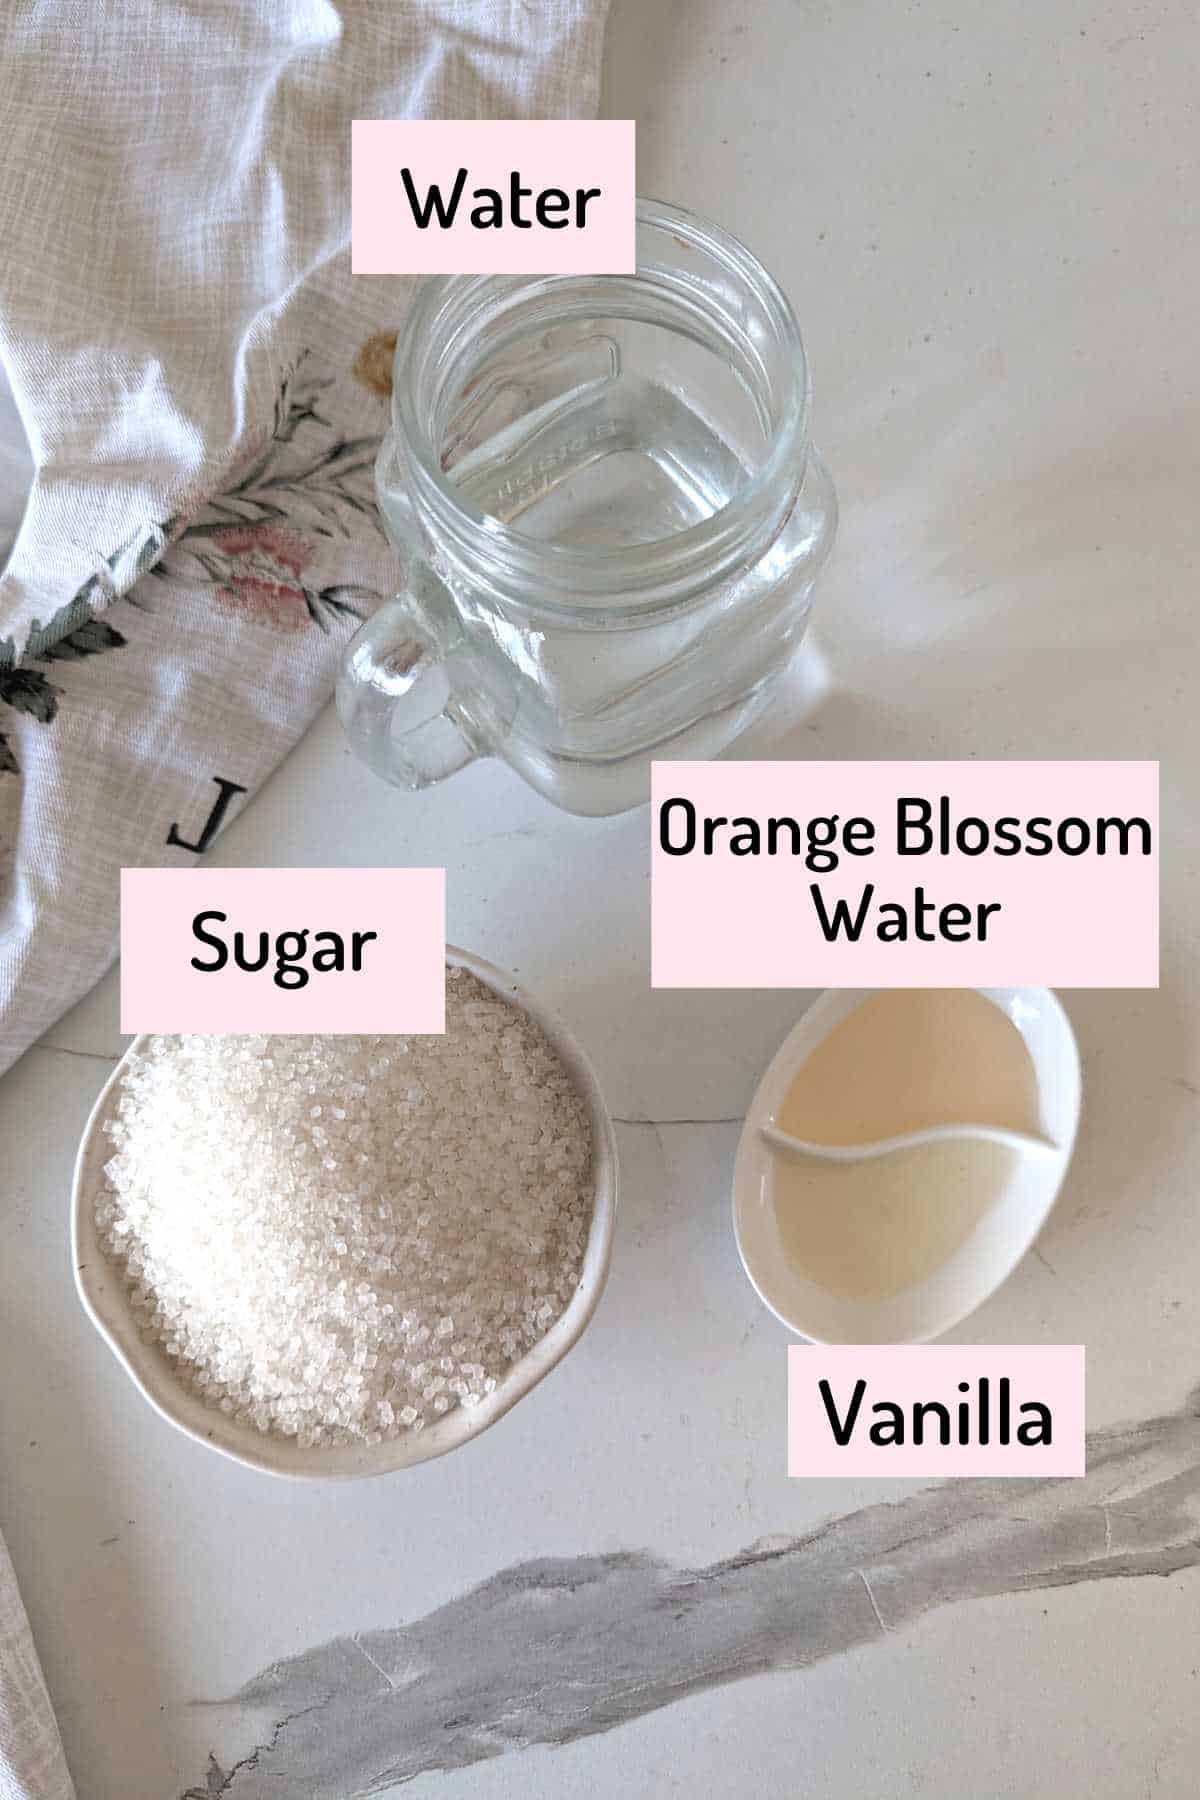
- 255 gms (1 + 1/4 cups) Sugar
- 250 ml (1 cup) Water
- 2 tbsp orange blossom water - I am using this brand. If it is hard to source then you can also use rose water or rose essence instead.
- 1 tsp lemon juice
The other variation of making the Knafeh filling includes the addition of cheese in it. Traditional Middle Eastern dessert makes use of akawi cheese which is not easily available everywhere, Upon researching I found mozzarella cheese to be the best substitute.
As seen from the image I did use mozzarella cheese in the recipe along with the cream filling. The only drawback with the variety available in India is that the stretchy cheese tastes good only when the Kunafa is hot that is freshly baked but once the Kunafa is cooled down, the cheese hardens and is unpleasant to eat.
And hence in the final recipe, I have eliminated it as the smooth creamy texture of ashta with crunchy pastry dough pairs so well that I felt you do not need any other add-ons.
If you like you can add mozzarella cheese either shredded or buy a block and cut it into smaller pieces or add a mix of ricotta cheese and mozzarella cheese.
Print the recipe from the recipe card below.
Step-by-Step Instruction
Step 1: Sweet Sugar Syrup

- In a saucepan bring water and sugar to a rolling boil over medium-high heat.
- Once boiled reduce the flame to low and let the syrup simmer for 8-10 mins.
- Then switch off the flame and allow the syrup to cool completely.
- Finally, add orange blossom water and lemon juice to flavor the syrup.
- Set this aside
Step 2 - Prepare the Ashta Cream
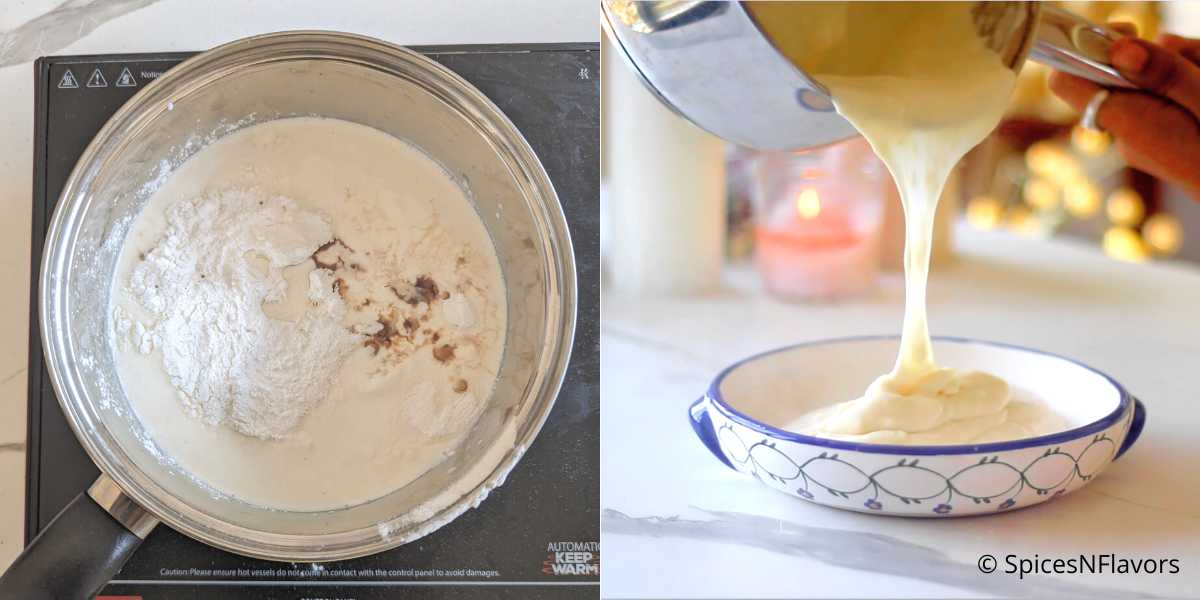
- In a separate saucepan, combine together the milk, cream, cornflour, sugar, and vanilla essence until the cornflour is dissolved completely without any lumps.
- Switch on the flame to medium heat and cook the mixture until it thickens. Do remember to stir continuously to avoid the formation of lumps.
- Once thickened transfer to a wide-mouth bowl so that it cools faster.
- Cover with a cling wrap in a way that touches the top of the cream in order to avoid the formation of the skin.
Step 3 - Knafeh Dough
- Remember to thaw the frozen dough as per the packet instructions. It comes as long shredded threads.
- To use it, you have to shred it into smaller pieces until it looks like vermicelli. You can do this by hand or can use a food processor to speed up the process.
- Do not turn into fine crumbs if using a food processor.
- Take it out onto a large bowl.
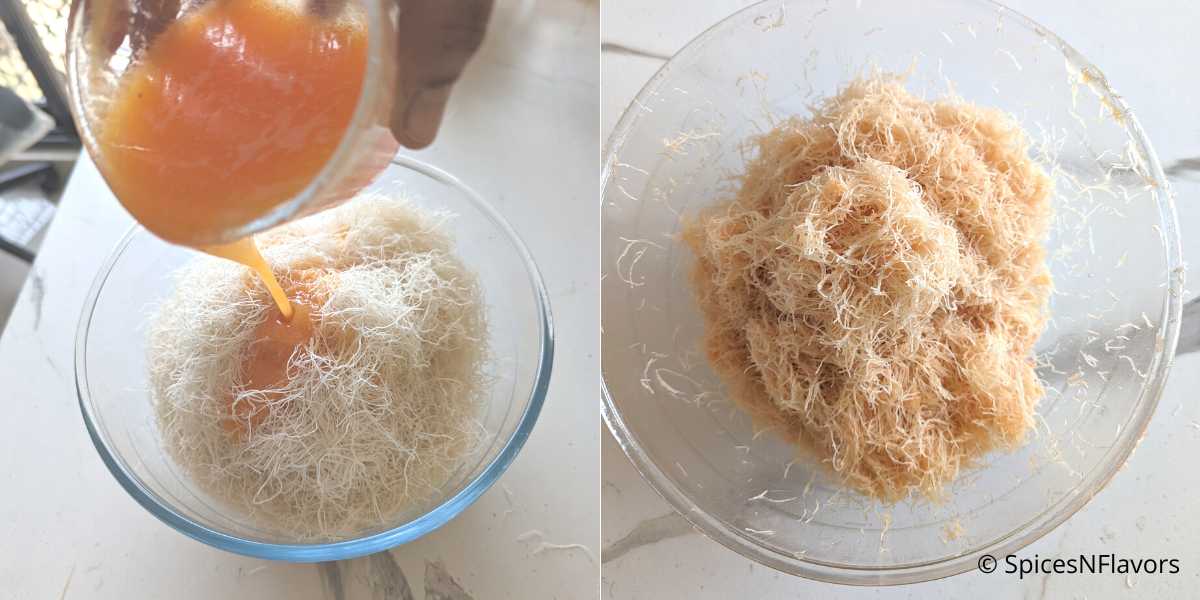
- To the melted butter add orange food coloring if using and mix.
- Pour this over the prepared dough and mix to coat it well with butter.
Step 4 - Assembly
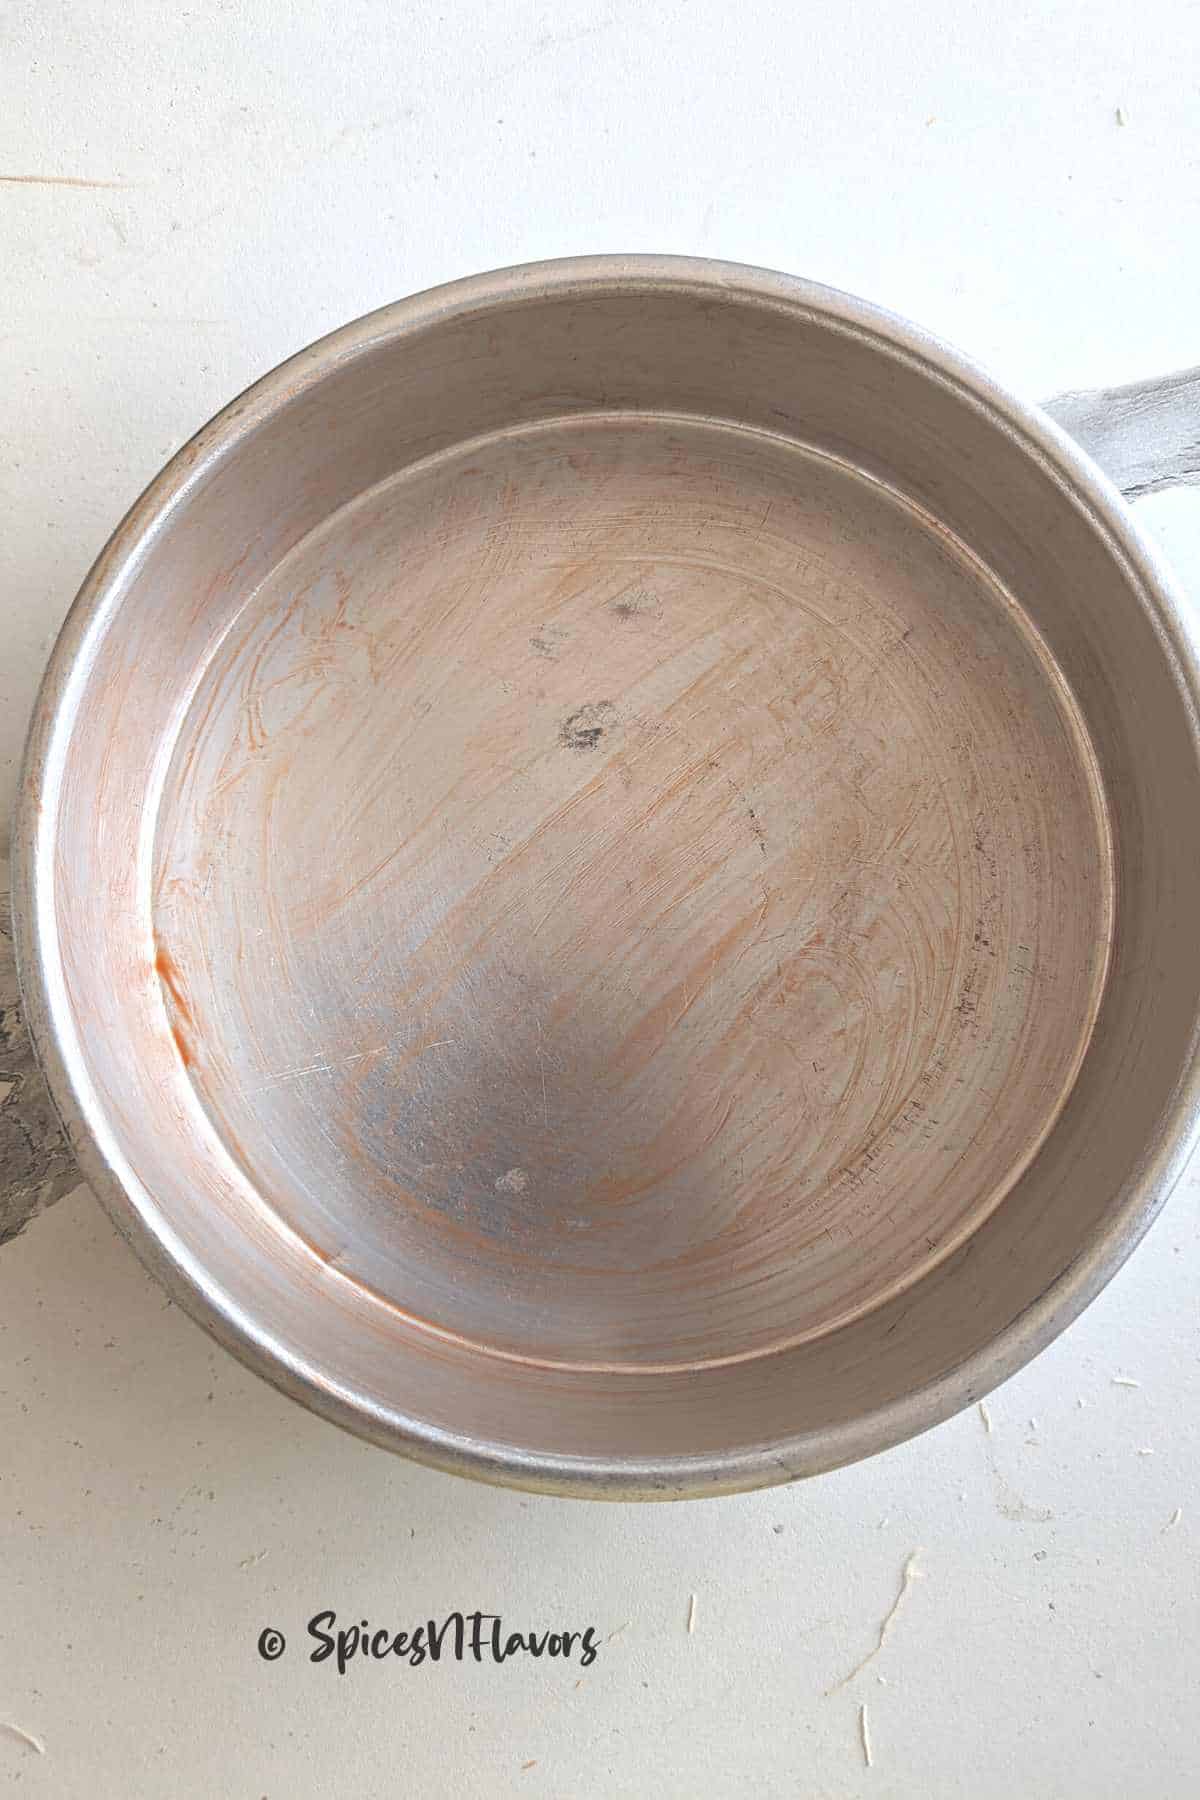
- Grease the base of an 8-inch baking pan with whatever butter is left in the bowl really well.
- Add a drop of orange food color (again optional) and spread it well onto the base and sides of the baking tray.
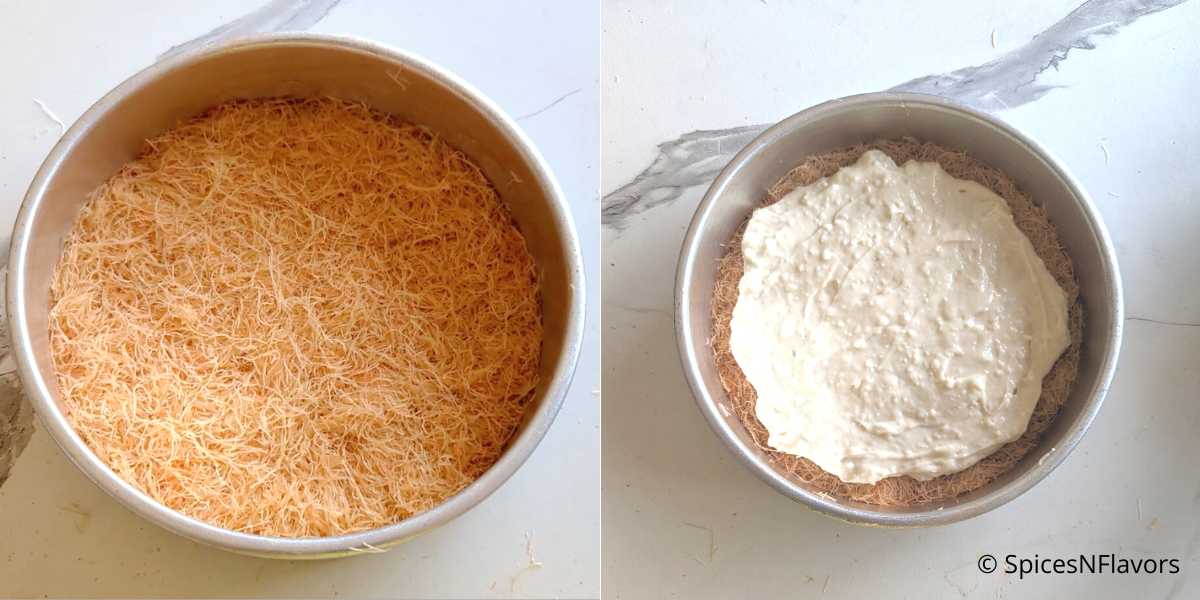
- Take half of the pastry dough and spread it to the base of the prepared pan. Use a flat bottom bowl to press the dough into place to make an even layer.
- By now, the ashta cream would be thick you can add it directly on top of the pastry dough layer or you can give it a good whisk to make it creamy again and then layer as I did. Use an electric mixer for this step or else there will be some lumps as seen in the image above but it is ok as it did not affect the final texture of the baked product.
- Spread the cream evenly leaving the sides of the base as you don't want the cream to leak out while baking or while slicing the kunafa.
- If you prefer you can also add a layer of ground pistachios on top of the cream which I skipped.
- Finally, layer the remaining dough on top and press it down evenly.
- Basically, you are sandwiching the layer of cream between the phyllo dough layers.
Step 5 - Baking
- In the traditional middle eastern dessert recipe the Kunafeh is often cooked on the stove top and then inverted onto a second tray and cooked on the other side too.
- However, to make it hands-free and easy I prefer baking the Kunafeh in a cake pan.
- Bake in a preheated oven at 180 degrees Celsius for 40 min until deep golden brown color.
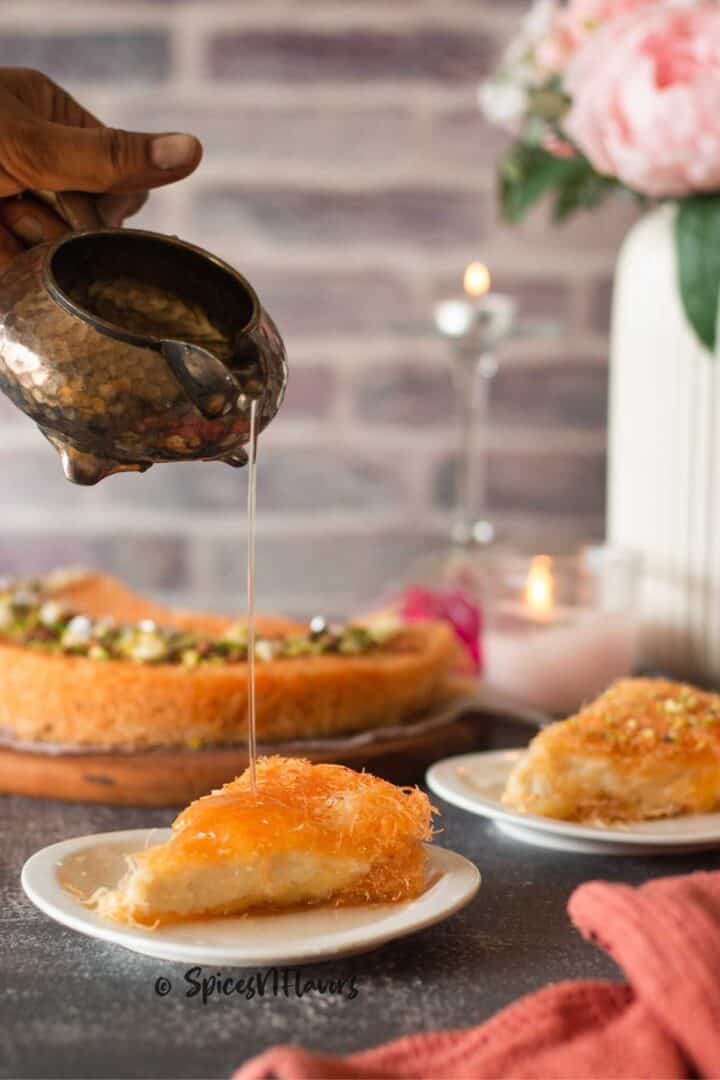
- Once out of the oven, immediately invert the baked Kunafa onto a serving platter.
- Pour half of the prepared sweet syrup on top.
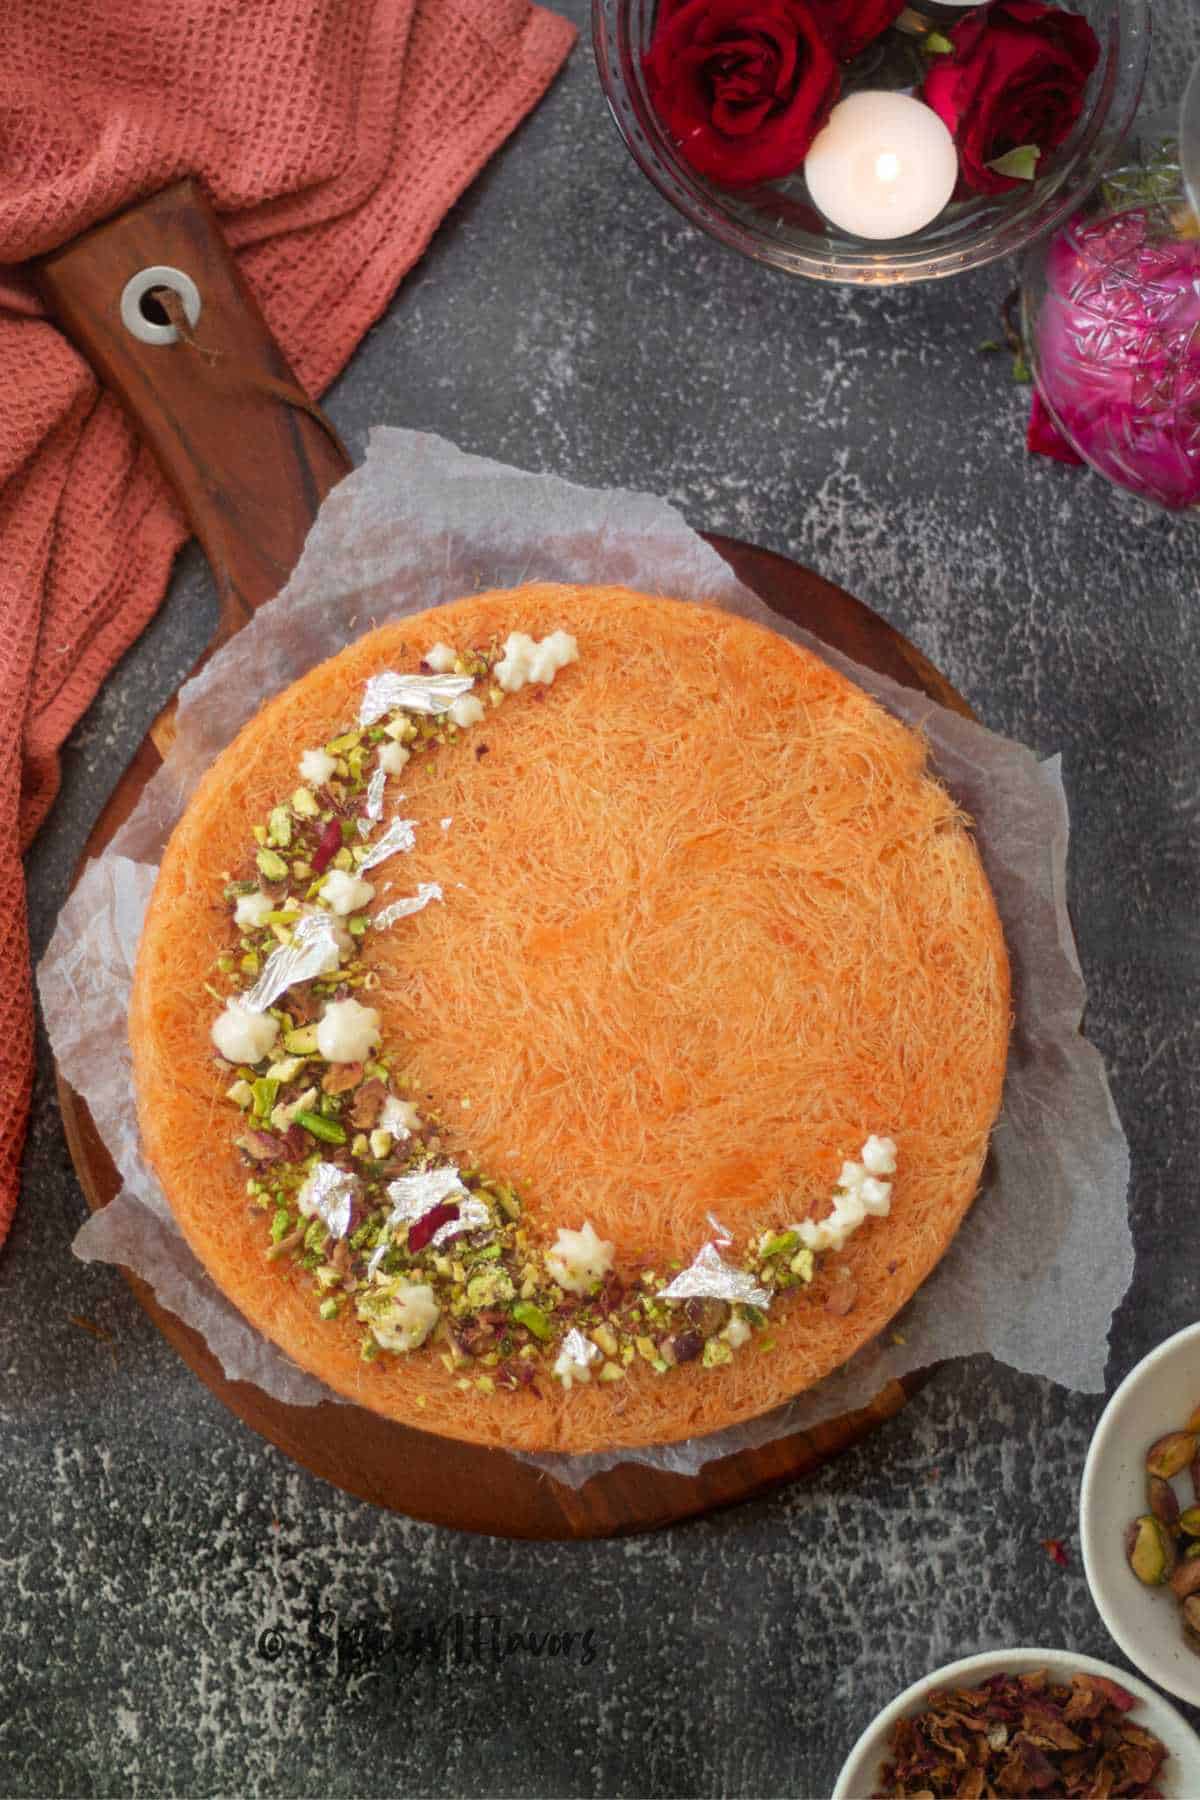
- Garnish it with some chopped pistachios, and rose petals, and serve it warm with the remaining sugar syrup on the side.
Storage Instructions:
This aromatic dessert is best served fresh on the day of making.
However, if you have some leftovers and wish to store them then simply place them in an air-tight container in the fridge for about 5 days.
You can reheat it in the microwave for 30 to 60 seconds and serve it warm.
Or freeze it in a zip lock bag in the freezer for 2 months. Just remember to wrap it tightly using a saran plastic wrap or aluminium foil and then place in a freezer safe ziplock bag propely labelled.
Variations of Knafeh:
With its rising popularity, this Lebanese dessert comes in varied variations nowadays.
- Cheese Kunafa: This is the most common type of Kunafa and is made with a sweet cheese filling, such as Nabulsi or Akkawi cheese.
- Nut Kunafa: Nut Kunafa is a variation that is made with a mixture of nuts, such as pistachios, almonds, and walnuts, which are mixed with a sweet syrup and then layered between the shredded phyllo dough.
- Chocolate Kunafa: Chocolate Kunafa is a modern twist on the traditional dessert, and is made with a chocolate filling that is layered between the phyllo dough.
- Coconut Kunafa: Coconut Kunafa is a tropical variation of the dessert, made with a coconut filling that is layered between the phyllo dough.
- Savory Kunafa: Unlike the sweet variations, Savory Kunafa is made with a savory filling, such as ground meat or vegetables, and is served as a main course.
These are just a few of the many different variations of Kunafa that can be found in the Middle East and beyond. Whether you prefer it sweet or savory, there is a Kunafa variation for everyone to enjoy.
Baker's Tips:
- Use the right ingredients: You cannot substitute the pastry dough with vermicelli. Vermicelli becomes hard when toasted and the texture of the final product is totally off.
- Prep the Kunafa Dough: Remember to thaw it as per packet instructions and also shred it into smaller pieces until it looks like vermicelli.
- Baking Dish Size: Use an 8-inch or 9-inch pan for this recipe. Square or Round either will work.
- Bake until golden brown: Bake the Kunafa until it is golden brown on top. This usually takes around 35-40 minutes but may vary depending on your oven.
- Invert immediately: Once the Kunafa is out of the oven, immediately invert it onto a serving platter.
- Use a sugar syrup: Sugar syrup is an essential component of Kunafa. Kunafa on its own is not too sweet, you need a sweetener additionally. So pour the prepared syrup right when the Kunafa is fresh and out of the oven. And also serve some on the side so one can adjust the sweetness as per taste. Also, use enough of it to keep the Kunafa moist and sweet especially if you are using a cheese filling as cheese tends to become hard and dry once cooled.
- Serve hot/warm: Kunafa tastes best when served hot and fresh out of the oven.
- Experiment with toppings: While pistachios are a traditional topping for Kunafa, you can experiment with other toppings such as almonds, walnuts, or shredded coconut.
- Use a sharp knife: Use a sharp knife to cut the Kunafa into pieces. A dull knife will make the cheese filling squish out.

Frequently Asked Questions
The Knafeh should be golden brown on top and the cheese filling should be melted and gooey. It usually takes around 35-40 minutes to bake but may vary depending on your oven. If made on a stove top it is easier as you can gently lift the pastry dough from the bottom to check the color of it and then decide.
The most commonly used cheese in Knafeh is akawi cheese or mozzarella cheese. The cheese should be mild and stringy, and should not have a strong flavor.
Yes, you can make a variation of Knafeh without the cheese filling. Instead, you can fill it with sweetened cream (like today's recipe) or simply nuts.
No, knafeh is not made of vermicelli. It is made of shredded phyllo dough, which is sometimes referred to as kataifi, and is typically soaked in a sweet syrup or topped with a savory cheese filling. Vermicelli, on the other hand, is a type of thin pasta that is often used in soups, stews, and desserts.
Related Recipes:
- Baklava Cheesecake
- Peanut Butter Stuffed Dates
Wish to Join US for the love of BAKING? Subscribe to our Youtube channel. Follow along on Facebook, Instagram, and Pinterest for all the latest updates!

Knafeh recipes (Lebanese Kunafa recipe) with Ashta
Ingredients
Kunafa Dough
- 250 gms Kunafa Dough (kataifi pastry)
- 160 gms (2/3 cup) Butter melted
- Few drops of orange food colour optional
Ashta Cream
- 500 ml (2 cups) Milk
- 250 ml (1 cup) Cream
- 7 tbsp Cornflour
- 5 tbsp Sugar
- 1 tsp Vanilla Essence
Orange Blossom Syrup
- 255 gms (1 + 1/4 cups) Sugar
- 250 ml (1 cup) Water
- 3 tbsp Orange Blossom Water
- 1 tsp Lemon Juice
Instructions
For Syrup
- Bring water and sugar to a rolling boil in a saucepan over medium-high heat.
- Reduce the flame to low and simmer the syrup for 8-10 minutes.
- Switch off the flame and allow the syrup to cool completely.
- Add orange blossom water and lemon juice to flavor the syrup and set aside.
For the ashta cream:
- In a separate saucepan, combine milk, cream, cornflour, sugar, and vanilla essence until the cornflour is dissolved without lumps.
- Cook the mixture on medium heat until it thickens, stirring continuously.
- Transfer the cream to a wide-mouth bowl and cover it with cling wrap, touching the top of the cream to avoid skin formation.
To prepare the Pastry:
- Follow the packet instructions to thaw the frozen dough.
- Shred the dough into smaller pieces until it looks like vermicelli, by hand or using a food processor.
- Melt butter and add orange food coloring (optional). Pour the butter over the dough and mix to coat it well.
To Assemble
- Grease an 8-inch baking pan and add a drop of orange food color (optional) to the base and sides.
- Spread half of the pastry dough onto the base of the pan and press it down evenly.
- Spread the ashta cream evenly on top, leaving the sides of the base.
- Add a layer of ground pistachios on top of the cream (optional).
- Layer the remaining dough on top and press it down evenly.
To bake:
- Preheat the oven to 180 degrees Celsius and bake the Kunafeh for 40 minutes or until golden brown.
- Immediately invert the baked Kunafa onto a serving platter and pour half of the prepared syrup on top.
To serve:
- Garnish with chopped pistachios and rose petals.
- Serve warm with the remaining sugar syrup on the side.
Video
Notes
- Use the right ingredients: You cannot substitute the pastry dough with vermicelli. Vermicelli becomes hard when toasted and the texture of the final product is totally off. Likewise use fresh or heavy cream for the recipe.
- Prep the Kunafa Dough: Remember to thaw it as per packet instructions and also shred it into smaller pieces until it looks like vermicelli.
- Baking Dish Size: Use an 8-inch or 9-inch pan for this recipe. Square or Round either will work.
- Bake until golden brown: Bake the Kunafa until it is golden brown on top. This usually takes around 35-40 minutes but may vary depending on your oven.
- Invert immediately: Once the Kunafa is out of the oven, immediately invert it onto a serving platter.
- Use a sugar syrup: Sugar syrup is an essential component of Kunafa. Kunafa on its own is not too sweet, you need a sweetener additionally. So pour the prepared syrup right when the Kunafa is fresh and out of the oven. And also serve some on the side so one can adjust the sweetness as per taste. Also, use enough of it to keep the Kunafa moist and sweet especially if you are using a cheese filling as cheese tends to become hard and dry once cooled.
- Serve hot/warm: Kunafa tastes best when served hot and fresh out of the oven.
- Experiment with toppings: While pistachios are a traditional topping for Kunafa, you can experiment with other toppings such as almonds, walnuts, or shredded coconut.
- Use a sharp knife: Use a sharp knife to cut the Kunafa into pieces. A dull knife will make the cheese filling squish out.
Leave a Reply