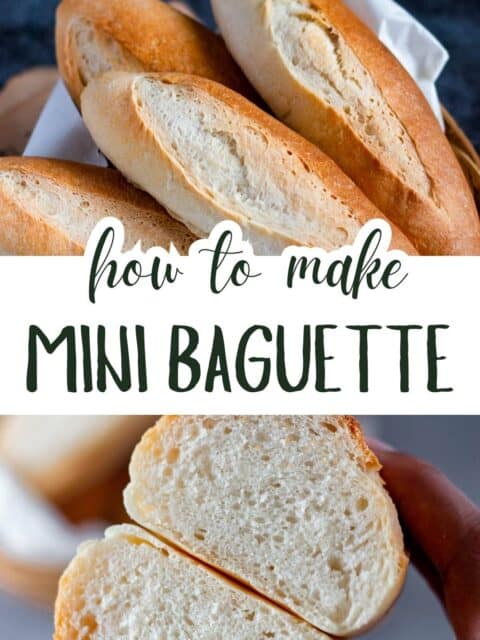
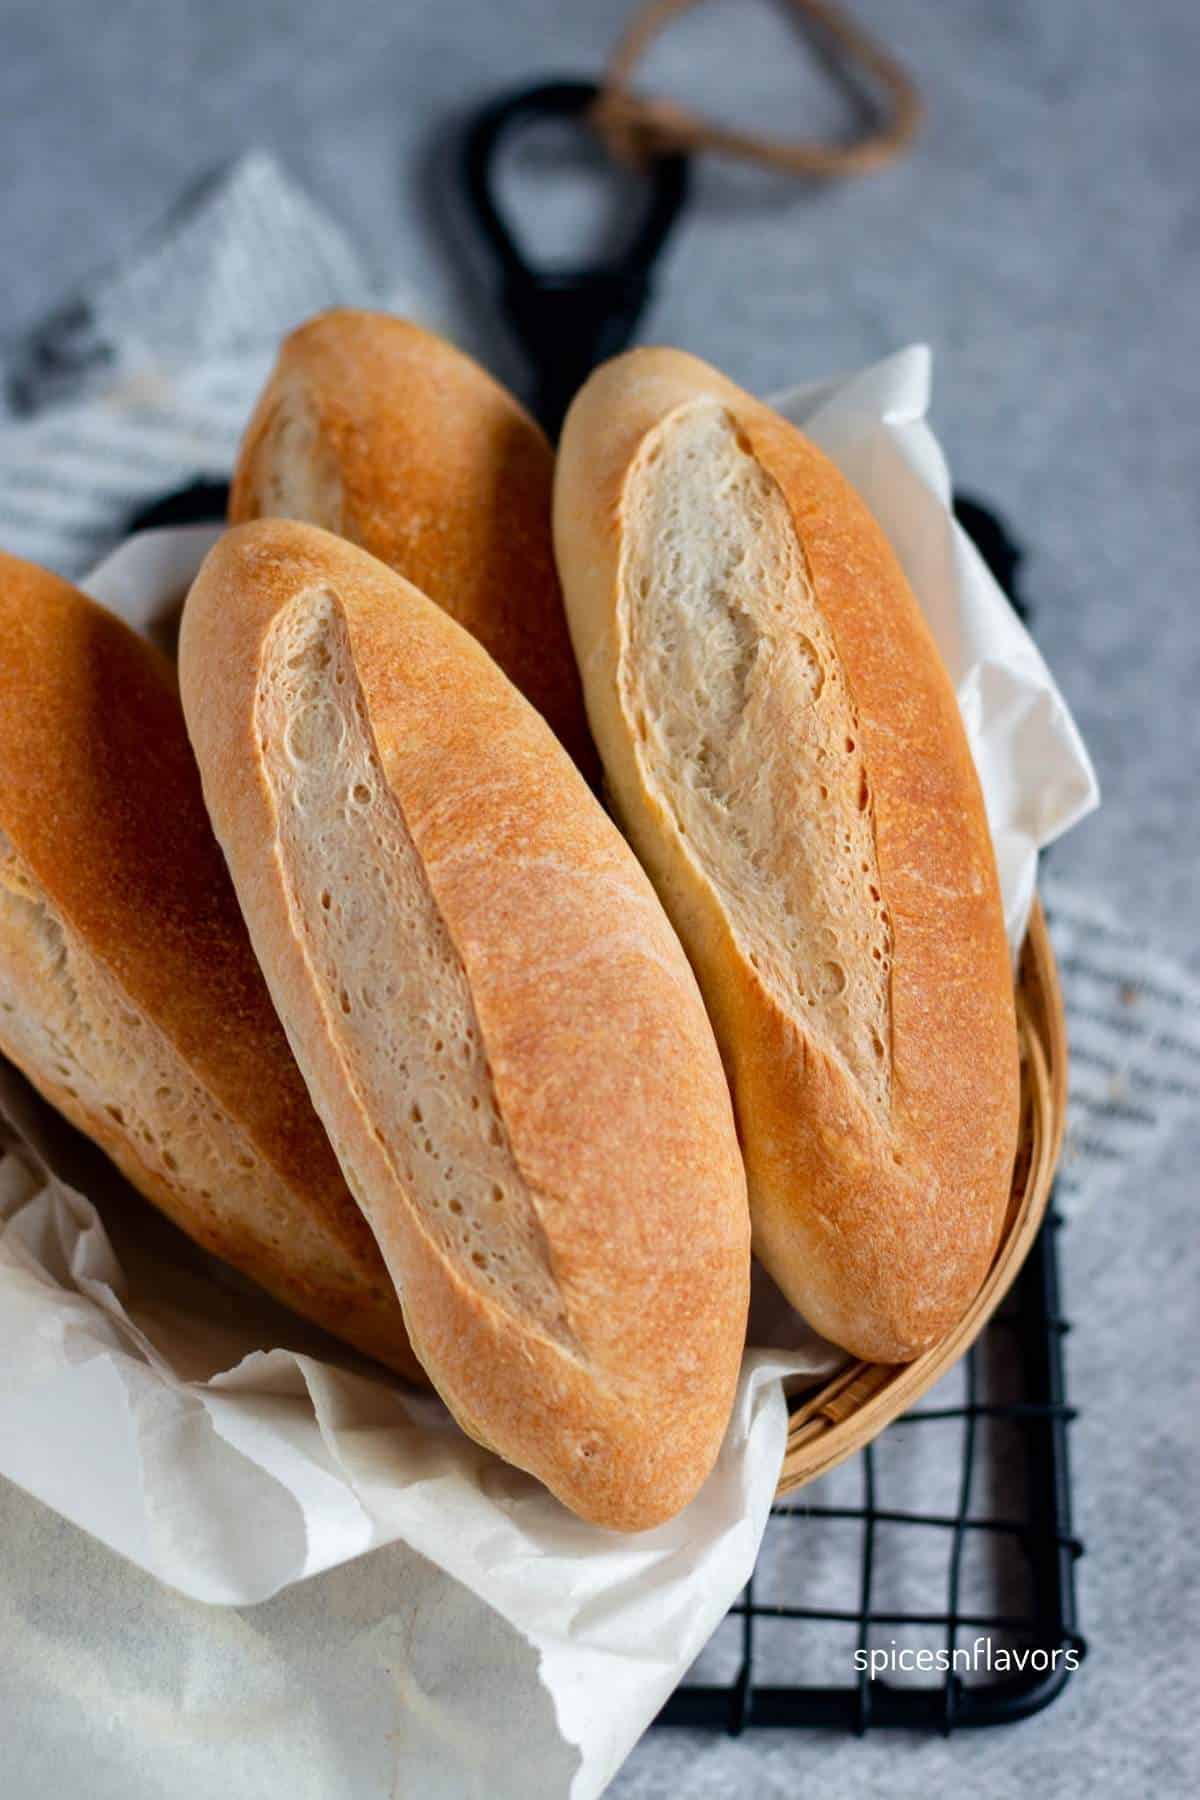
Bring the charm of a bakery into your kitchen with this homemade baguette recipe. This mini baguette recipe uses simple ingredients to create classic French bread with a golden crunchy crust and light, airy texture.
Cozy Mini Baguettes
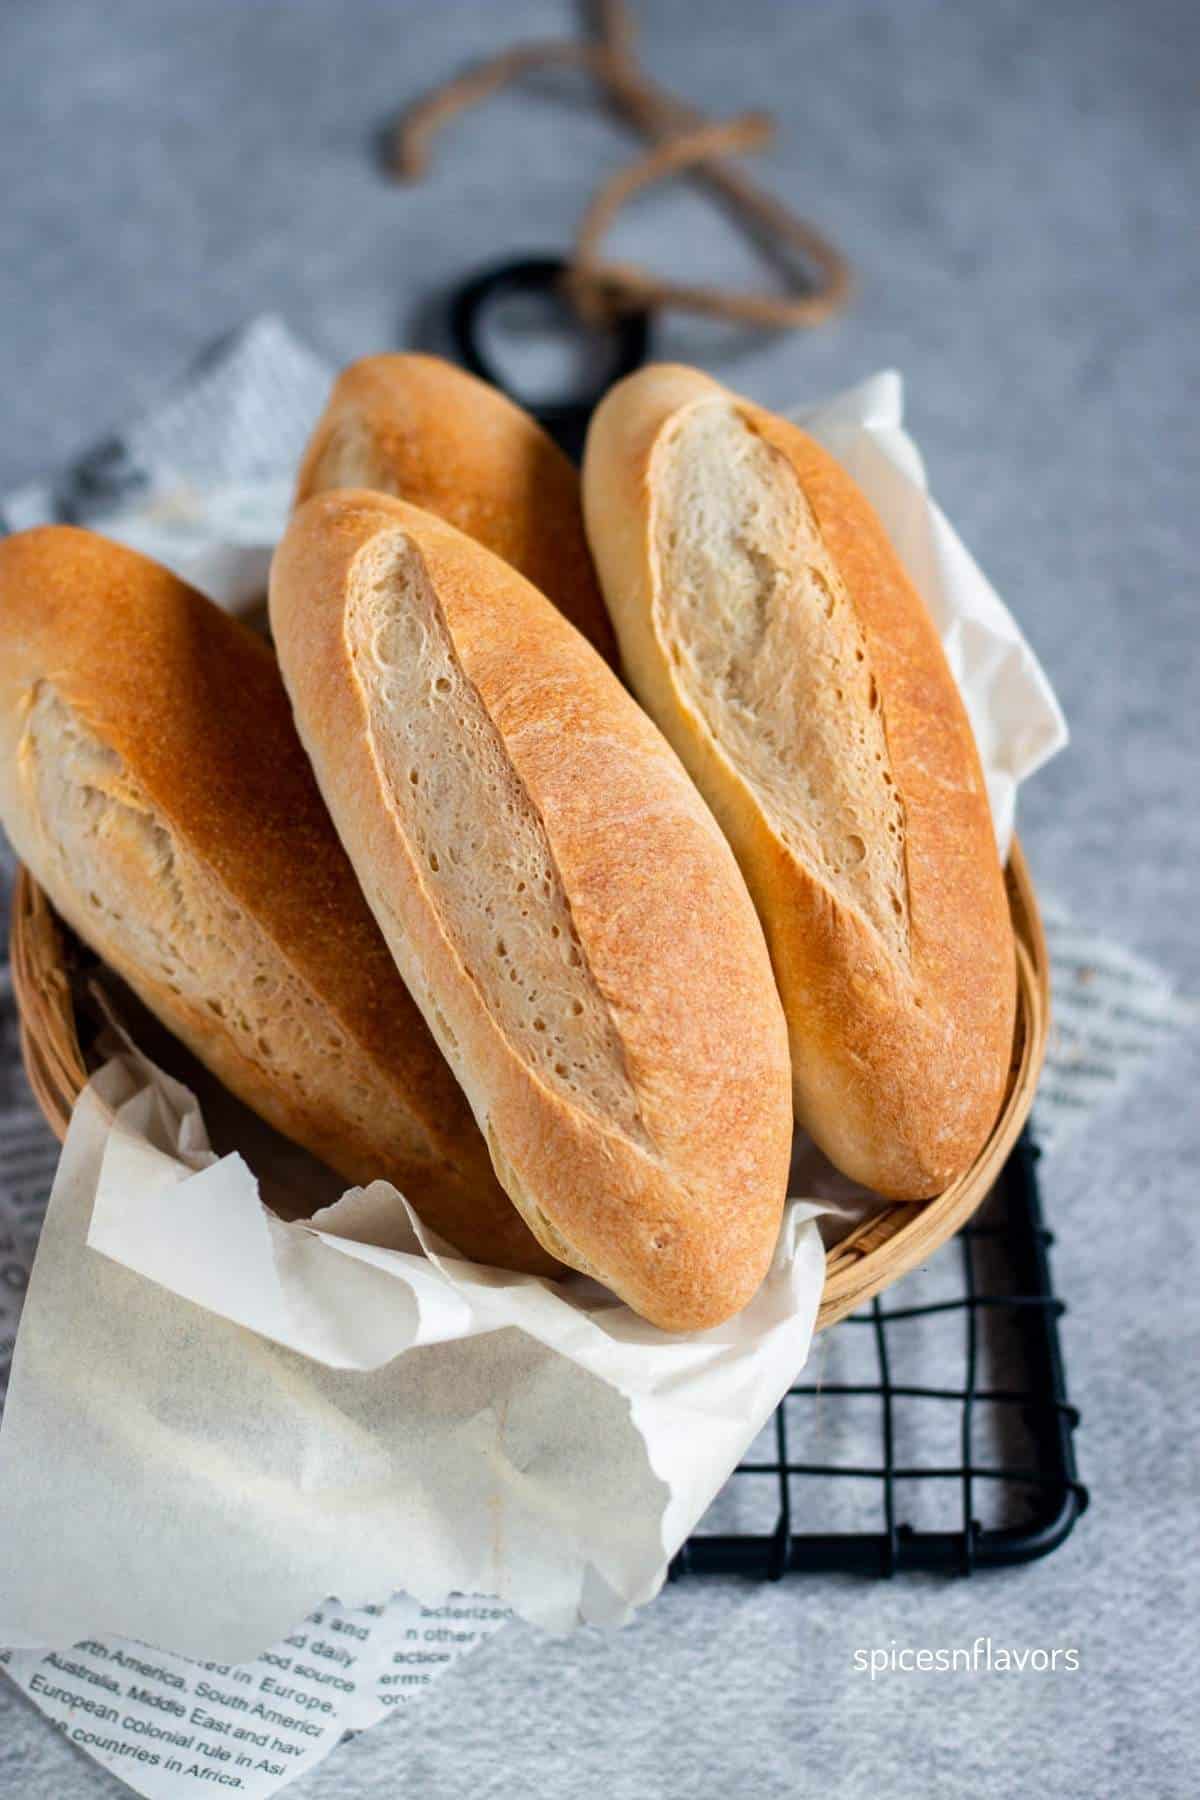
This small batch baguette recipe is perfect for the holidays or any cozy weekend when you crave the smell of freshly baked bread recipes at home.
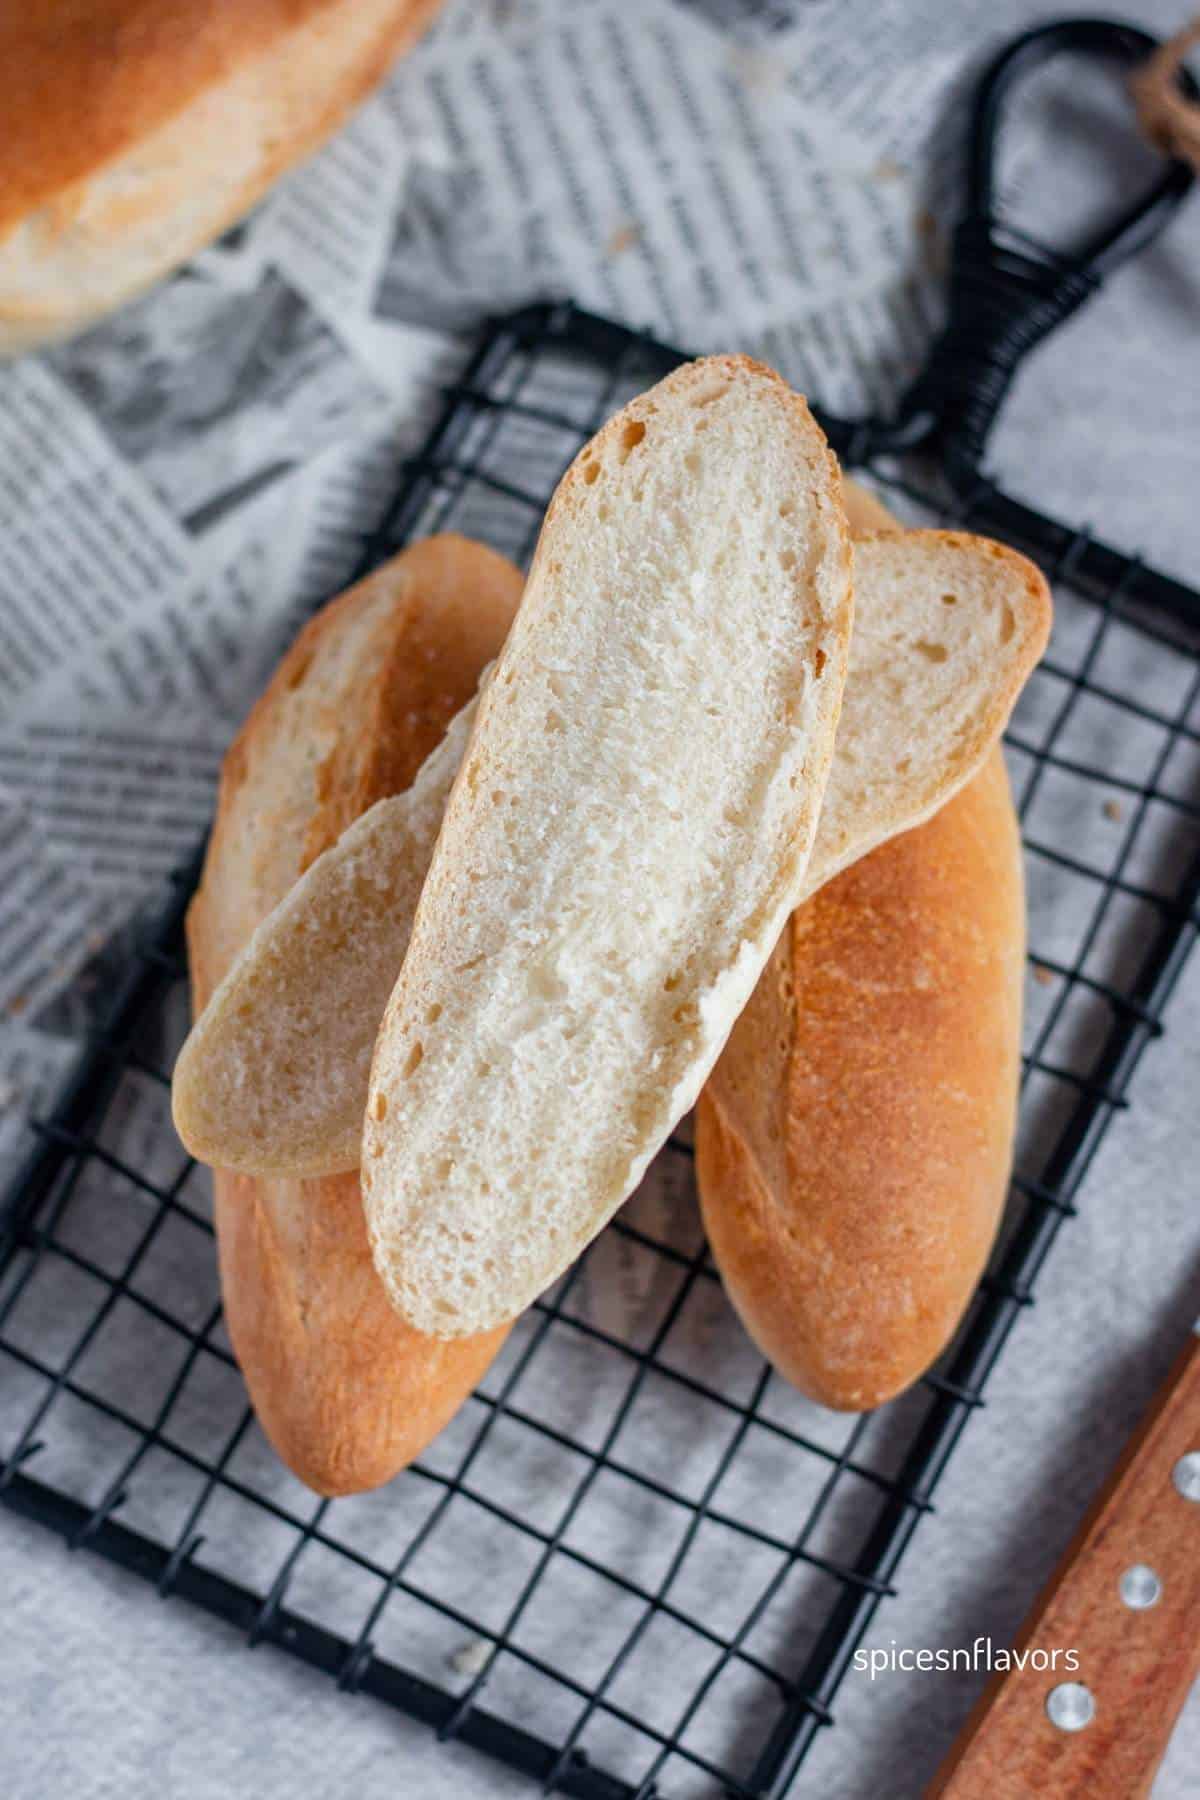
It makes just four mini baguettes, the ideal sandwich size — similar in versatility to my mini ciabatta recipes on the blog.
If you love easy bakes, stay tuned for my bread machine baguette recipe coming soon — but for now, this hands-on version gives you that classic French bread texture without making full size baguettes.
I served these with my whipped ricotta dip and whipped feta dip, and they were an instant hit at the party — crisp on the outside, soft inside, and perfect for dipping, sandwiches, or turning into baguette appetizers like crostini.
Ingredients

- 2 cups (250 g) Bread Flour
- ¾ teaspoon salt
- ¾ teaspoon instant yeast (or 1 teaspoon active dry yeast)
- ¾ cup (180 ml) warm water (around 40°C / 105°F)
Ingredient Notes:
- Flour: Bread flour gives a slightly chewier texture and better structure, but all-purpose flour works well too and still gives a soft, airy baguette.
- Yeast: Both instant yeast and active dry yeast work here. Instant yeast can be added directly to the flour, while active dry yeast should be dissolved in warm water first.
Step by Step Instructions
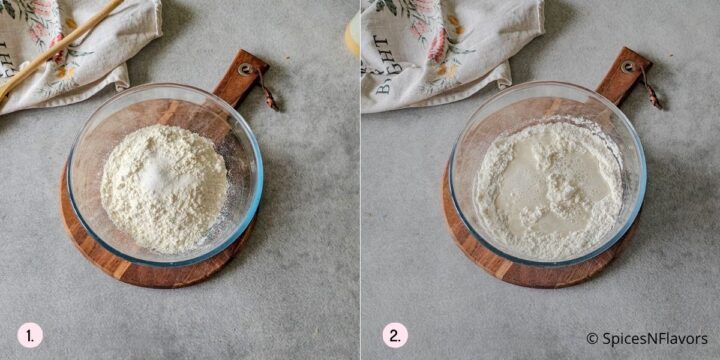
In a large bowl, combine yeast, flour, salt and water (images 1 and 2).
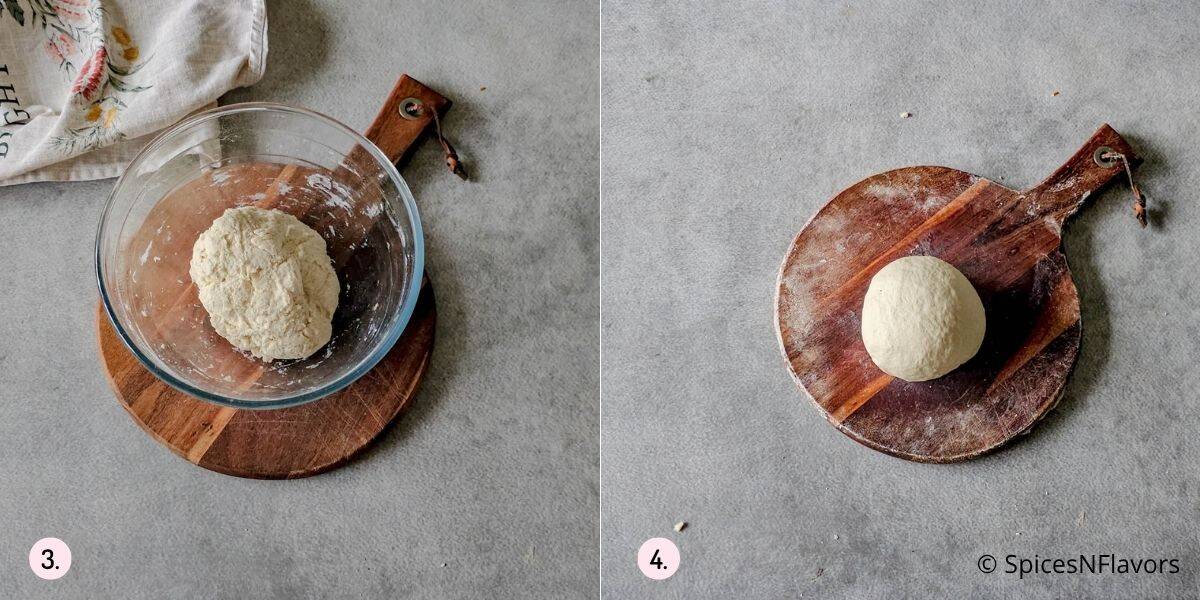
Mix until there are no dry streaks, then cover and let the dough rest for 20 minutes (autolyse). This helps hydrate the flour and improves texture (image 3).
Knead the dough until it feels smooth and slightly springy — about 25 minutes by hand. If you prefer a little help, you can use a stand mixer on medium-low speed for around 10 minutes, or use a bread machine recipe on the dough cycle to handle the kneading for you while you relax.
When kneading by hand, a simple trick is to push the dough away using the heel of your hand, fold it back to the center, and turn it over before repeating.
The dough might feel a bit tough and sticky in the beginning, but I promise it gets smoother and easier as the gluten develops. You can lightly dust the worktop with a bit of flour or oil to keep it manageable — just don’t overdo it, or the dough can turn dry (image 4).
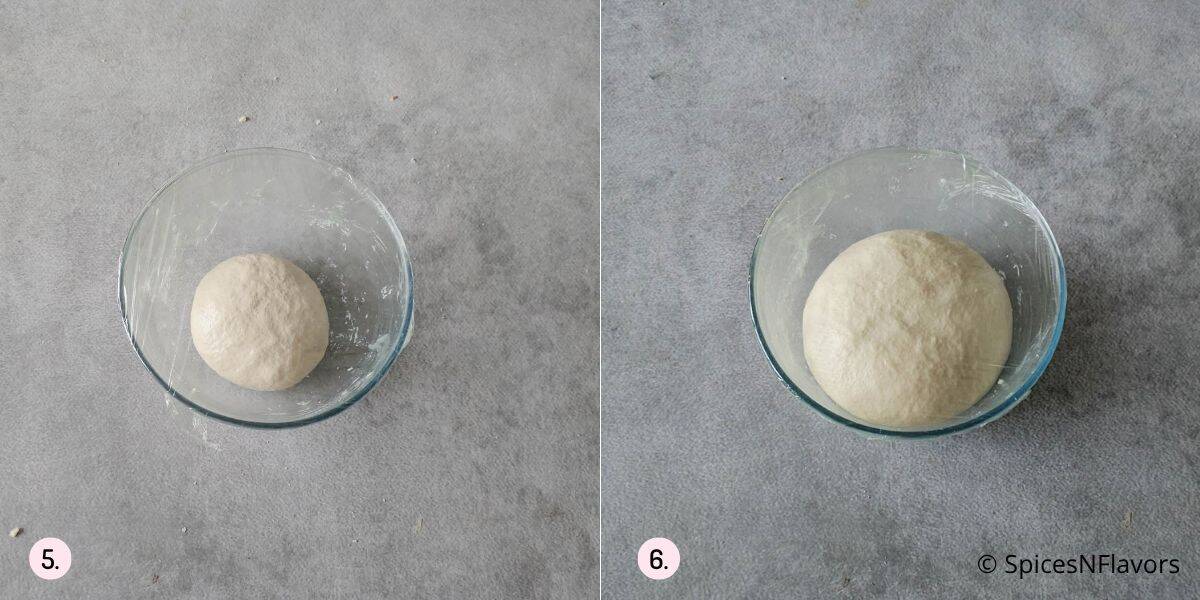
Place the dough in a lightly oiled bowl, cover, and leave it to rise for 1 hour or until slightly puffy (images 5 and 6).
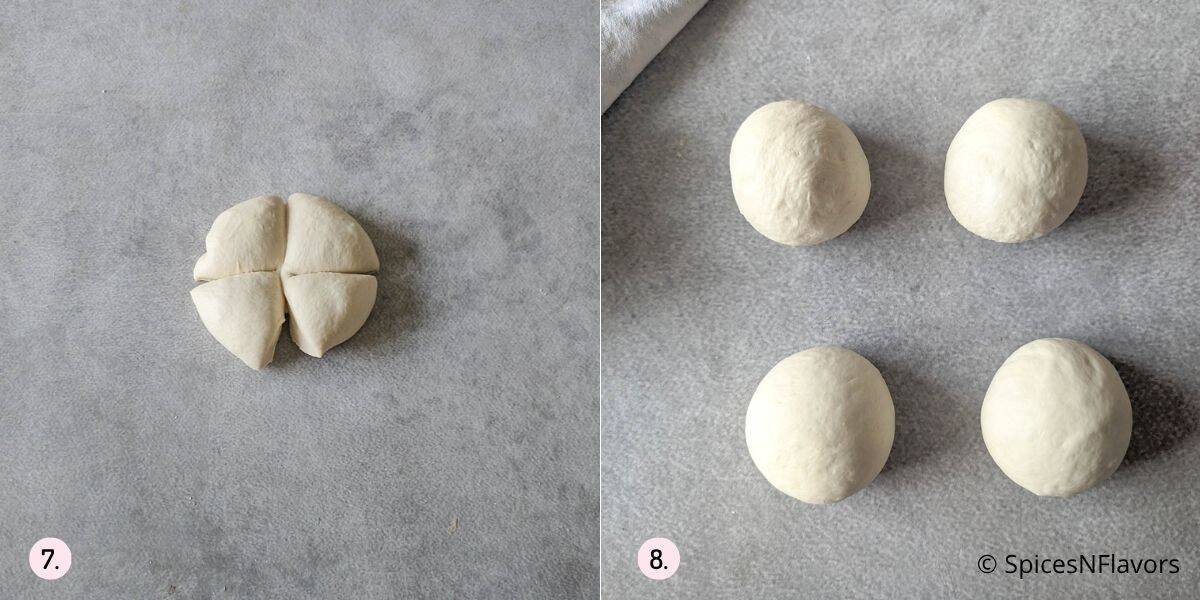
Turn the dough out onto your work surface and gently deflate it. Divide it into 4 equal portions using a bench scraper or knife (image 7).
Take one portion and shape it into a rough round ball, keeping the remaining pieces covered with a damp cloth so they don’t dry out (image 8).
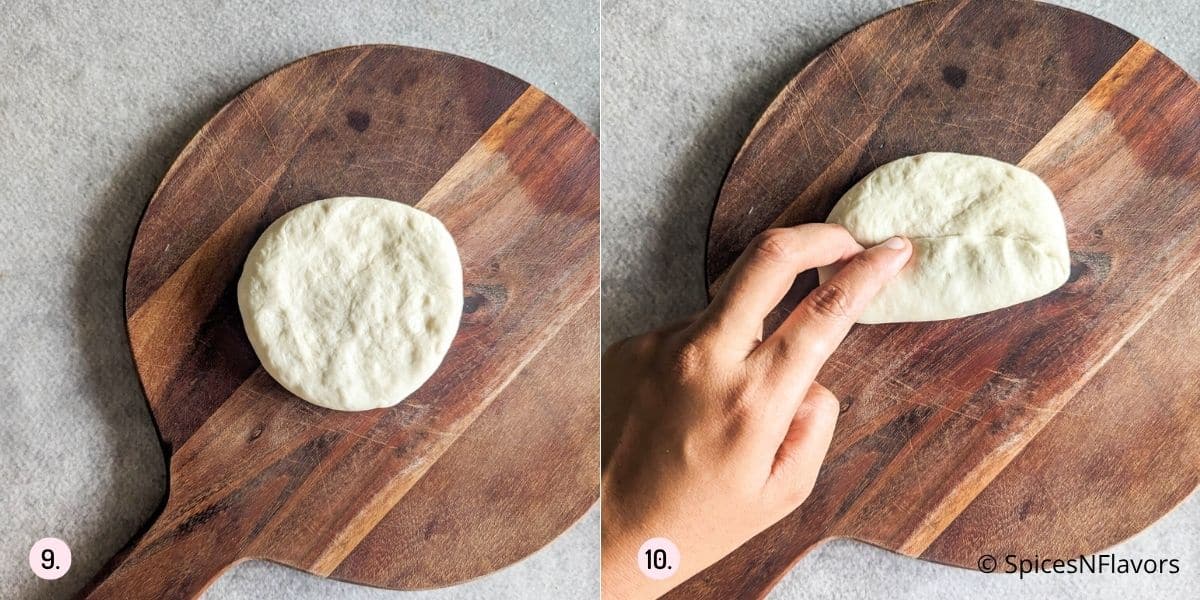
Working with one piece at a time, flatten the dough gently with your fingers to remove any large air bubbles (image 9).
Start rolling it up tightly from one edge, pressing lightly as you roll to build tension in the dough (image 10).

When you reach the end, seal the seam well by pinching it closed so it doesn’t open during baking (image 11).
Next, roll the dough back and forth with your palms, applying slightly more pressure toward the ends so they taper while the center stays a little fuller — this gives the classic Vienna-style mini baguette shape. Each should be about 6 to 7 inches long (image 12).
Place on a baking tray lined with parchment paper, seam-side down, and cover lightly while repeating with the remaining pieces.
Prove them for 30 mins.
While the dough is proving, preheat your oven to its maximum temperature and place a shallow bowl of water on the lower rack to create steam.
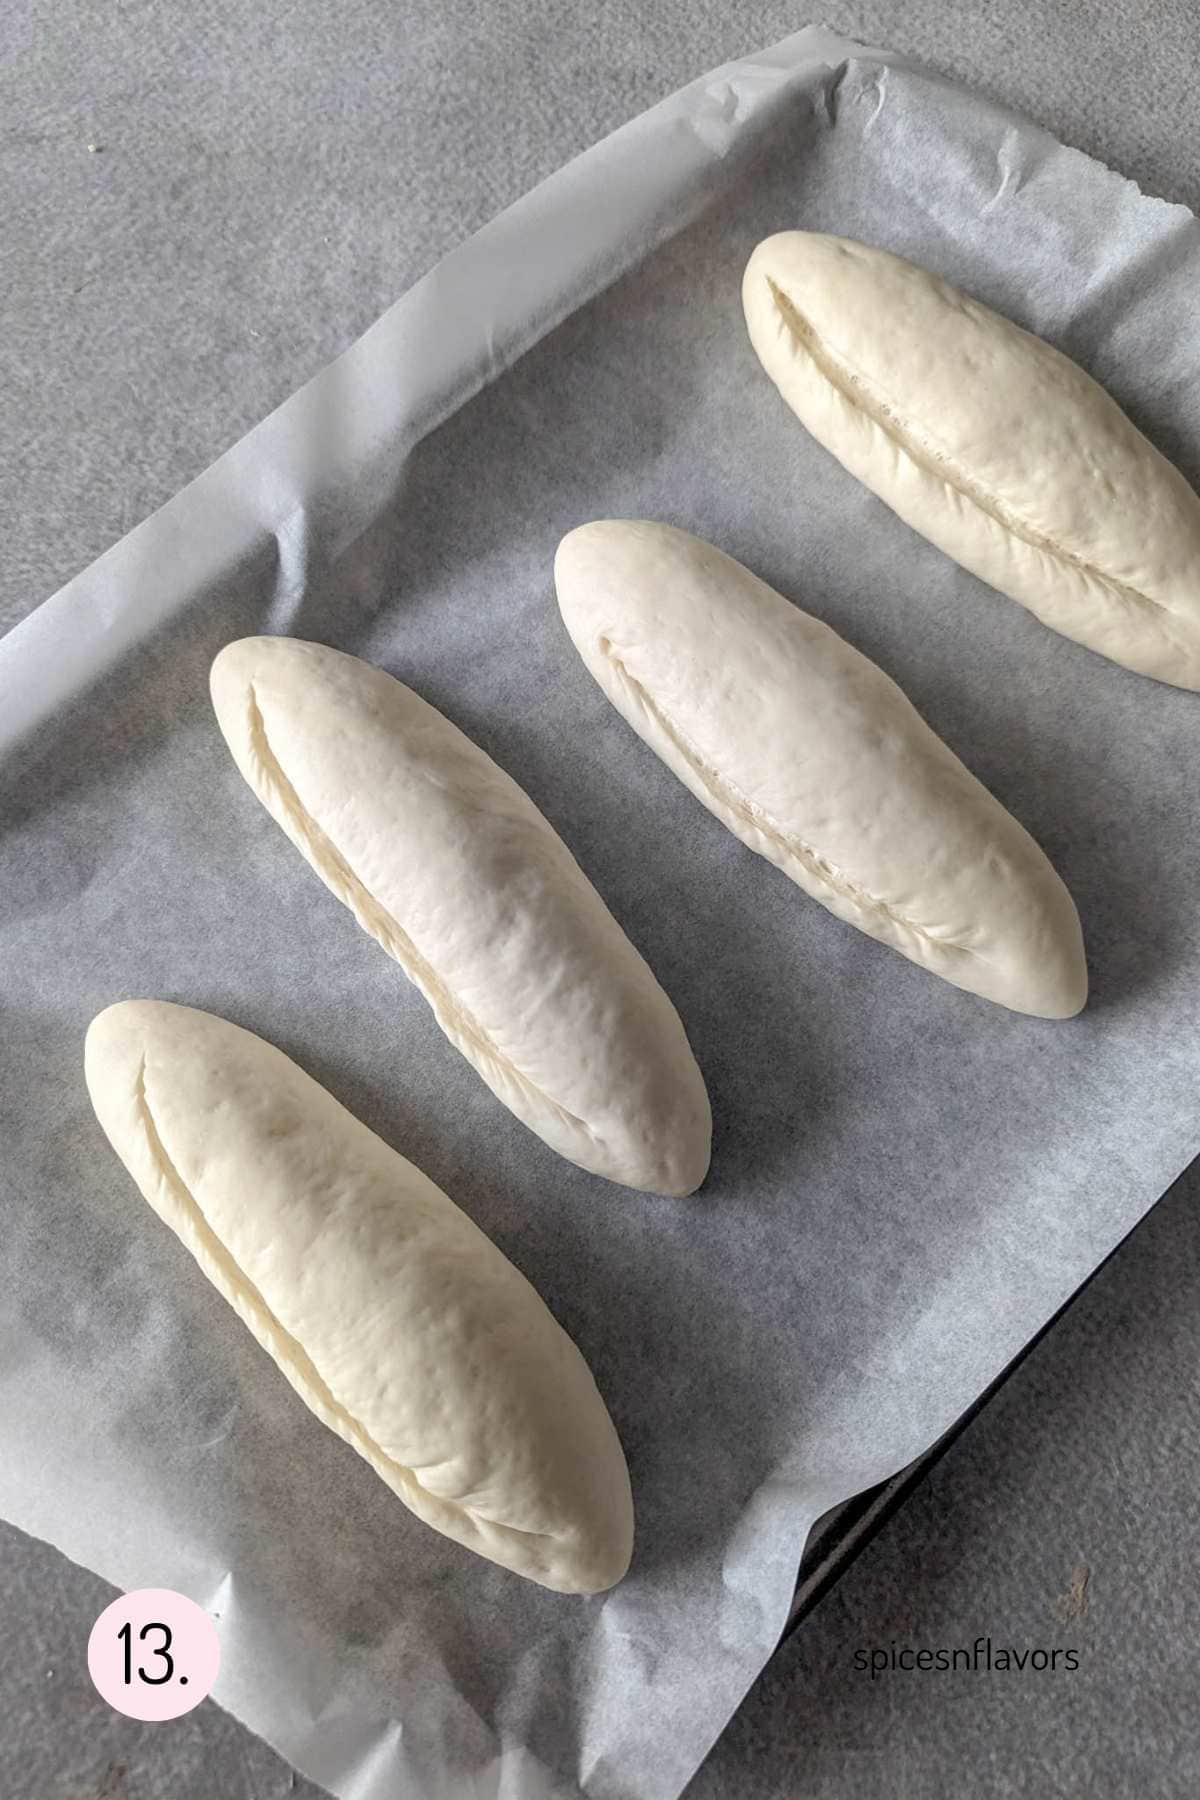
Just before baking, score the loaves with a sharp blade (image 13).
While placing the bread in the oven, spray a little water on top of the dough to add extra steam for a golden crust. Bake for about 22 minutes.
If your oven struggles to brown the tops, switch the top heating element (broil/grill) on for the last 1–2 minutes, watching closely to avoid burning.
Remove from the oven and cool briefly on a rack.
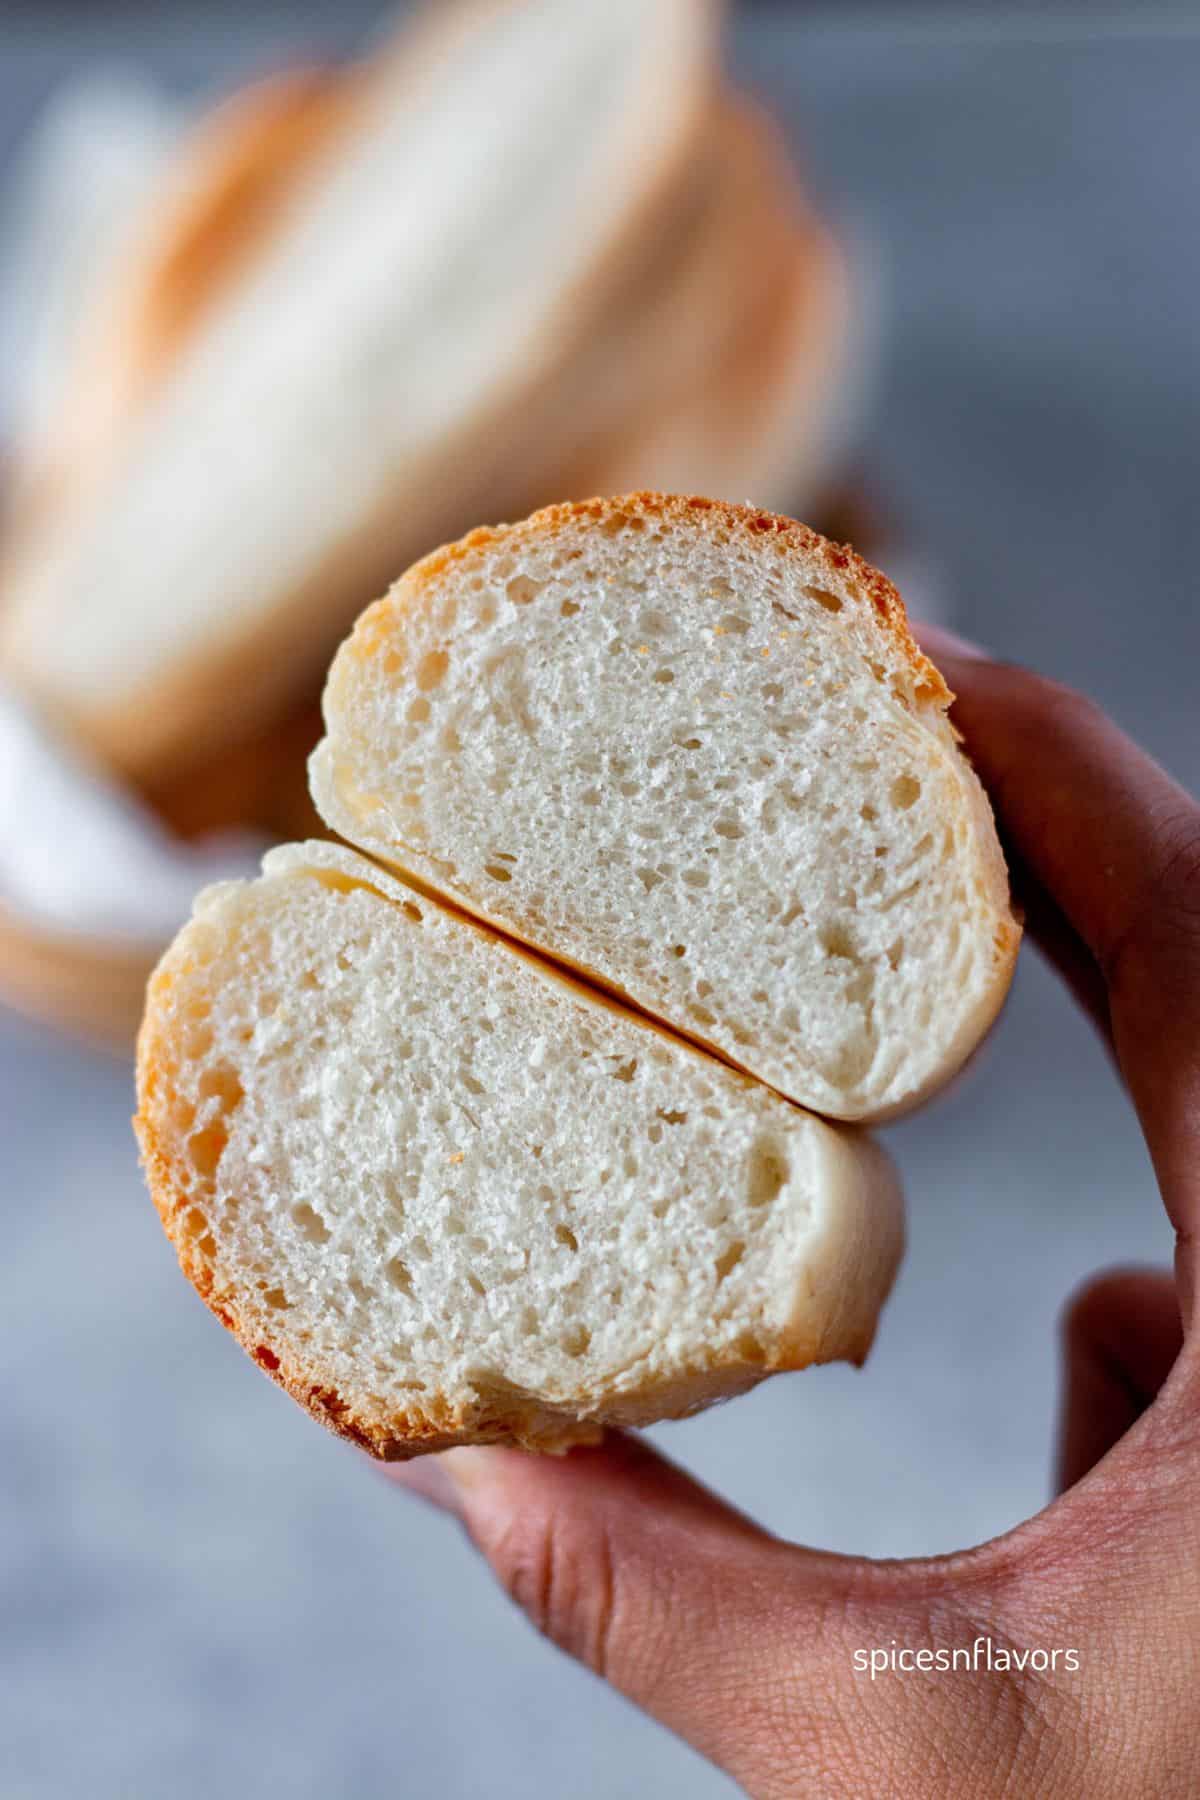
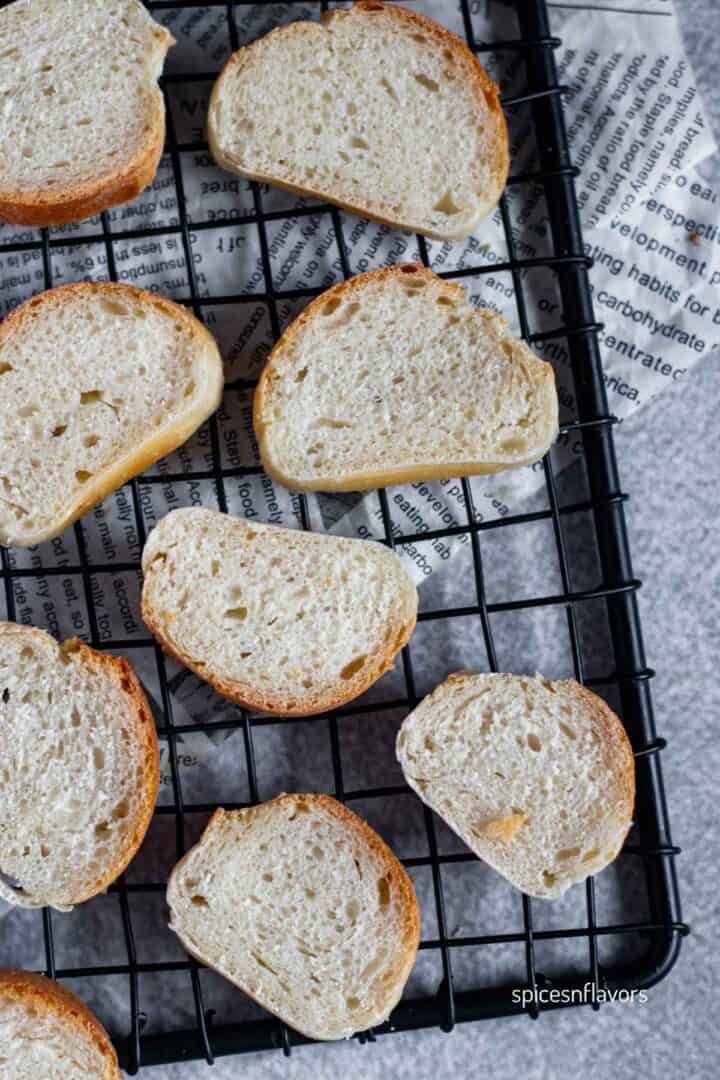
The open crumb and crispy exterior make these mini baguettes perfect for slicing and serving with dips, sandwich rolls, or turning into crostini appetizers.
This is a practical recipe for a practical kitchen, and it’s an easy recipe to include in your daily diet or as a serving of food for friends and family.
Storage Instructions:
Once completely cooled, store the mini baguettes in a paper bag or a clean kitchen towel at room temperature for up to 2 days. This helps maintain their crusty texture.
If you prefer a softer crust, you can place them in an airtight container once they’ve cooled.
For longer storage, wrap each baguette tightly in plastic wrap or foil and freeze for up to 2 months. When ready to enjoy, thaw at room temperature and then warm in a preheated oven at 180°C (350°F) for about 5–7 minutes to bring back that fresh-baked crispness.
Best Tips
- Take breaks while kneading: If kneading starts to feel tiring, don’t worry — just cover the dough and let it rest for 5 minutes, then come back to it. This short rest relaxes the gluten and makes kneading much easier.
- Add olive oil for baguette sandwiches: If you’re planning to use these for baguette sandwiches, you can add about 1 tablespoon of olive oil to the dough. It gives a slightly softer crust and a more tender crumb, perfect for sandwich-style baguettes.
- Choose instant yeast for ease: I prefer using instant yeast, as it can be added directly to the flour without prior dissolution. It’s fuss-free and perfect for beginners.
- Seal the seam well: When shaping the dough, make sure to seal the seam properly so the logs seam-side down hold their shape during baking.
- Be confident when scoring: Use a sharp blade or lame and make one clean slash either in the center or slightly to the side. You can also make three diagonal slashes like a typical baguette. Be quick and confident — the dough will thank you for it.
- Steam is your secret weapon: Don’t skip the pan of water in the oven. The steam helps form that shiny, crisp crust and prevents the bread from drying out in the first few minutes of baking.
- Don’t rush the proofing: Let the dough rise fully in both stages. Under-proofed dough can burst open in odd spots, while over-proofed dough might deflate. A gentle poke that slowly springs back means it’s ready.
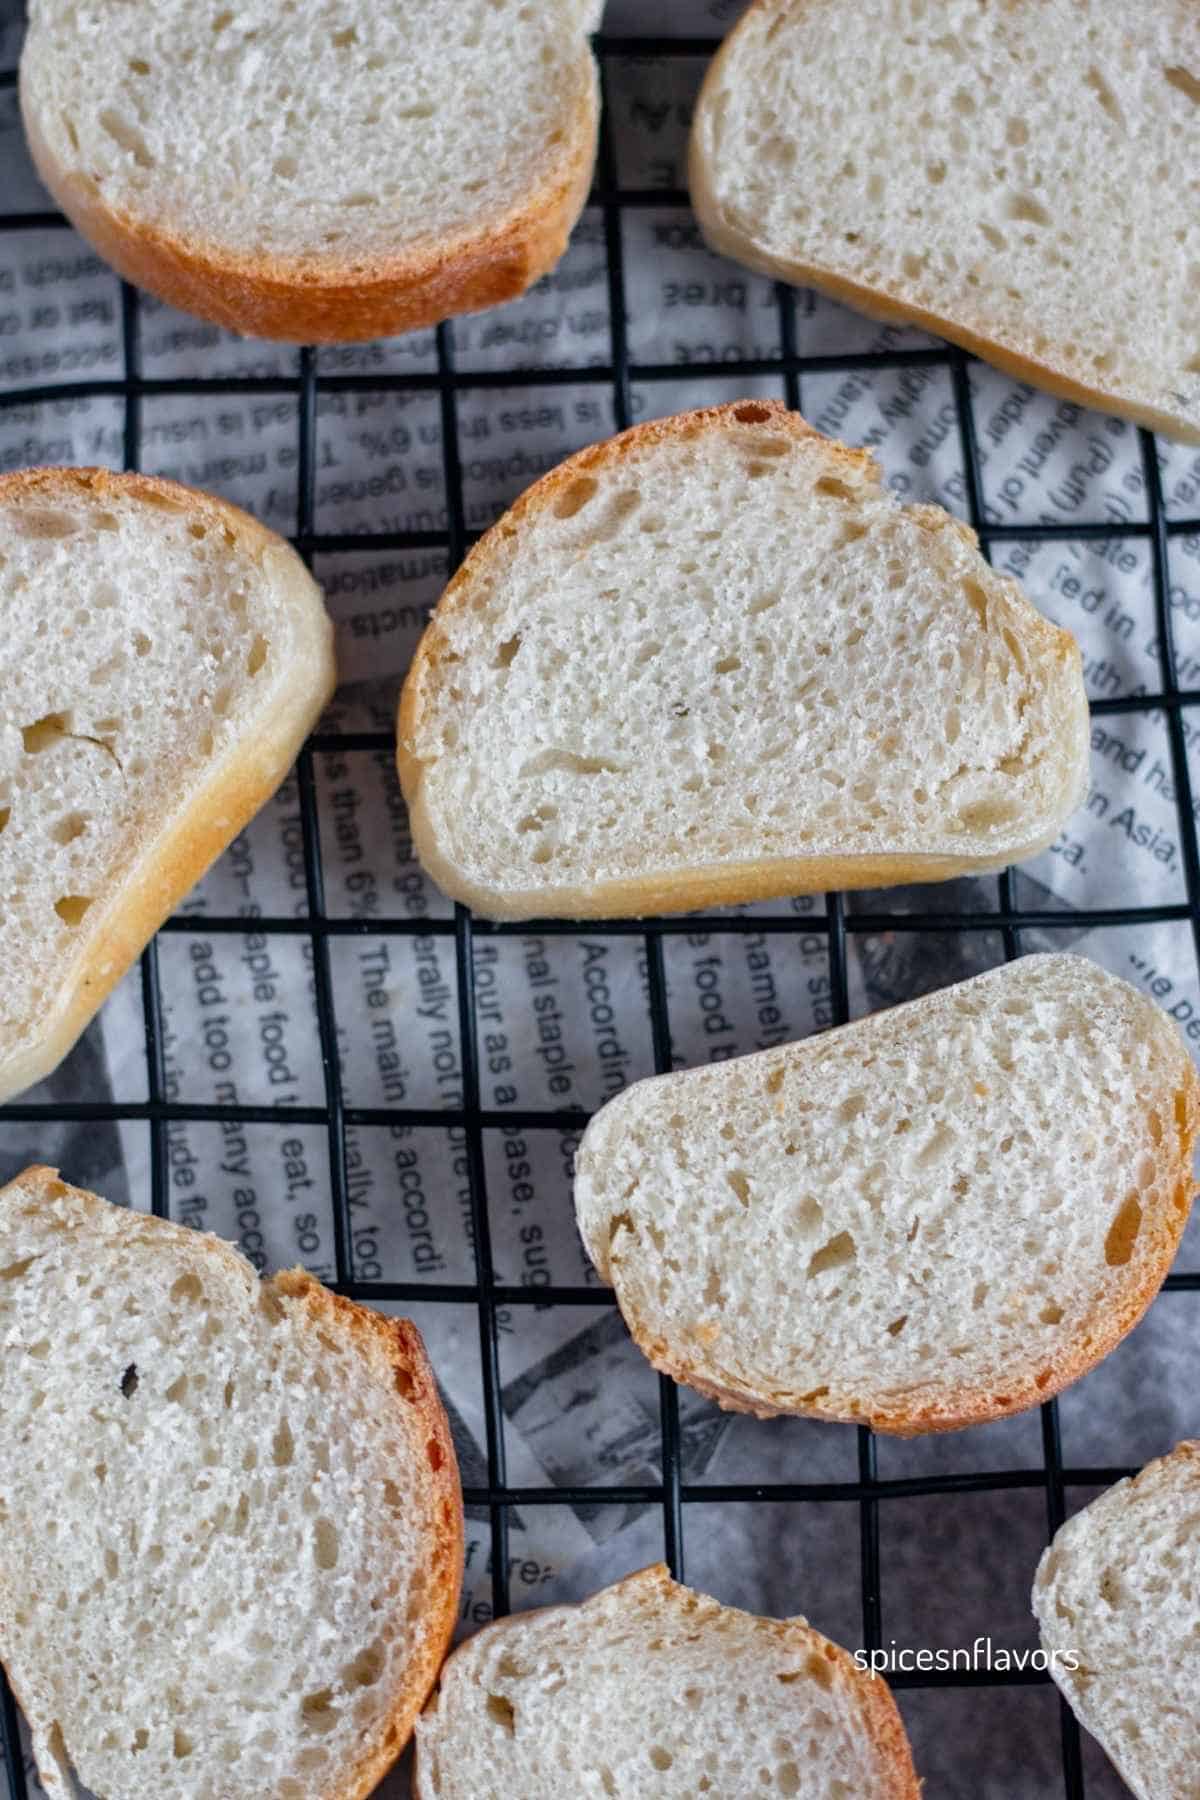
- Let it cool before slicing: As tempting as it is to dig in right away, let the baguettes cool for at least 15–20 minutes. Cutting too early can make the crumb gummy instead of light and airy.
Related Recipes:
Wish to Join US for the love of BAKING? Subscribe to our newsletter and Youtube channel. Follow along on Facebook, Instagram, and Pinterest for all the latest updates!

Easy Homemade Mini Baguette Recipe
Ingredients
- ¾ teaspoon Salt
- 180 ml (3/4 cup) Warm water (around 40°C / 105°F)
- 250 gms (2 cups) Bread flour
- ¾ teaspoon Instant Yeast
Instructions
- In a large bowl, combine flour, salt, yeast, and water. Mix until no dry spots remain. Cover and let the dough rest for 20 minutes to hydrate the flour.
- Knead by hand for about 25 minutes until smooth and slightly springy. Alternatively, use a stand mixer on medium-low speed for 10 minutes or a bread machine dough cycle. If kneading by hand, push the dough with the heel of your hand, fold it to the center, and turn over repeatedly. The sticky dough may feel rough at first, but it becomes smooth as it rests. Lightly dust the worktop with flour or oil if needed, but don’t overdo it.
- Place the dough in a lightly oiled bowl, cover, and let it rise for 1 hour or until slightly puffy.
- Turn the dough out onto a surface and divide into 4 equal pieces. Shape each into a rough ball, keeping the others covered.
- Flatten gently with your fingers, then roll tightly from one edge, sealing the seam. Roll back and forth, tapering the ends and keeping the center fuller, to form Vienna-style mini baguettes, about 6–7 inches long. Place on a parchment-lined baking tray, seam-side down, and cover lightly.
- Allow shaped baguettes to prove for 30 minutes.
- Preheat oven to maximum temperature with a shallow pan of water at the bottom for steam. Just before baking, score the tops with a very sharp knife. Spray a little water on each loaf for extra steam. Bake for 22 minutes, switching on the top heating element for the last 1–2 minutes if needed, until very deep golden brown.
- Remove from the oven and cool briefly on a rack. Serve warm with dips, sandwiches, or as crostini appetizers.
Notes
- Yeast: Instant yeast is beginner-friendly — add it directly to the dry ingredients.
- Olive oil: Add 1 tbsp if using these for sandwiches; it softens the crust slightly.
- Kneading tip: If the dough feels tough, let it rest 5 minutes, then continue — it’ll smooth out.
- Seam: Always seal the dough seam well so the logs seam-side down hold shape while baking.
- Steam: A pan of water and spraying the dough ensures a crispy crust.
- Storage: Cool completely. Store at room temperature in a paper bag or kitchen towel for 1–2 days, or freeze wrapped in foil/plastic for up to 2 months. Reheat in oven for 5–7 minutes before serving.
Nutrition
Leave a Reply