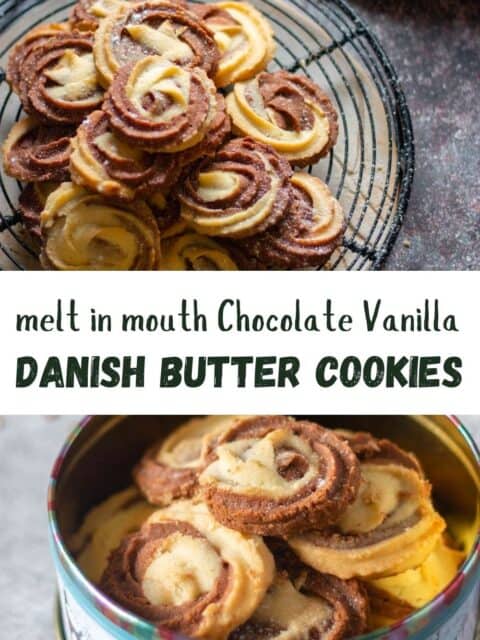
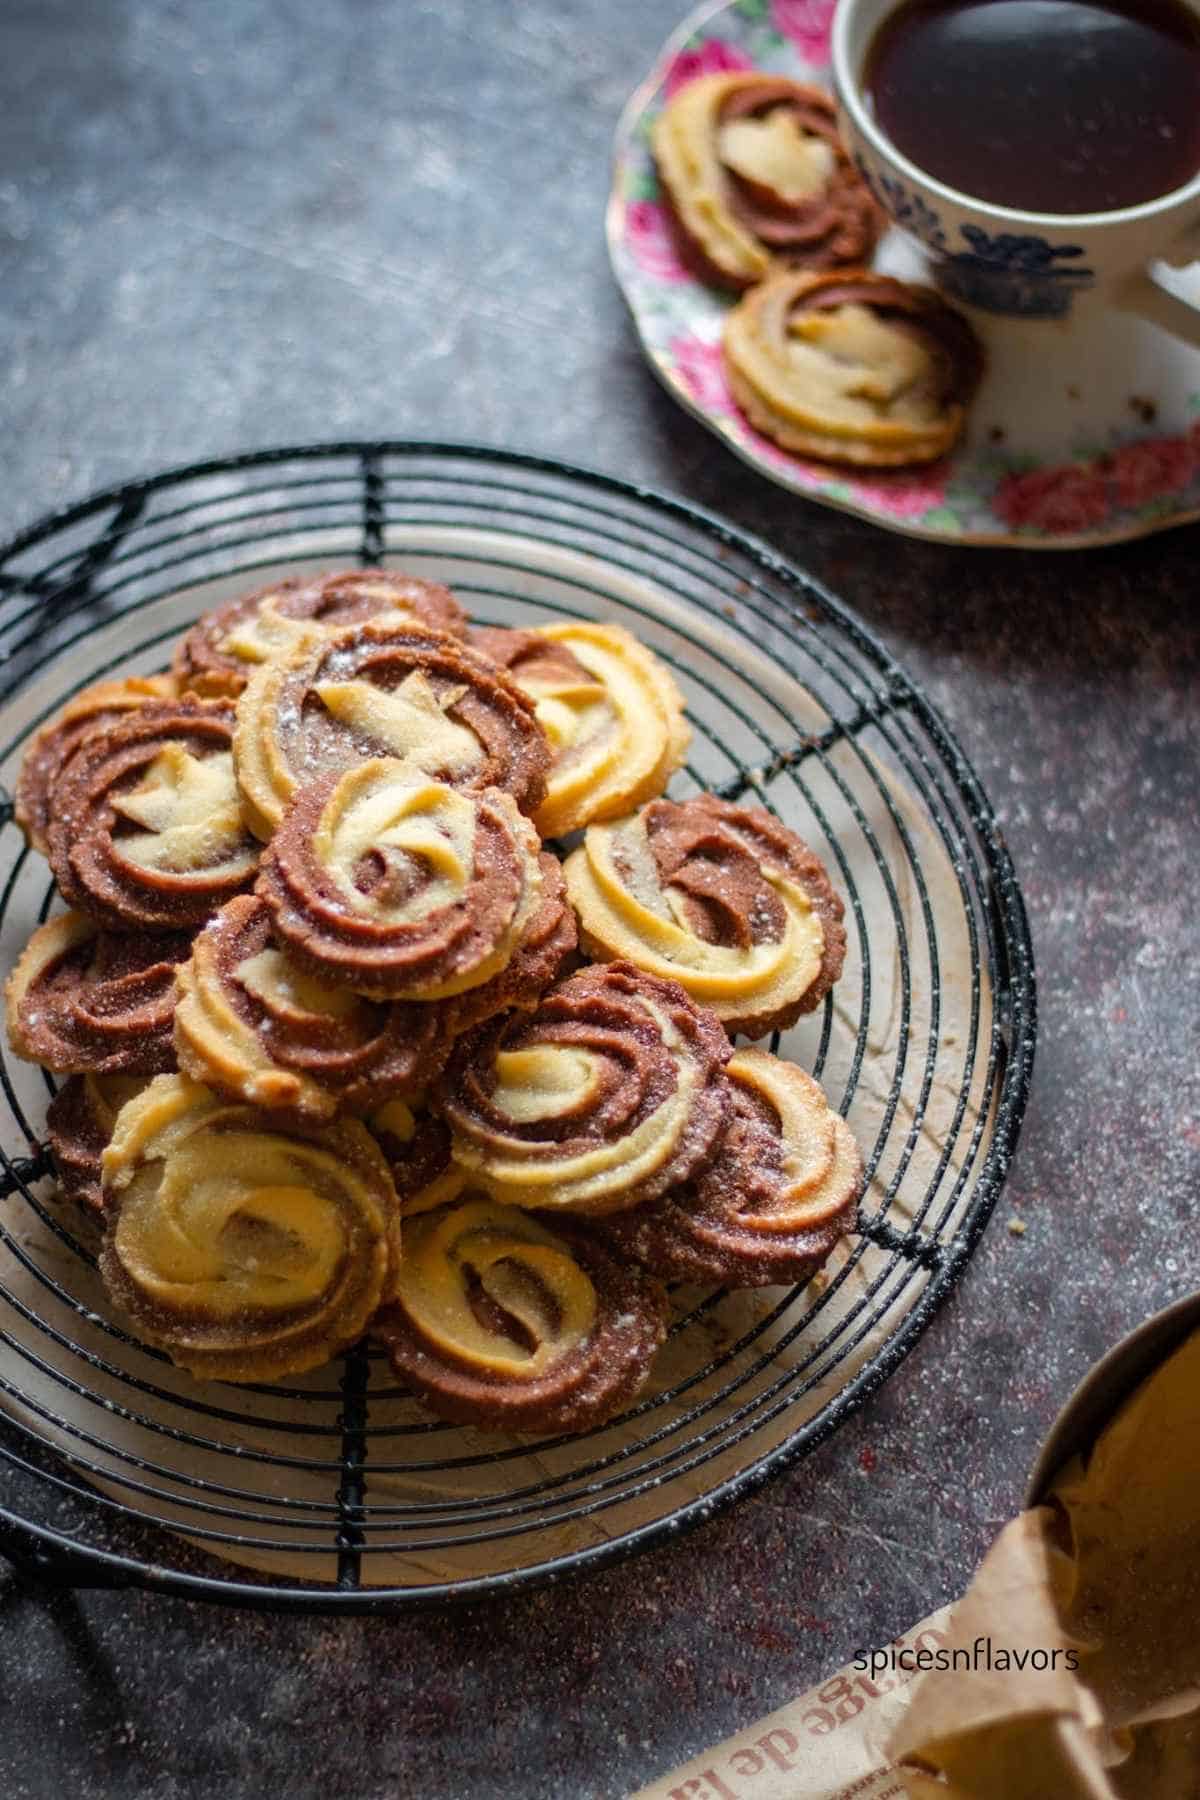
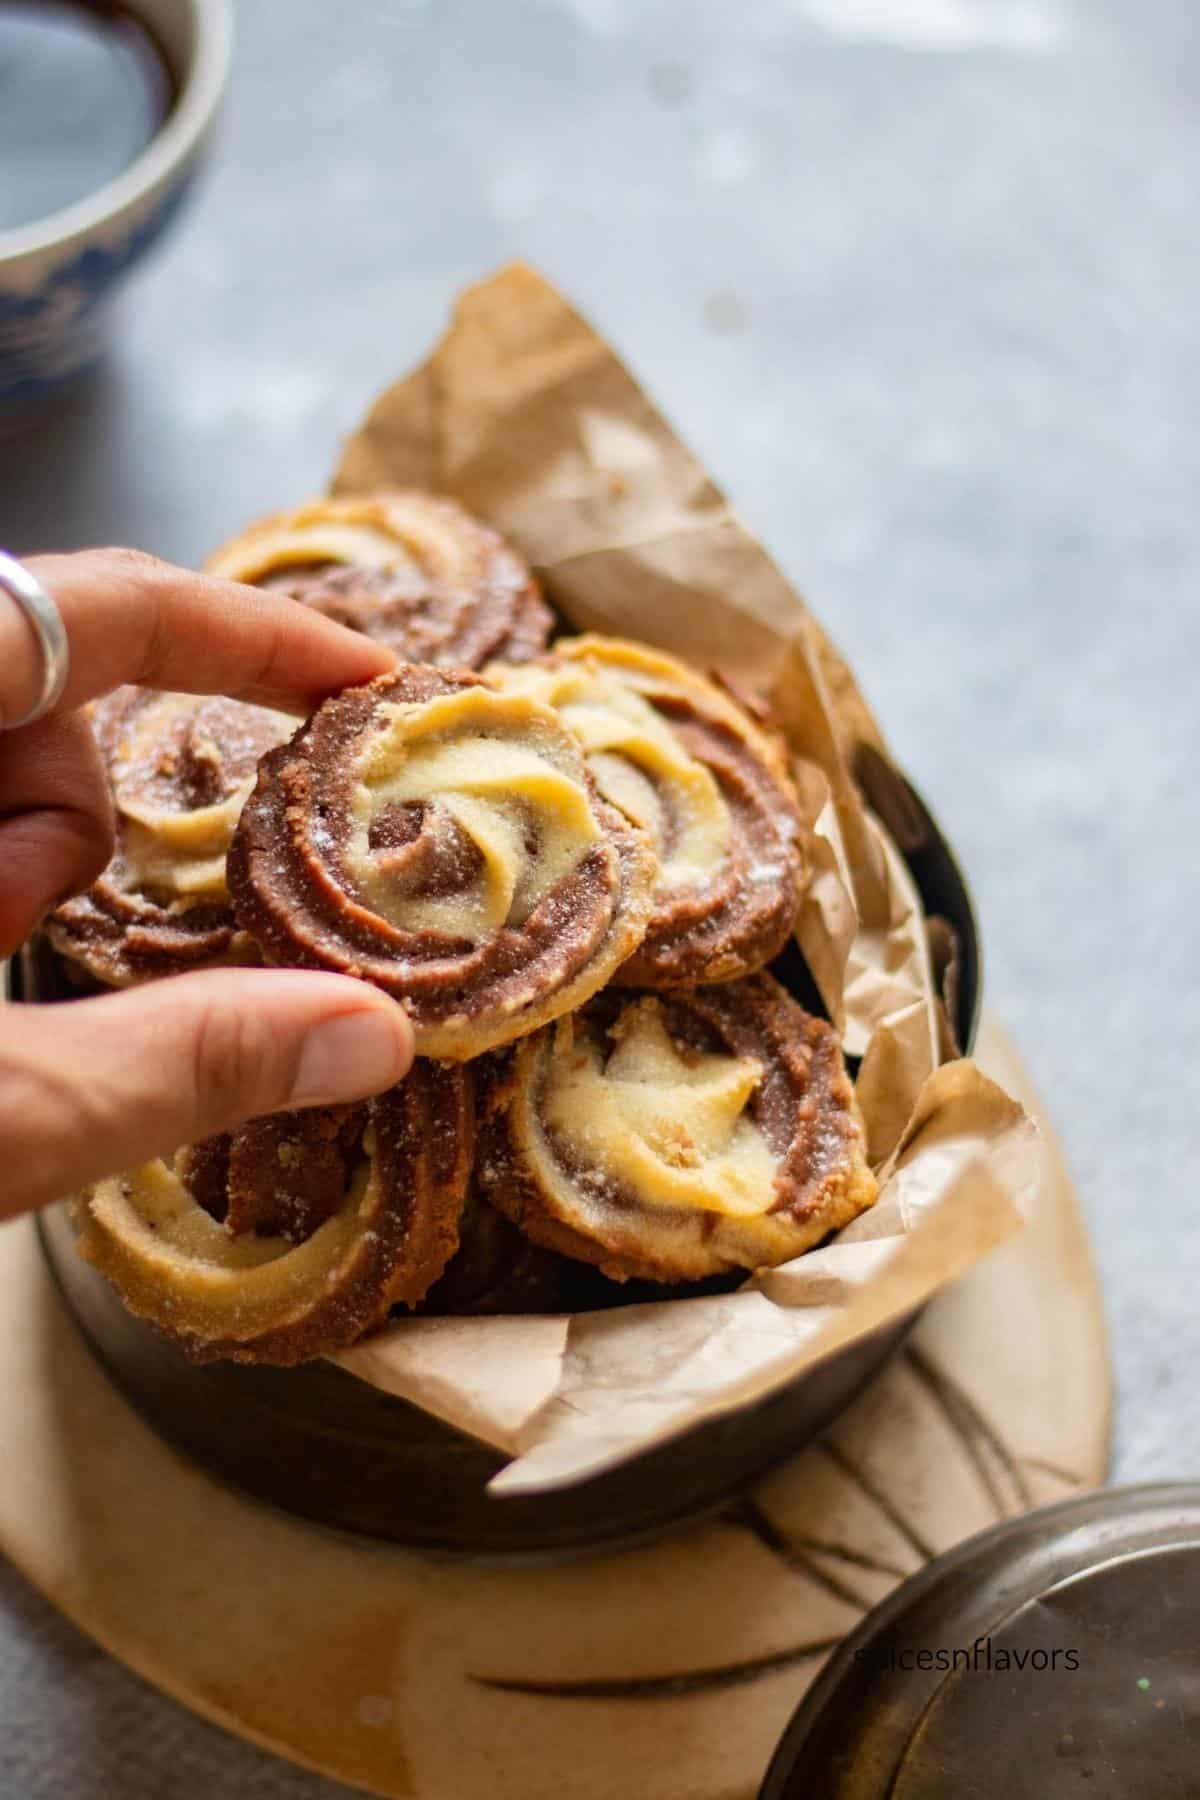
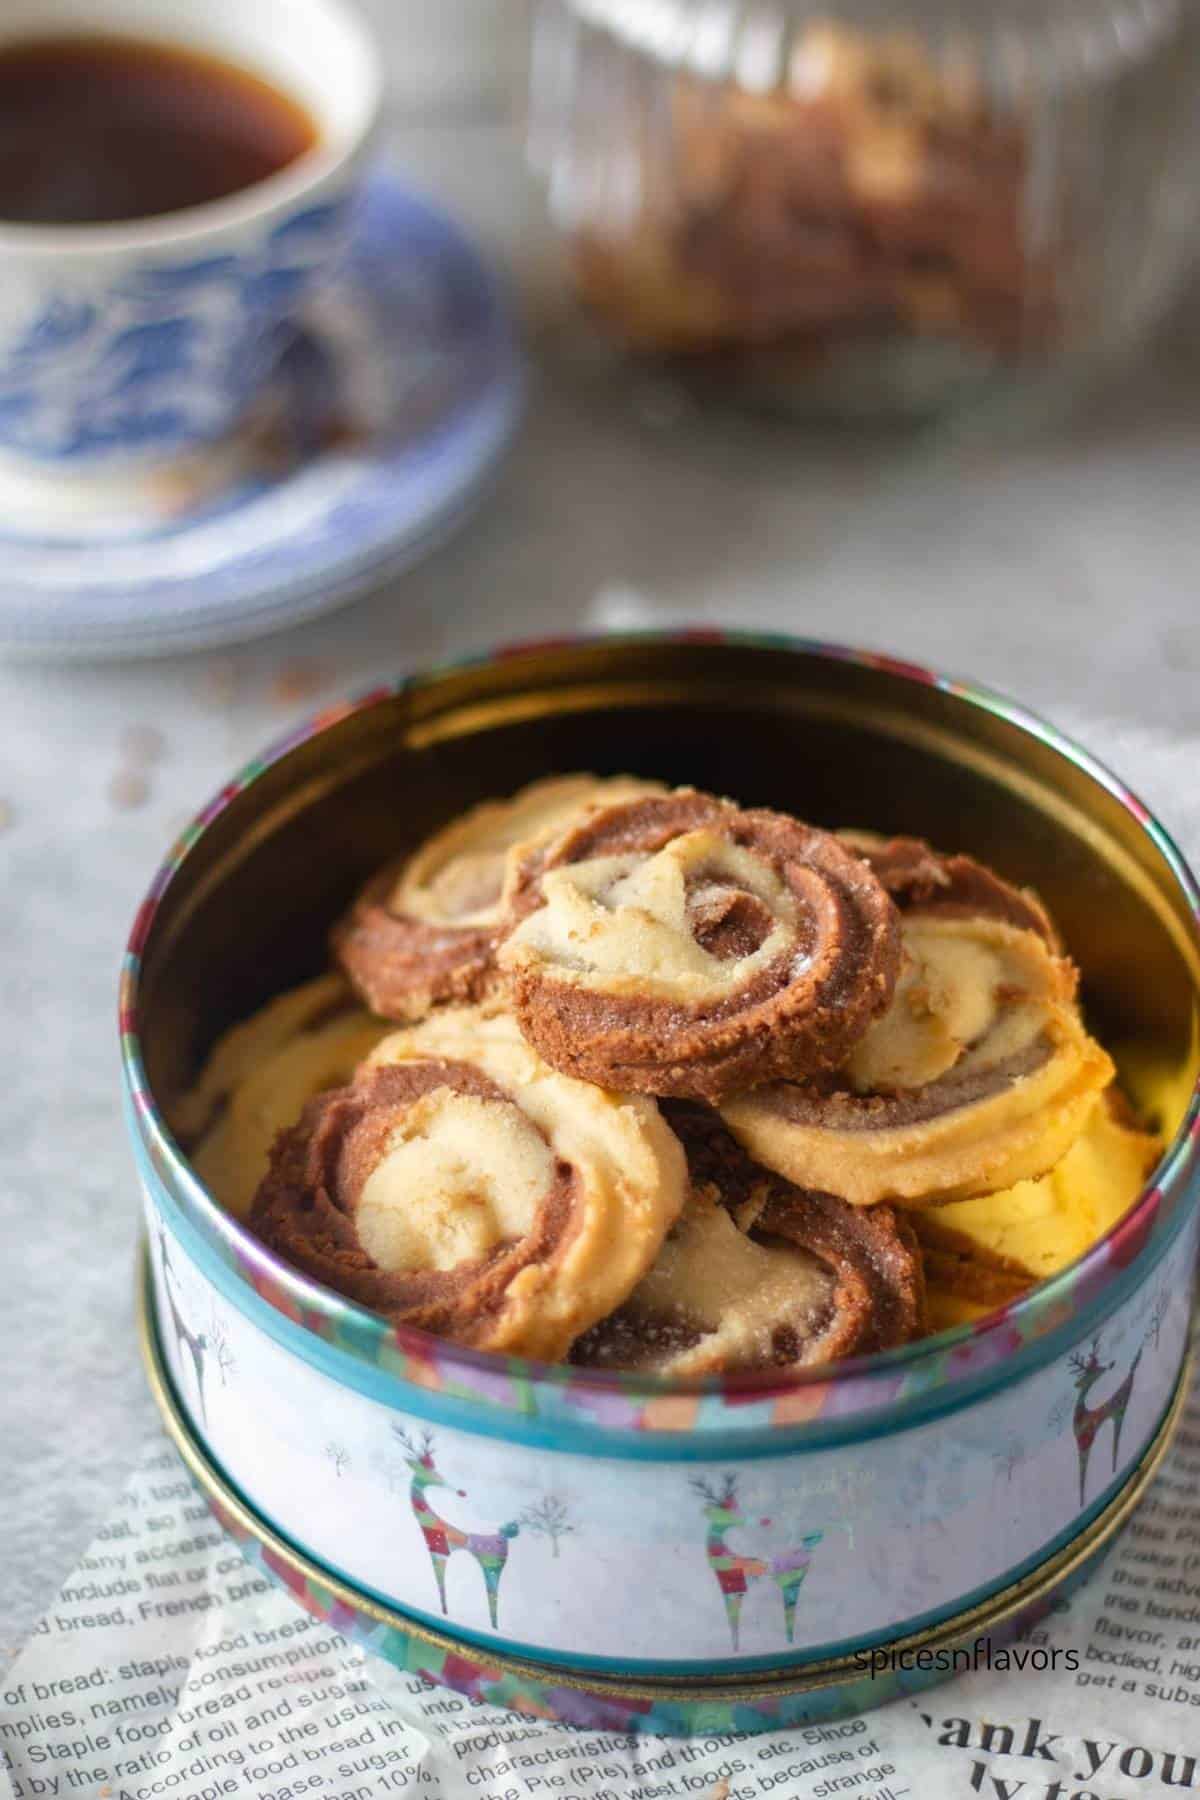
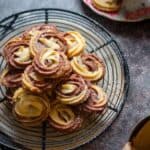
These bakery-style chocolate vanilla Danish butter cookies have a rich buttery flavor and a melt-in-the-mouth texture that’s perfect for holiday cookies or everyday treats. Made with basic ingredients, this homemade Danish butter cookie recipe yields perfectly shaped cookies with a delicious chocolate twist.
Chocolate Vanilla Danish Butter Cookies
This easy recipe for delicious Danish butter cookies is inspired by the classic original butter cookies recipe, also known as piped cookies, we’ve shared earlier — a simple 3-ingredient recipe that’s a reader favorite on the blog.
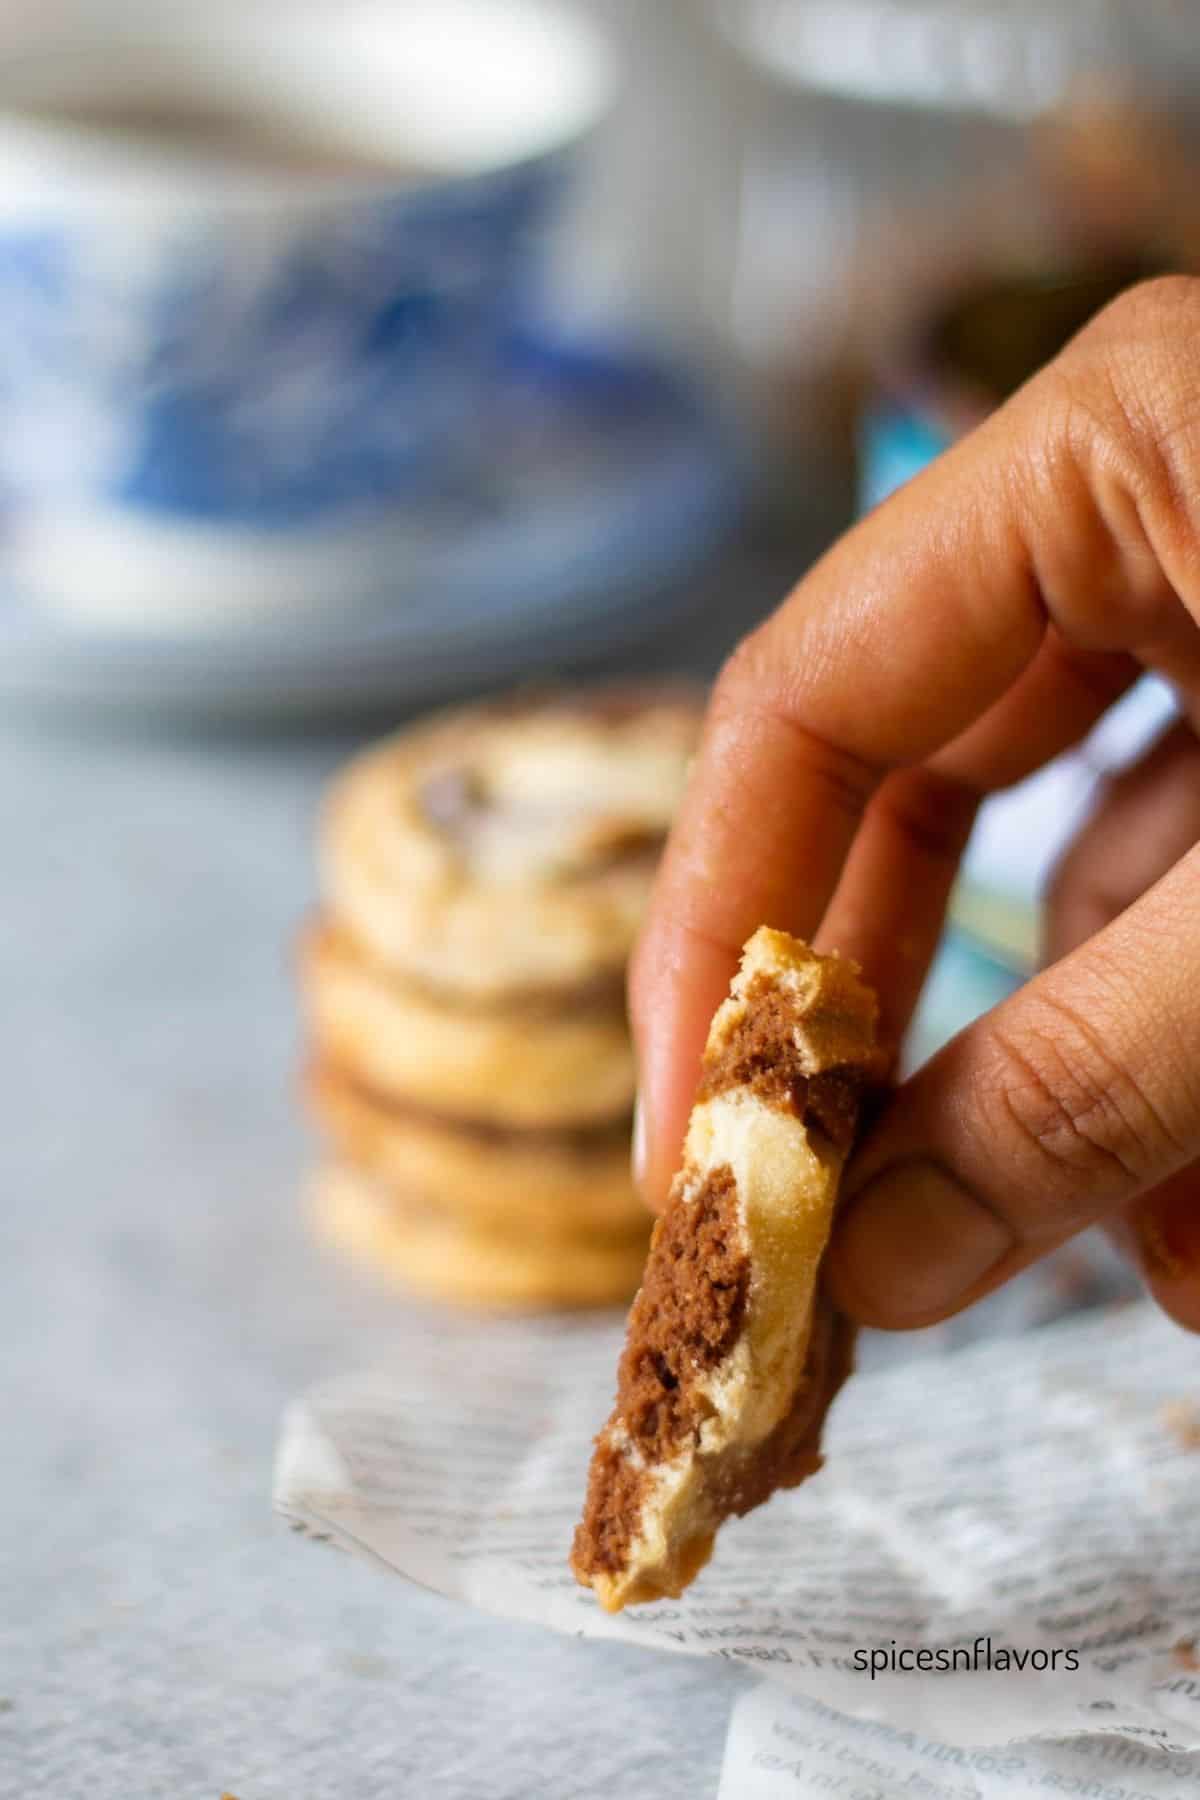
Unlike traditional shortbread cookies, which have a crumbly texture, Danish cookies are slightly softer, piped into pretty shapes, and have that signature rich buttery flavor — perfect as a holiday treat or a perfect anytime treat.
Don’t forget to check the printable recipe card of these bakery-style cookies for all the details!
Ingredients
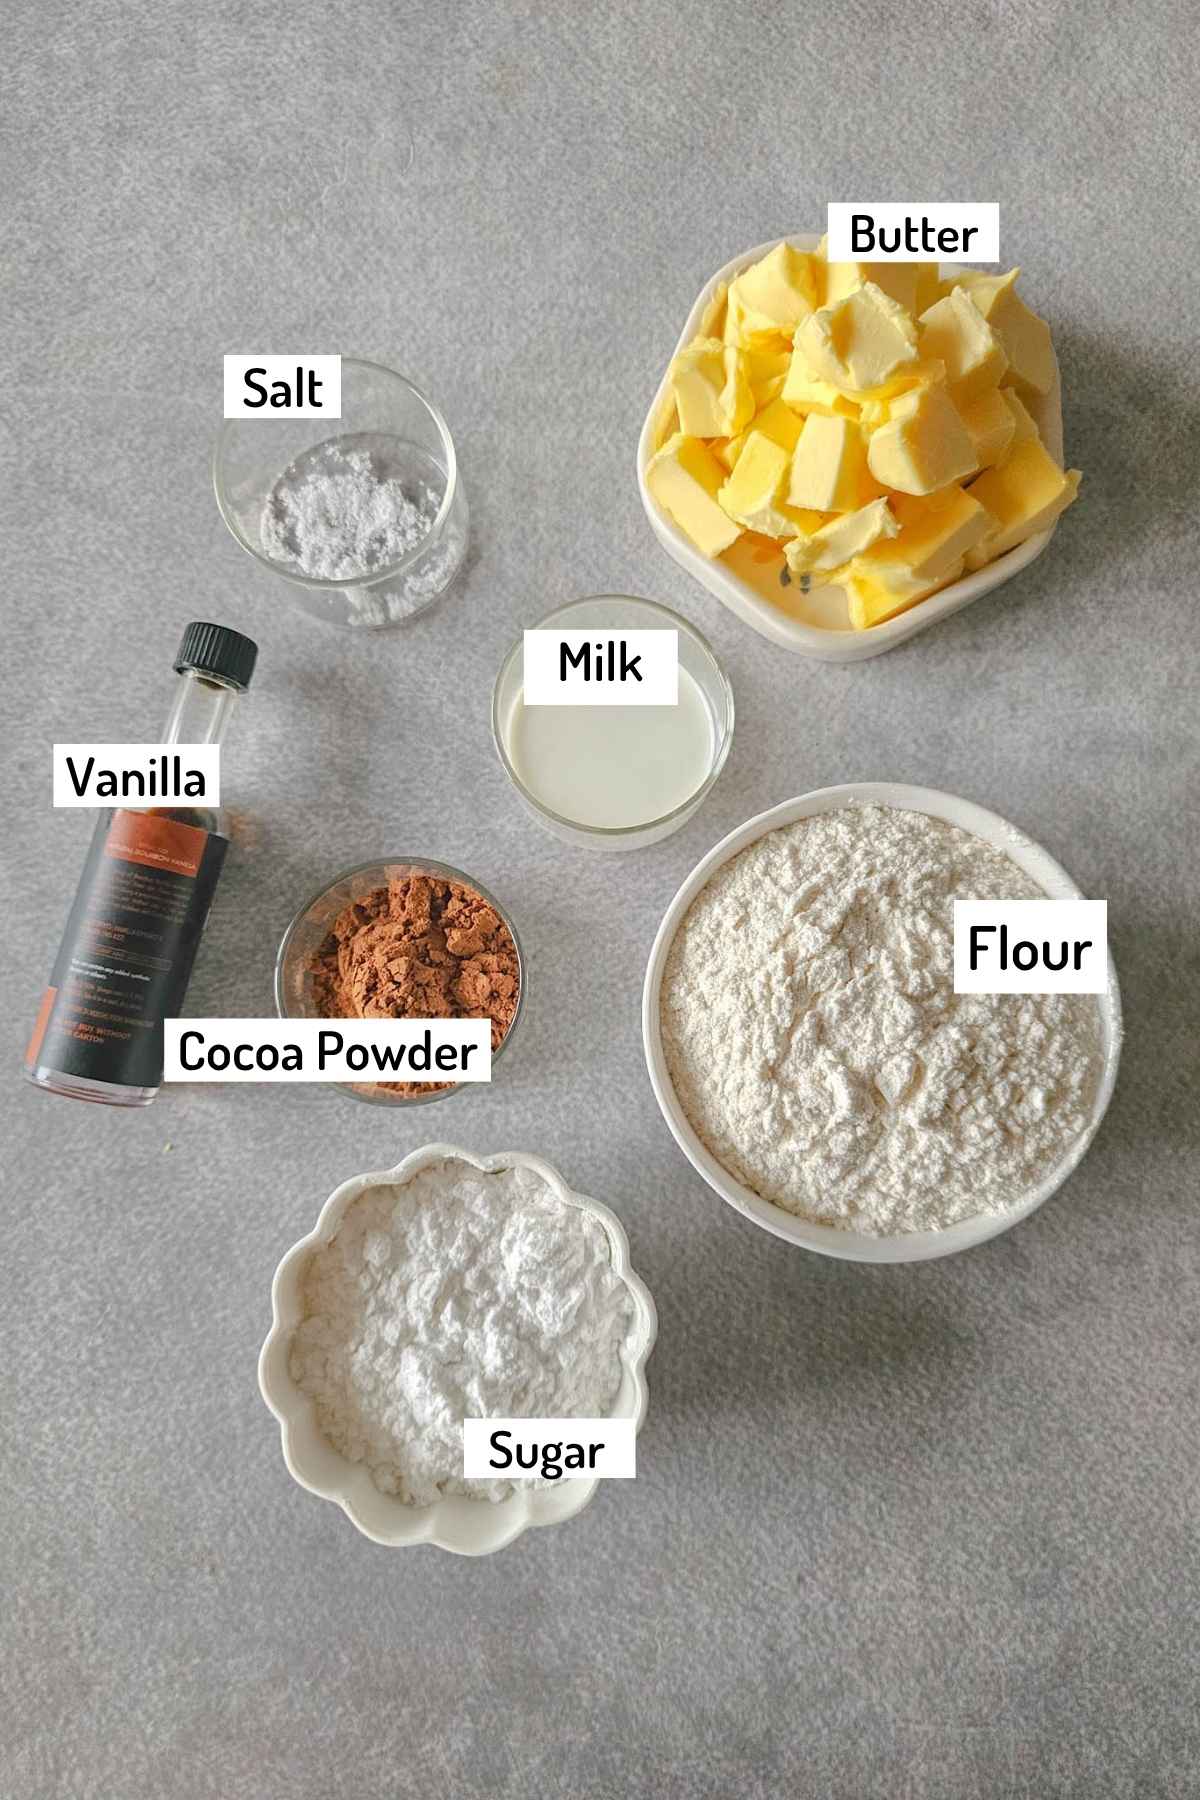
- 180 g (¾ cup) unsalted butter, softened
- 60 g (½ cup) icing sugar (powdered sugar)
- 200 g (1⅔ cups) plain flour (maida)
- Pinch of salt (about 1 g)
- 5 ml (1 tsp) vanilla extract
For the Chocolate Dough (to be added to half of the base dough):
- 10 g (2 tbsp) unsweetened cocoa powder
- 5–10 ml (1–2 tsp) full-fat milk, only if needed to loosen the dough for piping
Ingredient Notes
- Unsalted Butter: Use high-quality butter for an authentic, rich, buttery flavor. The butter should be softened — soft enough to cream but not melted.
- Icing Sugar: Also known as powdered sugar, it gives the cookies a smooth texture and helps retain their shape when piped.
- Plain Flour (Maida): For best results, measure all purpose flour using a kitchen scale. If using cups, spoon the flour into the cup and level it off — don’t scoop directly.
- Salt: Just a pinch brings out the sweetness and depth of flavor in buttery cookies.
- Vanilla Extract: Pure vanilla extract enhances the classic Danish butter cookie taste. You can also use vanilla bean paste for a more intense flavor.
- Unsweetened Cocoa Powder: Adds a rich chocolate flavor to half the dough for that classic swirl. Use good-quality cocoa for best results.
- Full-fat Milk: Only add if the cocoa dough feels too stiff to pipe. Start with 1 tsp and increase only if needed.
Step by Step Instructions
In a mixing bowl, beat softened unsalted butter and icing sugar with a hand mixer or a stand mixer with a paddle attachment for 3–4 minutes until light and creamy. Add vanilla and beat again. (images 1 and 2)
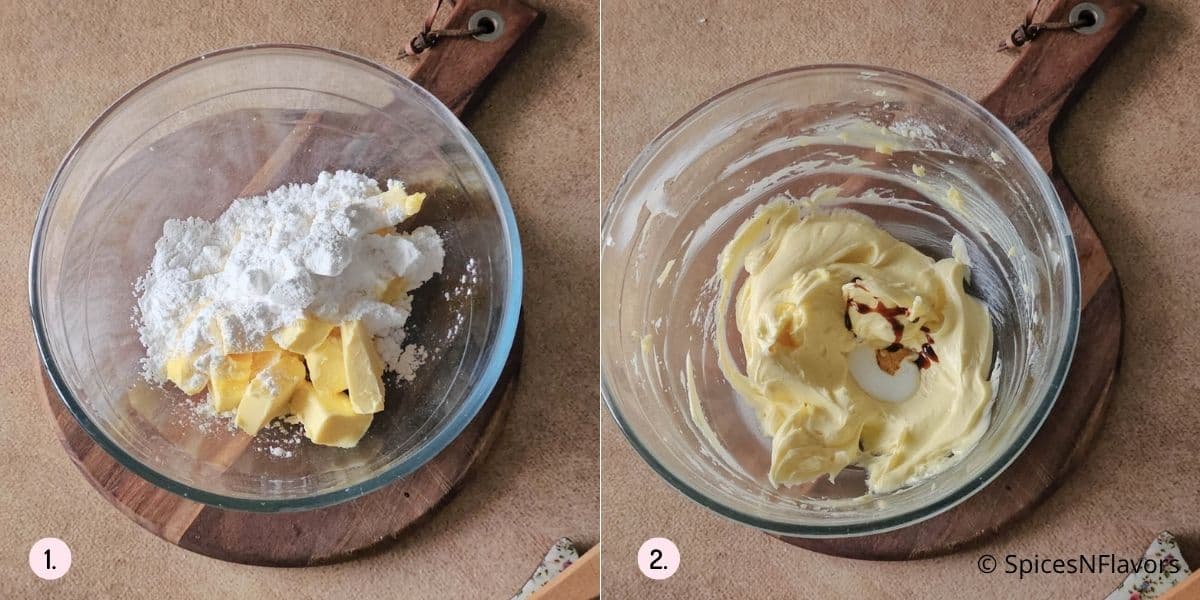
Note: Image 2 is for representational purposes only, to show the texture of creamed butter and sugar. Please do not add milk at this stage, even if shown in the image. The milk is meant to be added only when mixing the cocoa powder into half of the dough.
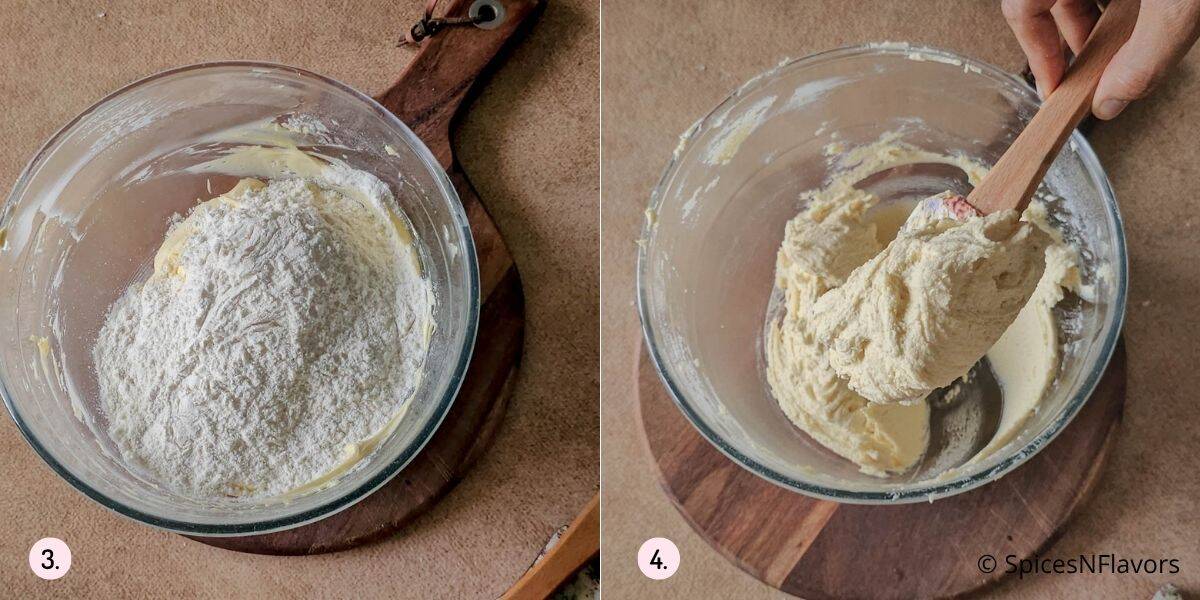
Add plain flour and a pinch of salt to the creamed mixture and beat again on low speed until a soft dough forms (image 3 and 4).
Divide the cookie dough into two equal parts.
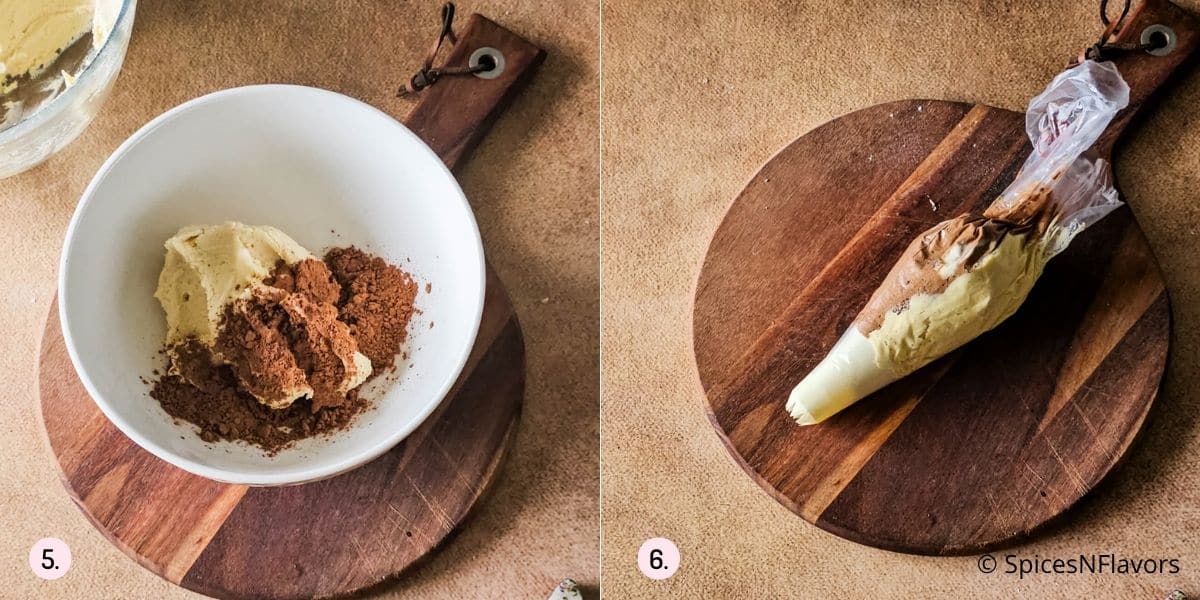
To one part, add unsweetened cocoa powder and 1/2 tsp milk, and gently mix until combined. Do not add extra milk — just enough to bring the dough together for piping. (image 5)
Fill a piping bag fitted with a large piping tip, such as a large star tip or open star tip, placing vanilla and chocolate dough side by side for a swirl effect (image 6).
Make sure the dough is at the right consistency — soft enough to pipe but firm enough to hold its shape. I am using a Wilton 1M star nozzle.
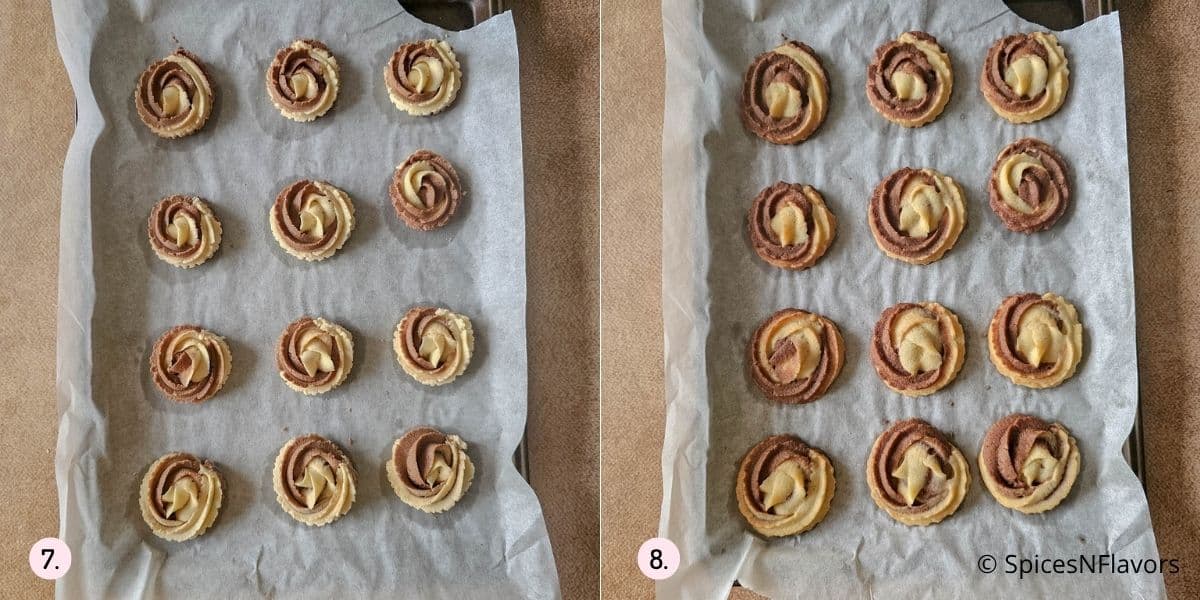
Pipe onto a cookie sheet lined with parchment paper, leaving enough space between each for spreading
(image 7).
Bake in a preheated oven at 180°C for 9–12 minutes or until the edges are lightly golden brown (image 8.)
Let the baked cookies sit on the baking sheet for 2 minutes before transferring them to a cooling rack to cool completely..
Chill the piped cookies in the fridge before baking if the dough feels too soft or warm.
Repeat with the remaining dough, chilling in between batches if needed.
Storage Instructions
- Once completely cooled, store the Vanilla Chocolate Danish Butter Cookies in an airtight container at room temperature.
- They stay fresh for up to 1 week in a cool, dry place.
- If you want to keep them longer, you can freeze the baked cookies in a ziplock bag or airtight container for up to 1 month.
- For best texture, allow frozen cookies to come to room temperature before serving.
- Avoid storing them in the fridge, as it may make them lose their crisp, buttery texture
Best Tips
- Use softened, not melted butter — the right butter consistency is key for a rich, pipeable dough that holds its shape. Don't go by "room temperature" if you're in a hot and humid place; instead, make sure the butter is soft enough to create a gentle indentation when pressed with a finger but still holds its shape.
- For best swirl shapes, use a large piping tip like the 1M star nozzle — it gives the classic bakery-style look and allows the dough to pipe smoothly.
- Chill the piped cookies for 20–30 minutes before baking if the dough feels too soft, especially in warm weather.
- Don’t overbake — bake until the edges just start to turn golden; they will firm up as they cool.
- Always use a cool baking tray for each batch — placing dough on a hot tray can cause the cookies to spread.
- Store in an airtight container once cooled completely to retain their crisp, buttery texture.
Related Recipes
Wish to Join US for the love of BAKING? Subscribe to our newsletter and Youtube channel. Follow along on Facebook, Instagram, and Pinterest for all the latest updates!
Chocolate Vanilla Danish Butter Cookies
Ingredients
- 180 gms Unsalted Butter softened
- 60 gms Icing Sugar
- 1 tsp Vanilla Extract
- 200 gms Plain Flour/ All Purpose Flour/ Maida
- Pinch of Salt
For Chocolate Dough (to be added to half of the base dough)
- 2 tbsp Cocoa Powder
- 1-2 tsp Milk (only if needed for piping)
Instructions
- In a large bowl, beat softened butter and icing sugar with a hand mixer or stand mixer fitted with a paddle attachment on medium speed for 3–4 minutes until mixed. Add vanilla and beat again.
- Add flour, and salt. Beat on low until a soft dough forms.
- Divide the dough into two equal portions.
- To one portion, add cocoa powder and 1 tsp milk. Mix gently until combined. Add more milk only if needed for piping.
- Fill a piping bag fitted with a 1M star nozzle, placing vanilla and chocolate dough side by side for a swirl effect.
- Pipe onto a parchment-lined baking sheet, leaving enough space between cookies.
- Pipe onto a parchment-lined baking sheet, leaving enough space between cookies.
- Bake in a preheated oven at 180°C (350°F) for 9–12 minutes, until edges are lightly golden.
- Let cookies rest on the baking sheet for 2 minutes, then transfer to a wire rack to cool completely. Repeat with remaining dough, chilling between batches if needed.
Notes
- Butter: Use softened butter, not melted. It should leave a gentle indentation when pressed but still hold its shape.
- Milk: Add only with the cocoa powder — adding too much will make the dough too soft to pipe.
- Piping Tip: A large star nozzle like Wilton 1M gives the classic bakery swirl.
- Chilling: Helps cookies hold their shape while baking.
- Baking Tip: Do not pipe new batches onto a warm baking tray. Always use a cool tray to prevent the cookies from spreading too much in the oven.
- Storage: Store cooled cookies in an airtight container at room temperature for up to 1 week, or freeze for longer storage.
- This recipe yields about 20–24 cookies, depending on the swirl size (about 1.5 to 2 inches each).
Leave a Reply