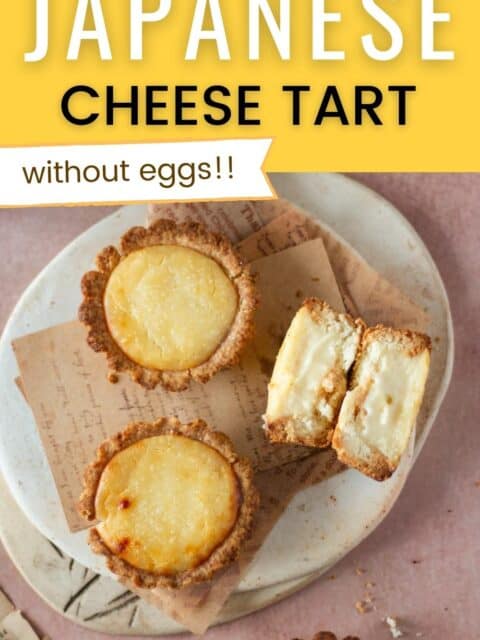
Hokkaido cheese tarts, famous for their buttery tart shells and creamy cheese filling, are a favorite dessert in Japan and Hong Kong. Featuring buttery tart shells and a luscious, creamy cheese filling, this eggless Japanese cheese tart recipe delivers the same rich flavor and smooth texture without the use of eggs, perfect for those seeking a vegetarian-friendly option!
What Makes Hokkaido Cheese Tarts Special?
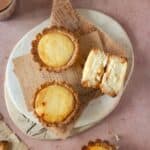
Hokkaido cheese tarts stand out for their irresistible combination of textures and flavors. The golden, buttery tart shell provides a crisp base that contrasts beautifully with the velvety smooth cheese filling.
What truly sets these tarts apart is their signature caramelized top and warm, gooey center when served fresh.
Made with a blend of high-quality cheeses, the filling offers a perfect balance of creaminess and subtle tanginess, giving each bite a rich yet light feel.
The slight sweetness of the topping complements the savory notes of the filling
Originating in Japan, these tarts have gained worldwide fame, especially in Hong Kong, the United States, and New Zealand.
Why Choose an Eggless Version?
Choosing an eggless version of Hokkaido cheese tarts caters to those with dietary restrictions, allergies, or personal preferences, making this indulgent dessert more inclusive.
By substituting eggs with carefully selected alternatives like cornstarch and cream, you can achieve the same creamy texture and rich flavor without compromising on quality.
Ingredients

Ingredient Notes:
- Unsalted butter: Use cold, cubed butter to achieve a flaky and tender crust. Avoid overmixing to maintain a light texture.
- Cold water: Helps bring the dough together. Add a little at a time to avoid making it too sticky.
- Cornstarch: Acts as a thickening agent to stabilize the filling, ensuring a smooth and creamy consistency.
- Mascarpone: Adds a velvety richness and mild sweetness to complement the cream cheese.
- Parmesan: Provides a subtle savory note that balances the sweetness and enhances the tart's flavor profile.
- Cream: Adds extra creaminess to the filling.
Step by Step Instructions
Prepare the Buttery Tart Shells
- In a large bowl, add flour and rub cold butter into the flour mixture using your fingertips until it resembles wet sand.
- Once the butter is incorporated, add salt, sugar, and vanilla extract
- Combine everything into a dough. If the dough is too dry, add 1/4 to 1/2 teaspoon of water as needed to bring it together.

Roll the dough out to 1/4 inch thickness between two sheets of parchment paper and refrigerate for 30 minutes to make it easier to cut into shapes (image 1).
After refrigeration, cut the dough using a cookie cutter (image 2).

Press the dough into tart pans or muffin tins (images 3 and 4).
If the dough becomes too warm to handle or shape; put it back into the refrigerator for 5 mins before proceeding with the next one.

Prick the bottom of the dough with a fork and chill again for another 30 mins (image 5).
Bake at 360°F (180°C) for 13-15 minutes, or until golden brown (image 6).
Cool the tart shells on a wire rack.
Make the Eggless Cheese Filling
In a separate bowl, beat the cream cheese, mascarpone, and heavy cream until smooth and creamy.

Transfer the cream mixture to a saucepan and add parmesan cheese, butter, and sugar (image 7).
Cook over low-medium heat, stirring constantly, until the mixture is smooth and creamy (image 8).

Once the cheese mixture is fully combined, add the cornstarch slurry and continue cooking until the filling thickens (image 9).
It’s ready when the back of a spoon is coated, and when you run your finger along the spoon, the line stays in place (image 10).
Remove from heat and transfer the filling to a separate bowl. Cover it with cling wrap, ensuring it touches the filling, and allow it to cool completely.
Fill the Tart Shells
- First, remove the cooled tart shells from the molds. Tap gently at the bottom to loosen them, then carefully loosen the sides and invert the mold to remove the shells easily.
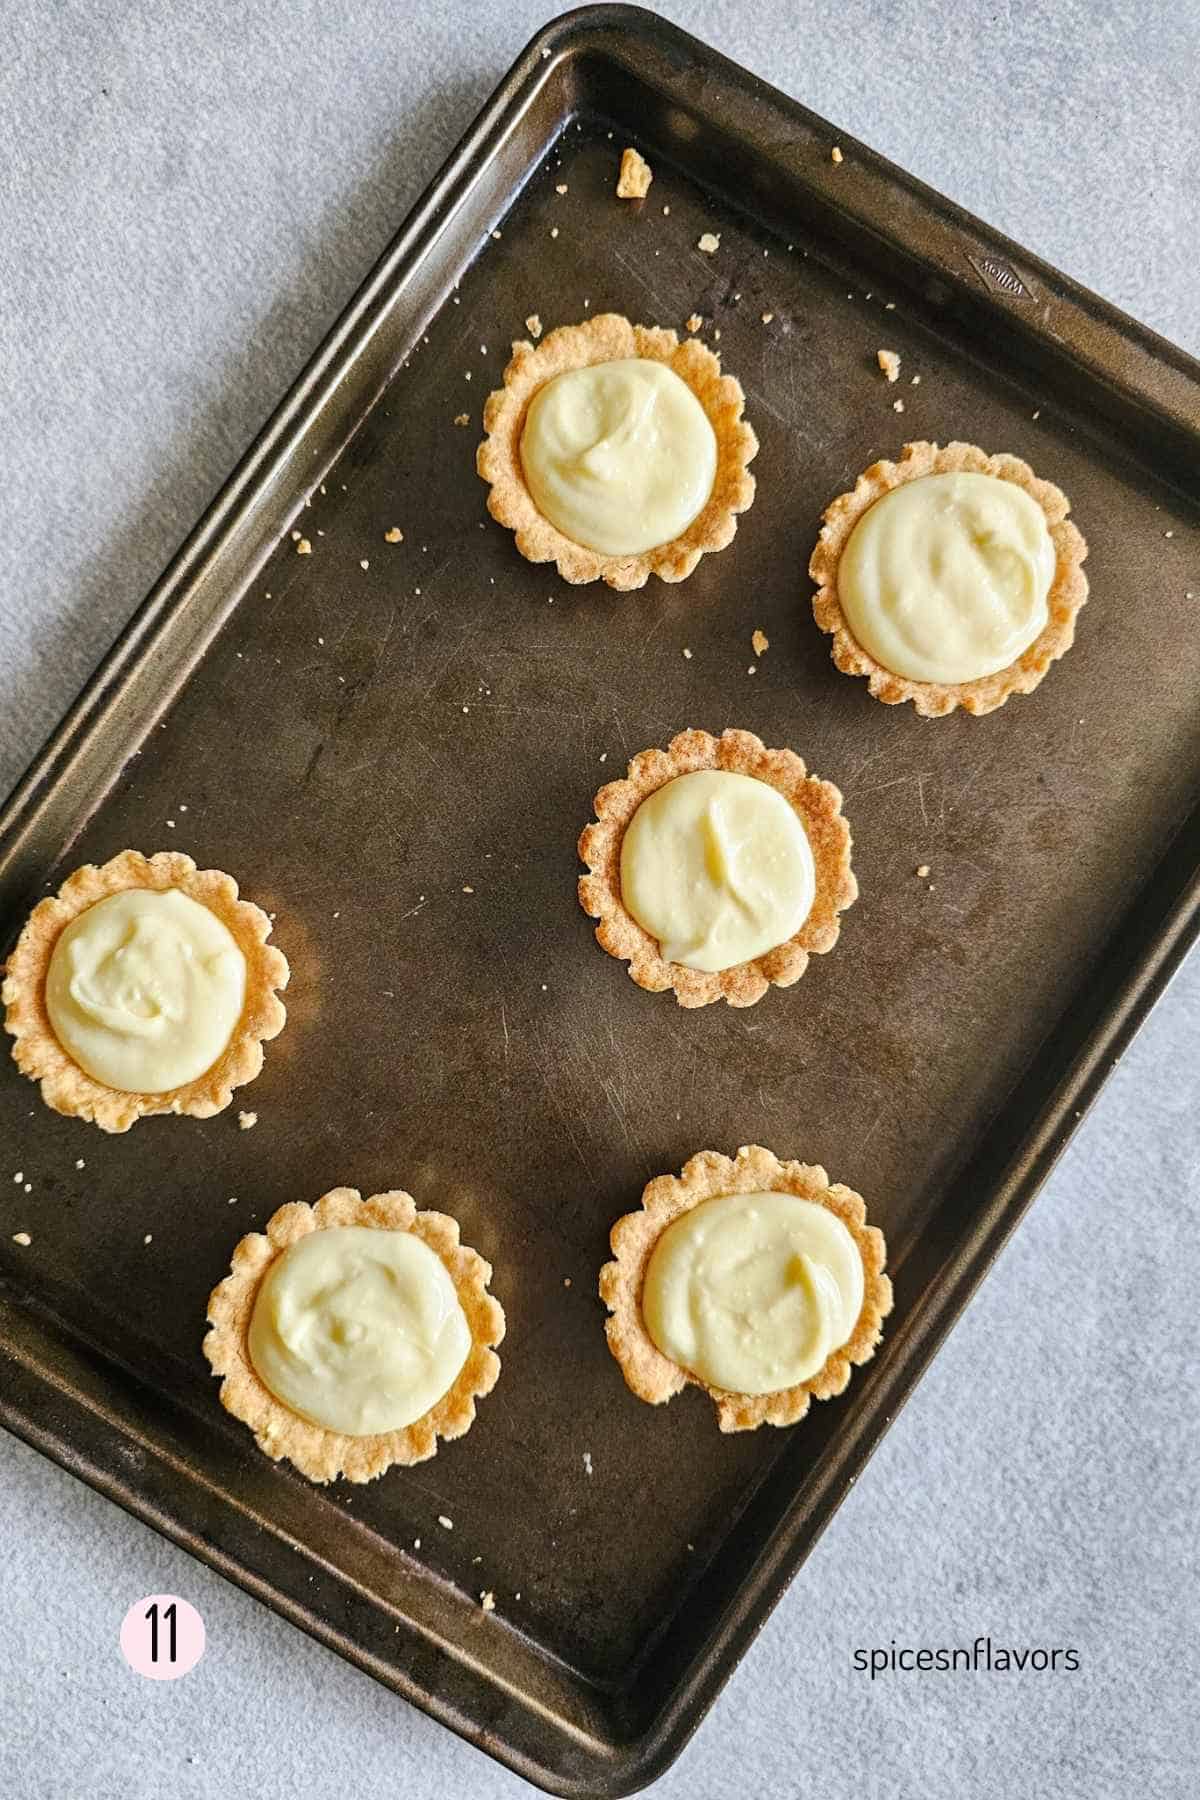
- Spoon the cheese filling into the tart shells, leaving a small gap at the top.
- Smooth the top using the back of a spoon for an even surface.
- Brush the top of the filling with a little milk and sugar for caramelization.
Bake the Tarts
- Bake the filled tarts at 400°F (200°C) for 8-10 minutes, or until the tops are lightly golden and slightly caramelized.
- The center should remain creamy but set properly.
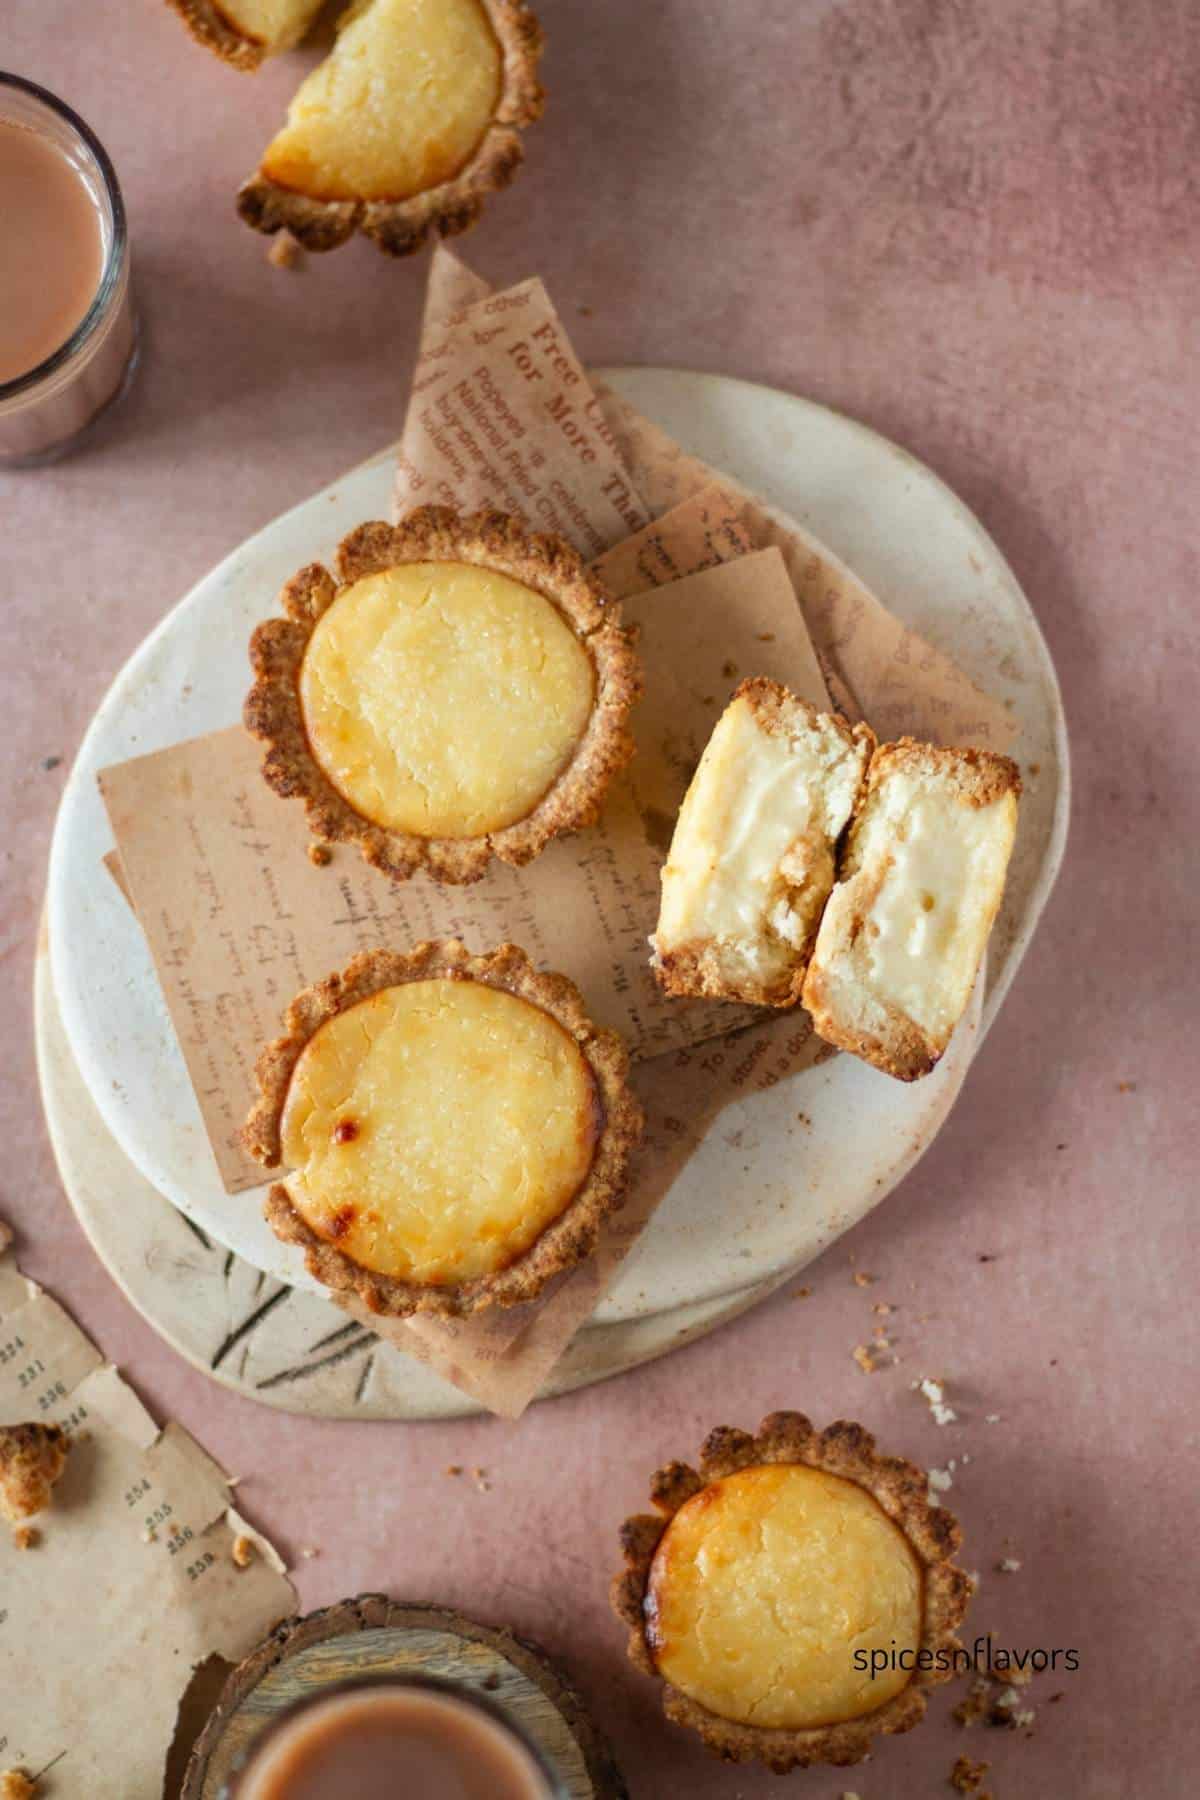
Cool and Serve
- Allow the tarts to cool for 10-15 minutes in their pans and serve warm or chilled.
Hope you enjoyed this eggless version of Japanese cheese tart recipe.
Tips for Making Buttery Tart Shells
- For a flaky and buttery texture, always use cold butter and rub it into the flour mixture until it resembles wet sand.
- Once the dough comes together, avoid overmixing to prevent tough tart shells. Handle the dough gently.
- Chill the dough twice, once after rolling the dough and then before baking to ensure that the shells do not shrink while baking.
- Don’t forget to prick the bottom of the dough with a fork before baking. This prevents air bubbles from forming and ensures even baking.
Tips for Creamy Filling
- Start by whisking the cream cheese, mascarpone, and heavy cream together in a bowl until smooth and creamy. This step is essential for a lump-free filling.
- If, after cooking, the filling still appears lumpy, pass it through a fine sieve to ensure it’s smooth and velvety.
- Ensure that all the cheese ingredients (cream cheese, mascarpone) are at room temperature before whisking them together. This helps avoid lumps and ensures a smooth, creamy texture.
- When cooking the filling, keep the heat on low to medium to avoid curdling the cheese and ensure a smooth consistency. Stir constantly to prevent the mixture from sticking to the pan.
- Once the filling is ready, remove it from the heat and let it cool completely before filling the tart shells. This ensures the filling sets well and doesn't melt into the crust.
These tips will ensure that your Hokkaido cheese tarts will have a smooth, rich, and velvety filling!

Other General Tips
- It is important to chill the dough twice to ensure that it does not shrink while baking.
- When rolling out the dough, use parchment paper to avoid excess flour and make it easier to transfer the dough to tart pans. Rolling the dough between two sheets of parchment paper prevents it from sticking.
- After pressing the dough into the tart pans, gently prick the bottom of the tart shells with a fork. This helps the dough cook evenly by preventing air bubbles from forming while baking.
- Make sure to fully dissolve the cornstarch in milk before adding it to the cheese mixture. This helps in thickening the filling without clumping.
- Leave a small gap at the top of the tart shell when filling them with the cheese filling. Overfilling can cause the filling to spill over while baking, and it may result in an uneven top.
Storage Instructions
- Refrigeration:
- Once the tarts have cooled completely, place them in an airtight container to retain their freshness.
- Store in the refrigerator for up to 2-3 days to maintain the creamy texture and buttery crust.
- Freezing (Optional):
- You can freeze the fully baked tarts for up to 1 month. Place them in a single layer on a tray to freeze initially, then transfer them to a freezer-safe container or ziplock bag.
- To prevent sticking, separate the layers with parchment paper.
- Reheating:
- To enjoy refrigerated tarts, warm them slightly in an oven preheated to 350°F (175°C) for about 5 minutes. This revives the crispness of the tart shell and gently warms the filling.
- For frozen tarts, allow them to thaw in the refrigerator overnight before reheating.
- Avoid Microwave Heating:
- Microwaving can cause the cheese filling to become overly soft and the crust to lose its crisp texture, so it’s best to use an oven for reheating.
Frequently Asked Questions
Absolutely! You can prepare and bake the tart shells ahead of time. Store them in an airtight container at room temperature for up to 2 days or freeze them for up to 1 month.
Cook the filling over low to medium heat and stir constantly. Avoid high heat, which can cause the cheese mixture to separate.
Whisk the mascarpone, cream cheese, and cream until smooth before cooking. If lumps remain after cooking, pass the filling through a fine-mesh sieve for a silky texture.
Yes, you can use muffin tins or ramekins as an alternative. Just ensure the dough is pressed evenly and pricked with a fork before baking.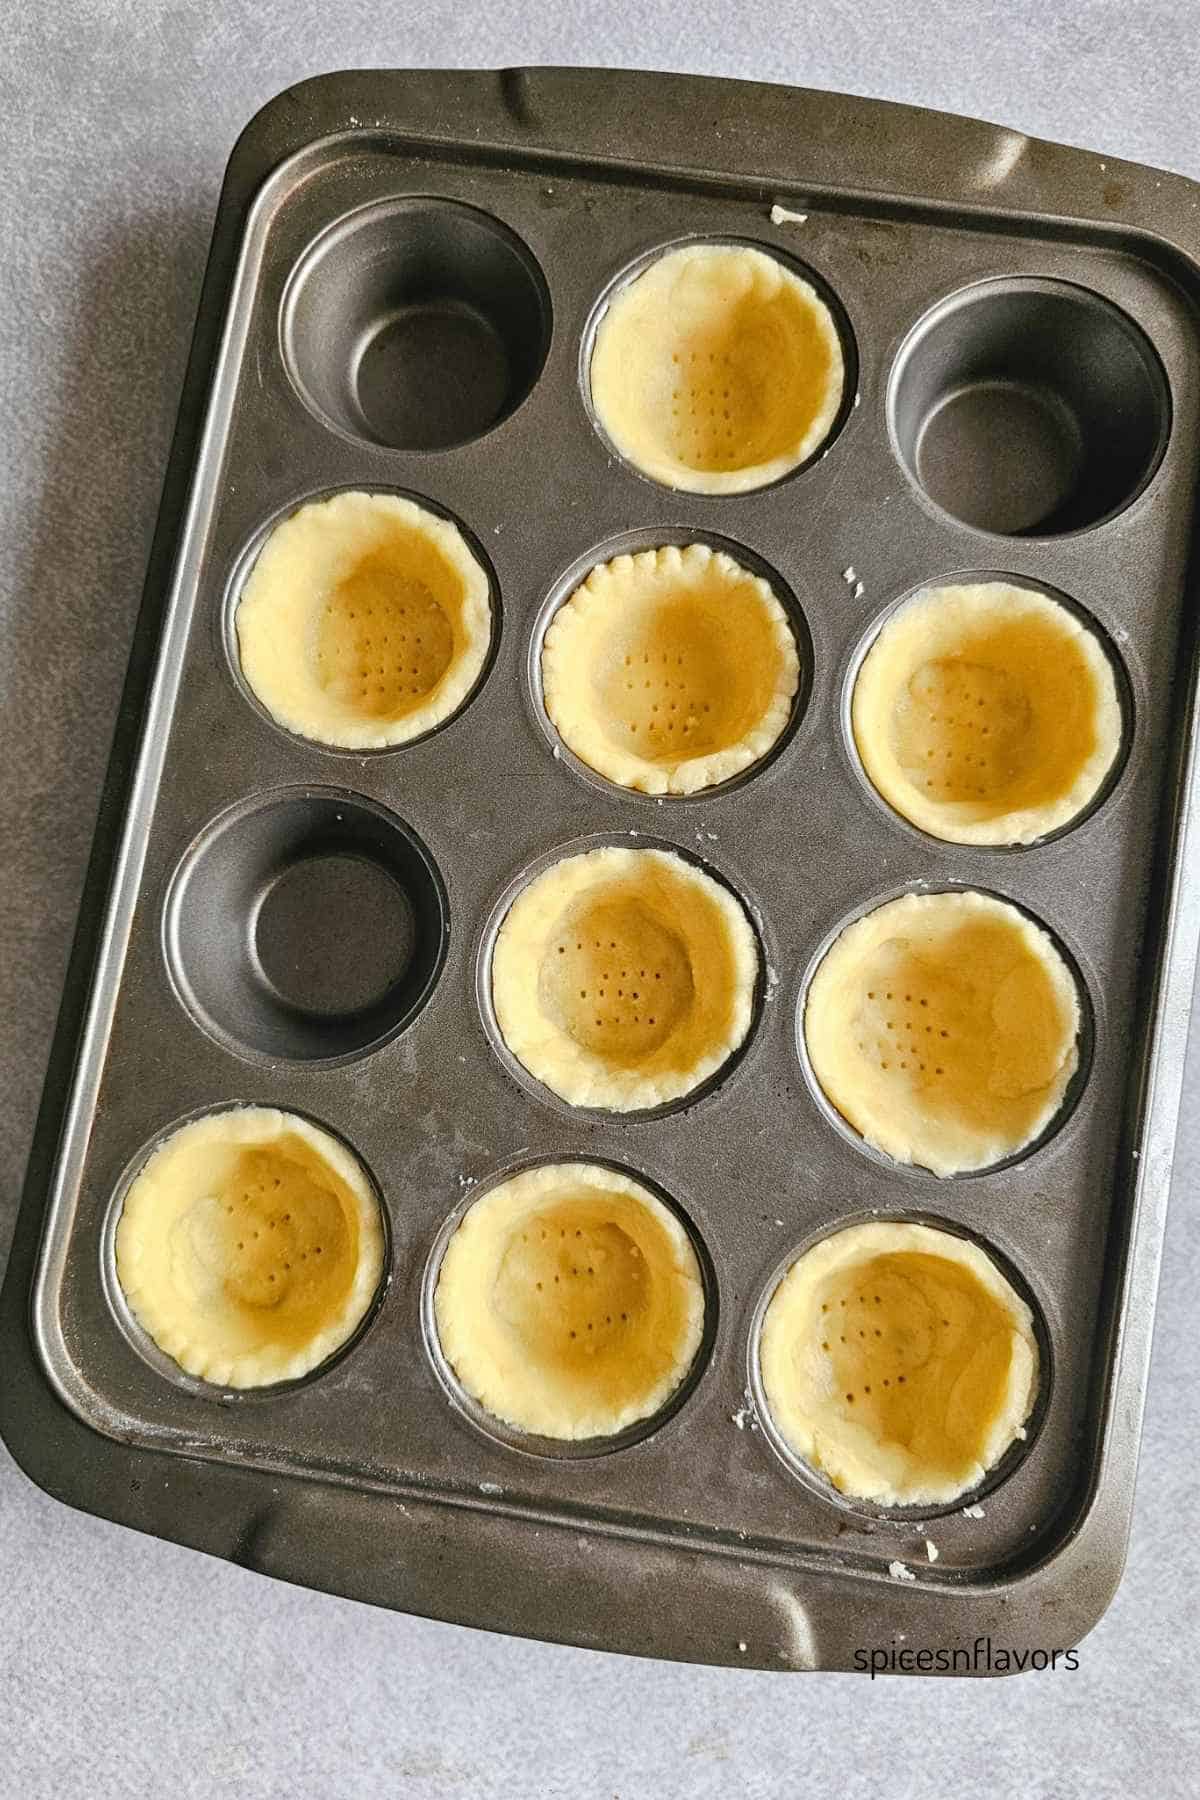
Absolutely! You can mix in matcha powder, cocoa powder, or other flavorings to customize the filling according to your taste.
Ensure the dough is well-chilled before baking and avoid stretching it while pressing it into the molds. Pricking the base with a fork also helps prevent puffing or shrinking.
Yes, you can add an egg yolk to this recipe for a richer and creamier filling. Whisk the egg yolk together with cream cheese, mascarpone, and heavy cream in a bowl until smooth and creamy.
Transfer this mixture to a saucepan and cook over low-medium heat with butter, grated parmesan cheese, and vanilla extract. Stir continuously until the mixture melts and combines smoothly. Add the cornstarch slurry (prepared by dissolving cornstarch in milk or water) and cook until the filling thickens. Perform the spoon test: coat the back of a spoon and run a finger through it—if the line holds, the filling is ready.
Additionally, brushing the tops of the filled tarts with an egg wash before baking will give them the characteristic golden-brown color that makes these tarts visually appealing and adds a hint of texture.
Related Recipes:
Wish to Join US for the love of BAKING? Subscribe to our newsletter and Youtube channel. Follow along on Facebook, Instagram, and Pinterest for all the latest updates!
Best Baked Japanese Hokkaido Cheese Tart recipe
Ingredients
For Tart Crust
- 180 gms (1.5 cups) Flour
- 113 gms (1/2 cup) Butter chilled and cubed
- 50 gms (1/4 cup) Sugar
- 1/4 tsp Salt
- 1 tsp Vanilla
- 2-3 tsp Chilled Water as needed
For Creamy Filling
- 60 ml (1/4 cup) Hokkaido or Full-fat Milk
- 2 tbsp Cornflour or Cornstarch
- 150 gms Cream Cheese softened
- 50 gms Mascarpone cheese softened
- 20 ml Cream
- 30 gms Parmesan Cheese grated
- 50 gms (1/4 cup) Sugar
- 2 tbsp Unsalted Butter
- 1 tsp Vanilla
Instructions
Step 1: Prepare the Tart Crust
- In a mixing bowl, combine the flour, caster sugar, and salt.
- Add the cold, cubed butter to the dry ingredients. Use a pastry cutter or your fingers to rub the butter into the flour until it resembles coarse crumbs.
- Gradually add 1-2 teaspoons of cold water, 1/2 teaspoon at a time, mixing gently until the dough just comes together. Avoid overmixing to keep the crust tender. (I used only 1/2 tsp water).
- Roll out the dough between 2 parchment paper to little more than 1/4 inch thickness, ensuring it's even. Chill the rolled dough in the refrigerator for 30 mins.
- Use a cookie cutter to cut out rounds and fit them into tart molds. Prick the bottom of the crusts with a fork to prevent puffing. Chill the prepared tart shells in the refrigerator for 30 minutes (second time) to prevent shrinkage during baking.
- Preheat the oven to 180°C (360°F). Bake the tart shells for 13-15 minutes or until golden brown. If the shells seemed to have puffed while baking just press it down gently using a tea towel while they are still warm.
- Once baked, remove the tart shells from the oven and allow them to cool completely.
- After cooling, gently tap the bottom of the shell and release the sides. Invert the mold to easily remove the tart shell from the mold.
Step 2: Prepare the Filling
- In a small bowl, mix the cornstarch with 2 tablespoons of milk to form a smooth slurry. Set aside.
- In a separate mixing bowl, whisk the cream cheese, mascarpone, and cream together until smooth and lump-free.
- Transfer the smooth mixture to a saucepan over medium heat followed by parmesan cheese, sugar, butter and vanilla. Stir continuously to combine all the ingredients into a smooth mixture.
- Cook until the mixture is lump-free and silky. (If any lumps remain, pass the mixture through a fine sieve for a smooth consistency.)
- Add the cornstarch slurry. Cook over medium heat, stirring constantly, until the mixture thickens and coats the back of a spatula. Test by running your finger along the spatula; the line should remain clear.
- Transfer the prepared filling to a clean bowl. Cover the surface of the filling with cling wrap, ensuring it touches the surface directly to prevent a skin from forming. Allow the filling to cool to room temperature before using.
Step 3: Assemble and Bake
- Pour the prepared filling into the cooled tart crusts.
- Prepare a milk wash by mixing 1 tablespoon of milk with 1 teaspoon of sugar until dissolved. Lightly brush this mixture over the surface of the filling to promote a caramelized, golden color during baking.
- Bake in the preheated oven at 200°C (400°F) for 7-8 minutes, or until the tops are lightly golden.Let the tarts cool slightly before serving.
Video
Notes
- For a flaky and buttery texture, always use cold butter and rub it into the flour mixture until it resembles wet sand.
- Chill the dough twice, once after rolling the dough and then before baking to ensure that the shells do not shrink while baking.
- When rolling out the dough, use parchment paper to avoid excess flour and make it easier to transfer the dough to tart pans. Rolling the dough between two sheets of parchment paper prevents it from sticking.
- Ensure that all the cheese ingredients (cream cheese, mascarpone) are at room temperature before whisking them together. This helps avoid lumps and ensures a smooth, creamy texture.
- When cooking the filling, keep the heat on low to medium to avoid curdling the cheese and ensure a smooth consistency. Stir constantly to prevent the mixture from sticking to the pan.
- Once the filling is ready, remove it from the heat and let it cool completely before filling the tart shells. This ensures the filling sets well and doesn't melt into the crust.
- Store in the refrigerator for up to 2-3 days to maintain the creamy texture and buttery crust. You can freeze the fully baked tarts for up to 1 month. Place them in a single layer on a tray to freeze initially, then transfer them to a freezer-safe container or ziplock bag.
Leave a Reply