Rose Milk Fruit Cake is a delicious way to make your kids eat more fresh fruits and also drink their milk.. aaaahhhnnn actually eat their milk.. 😉
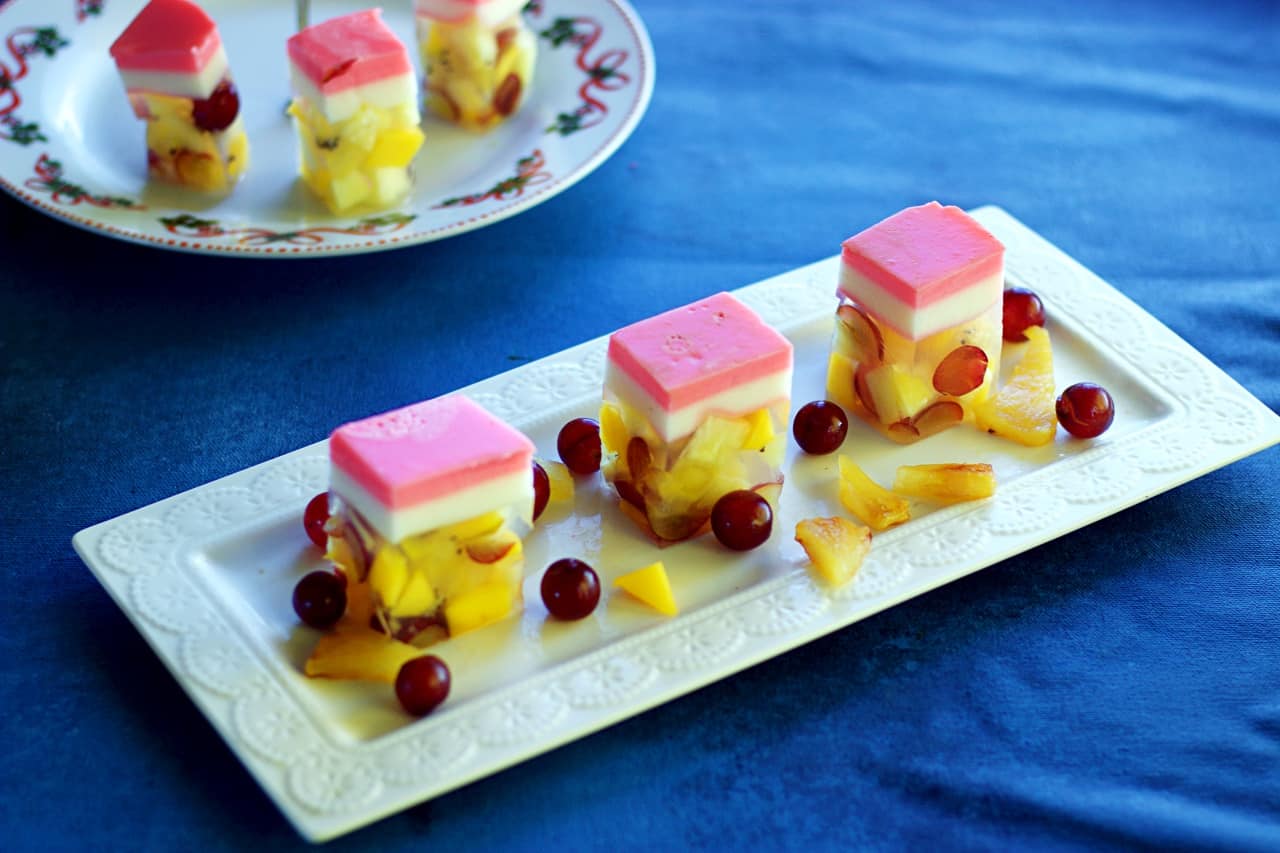
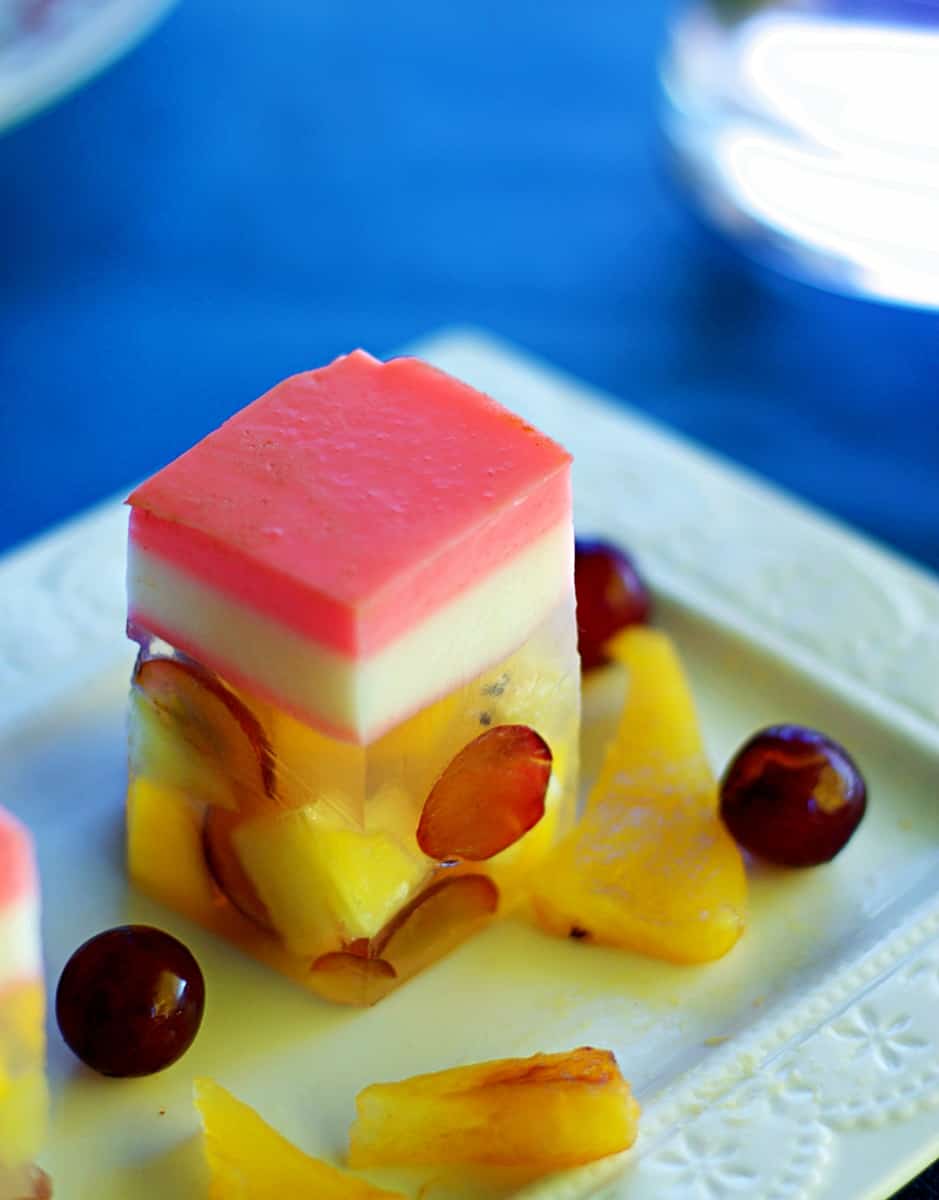
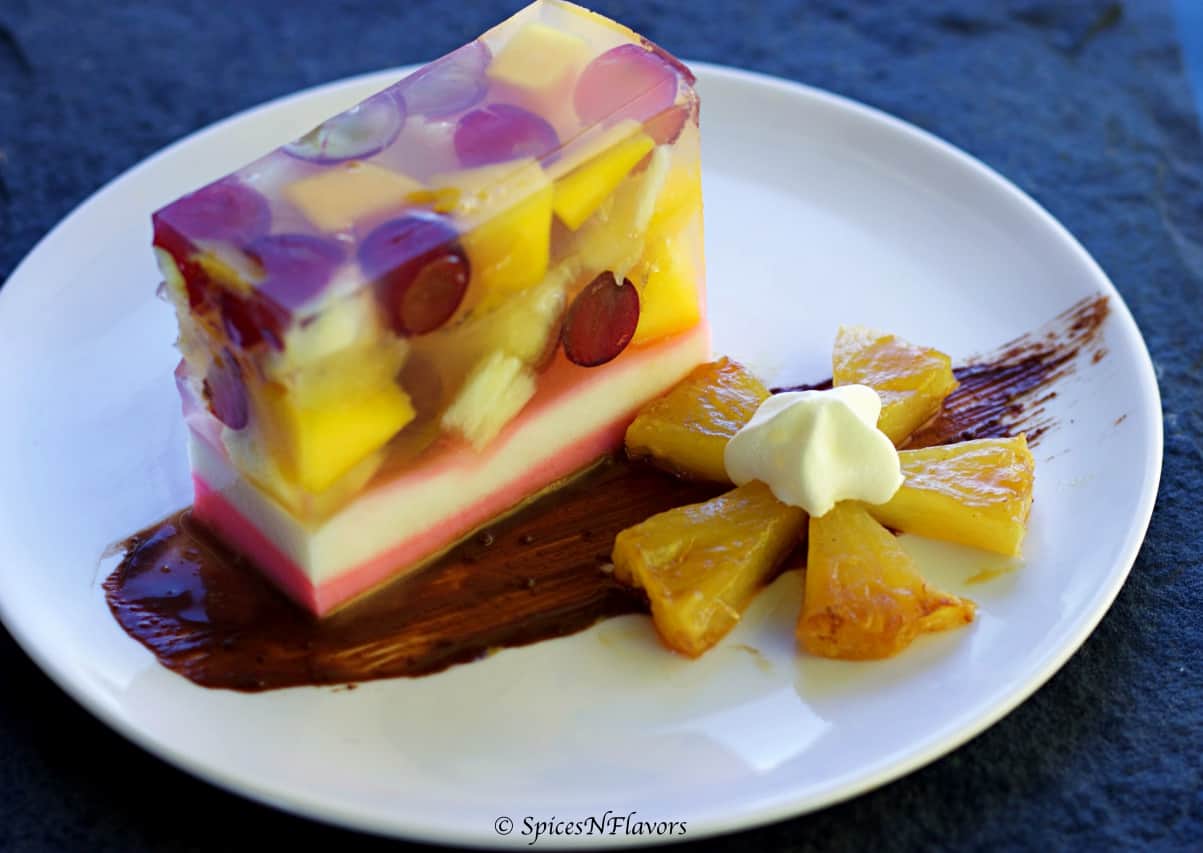
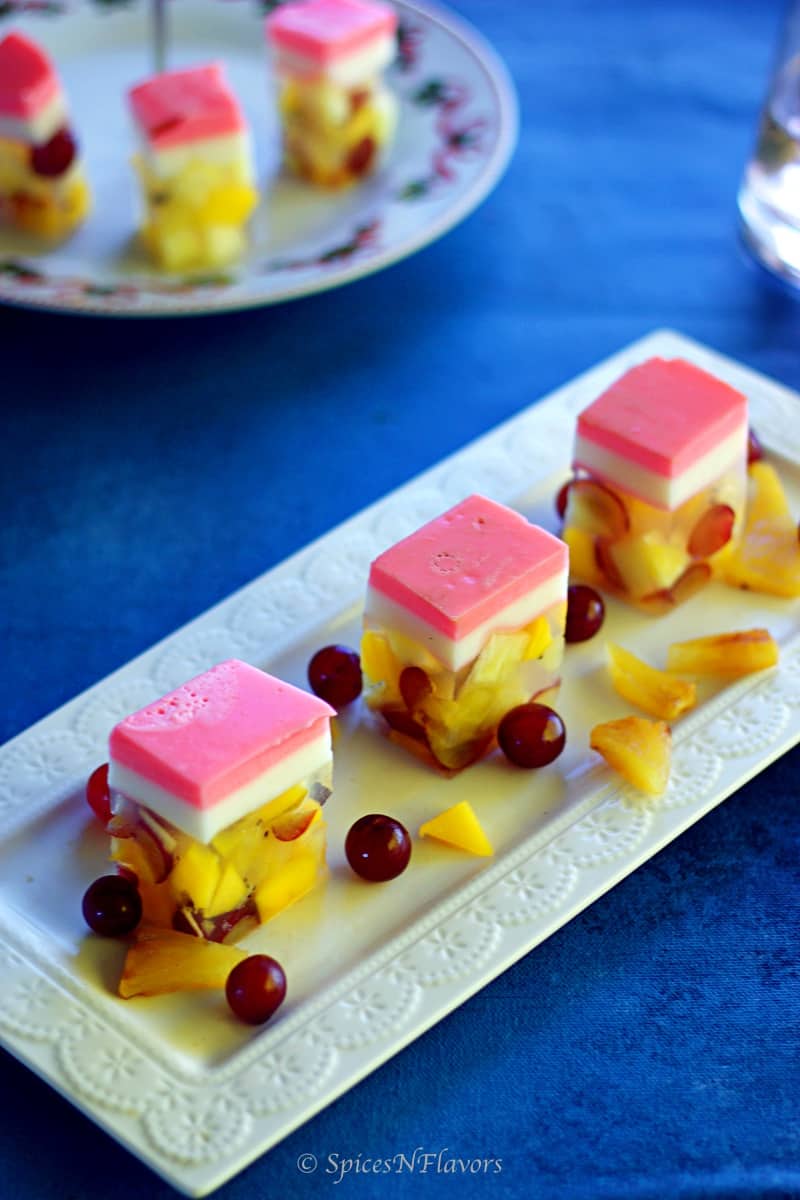
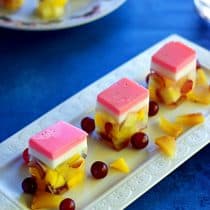
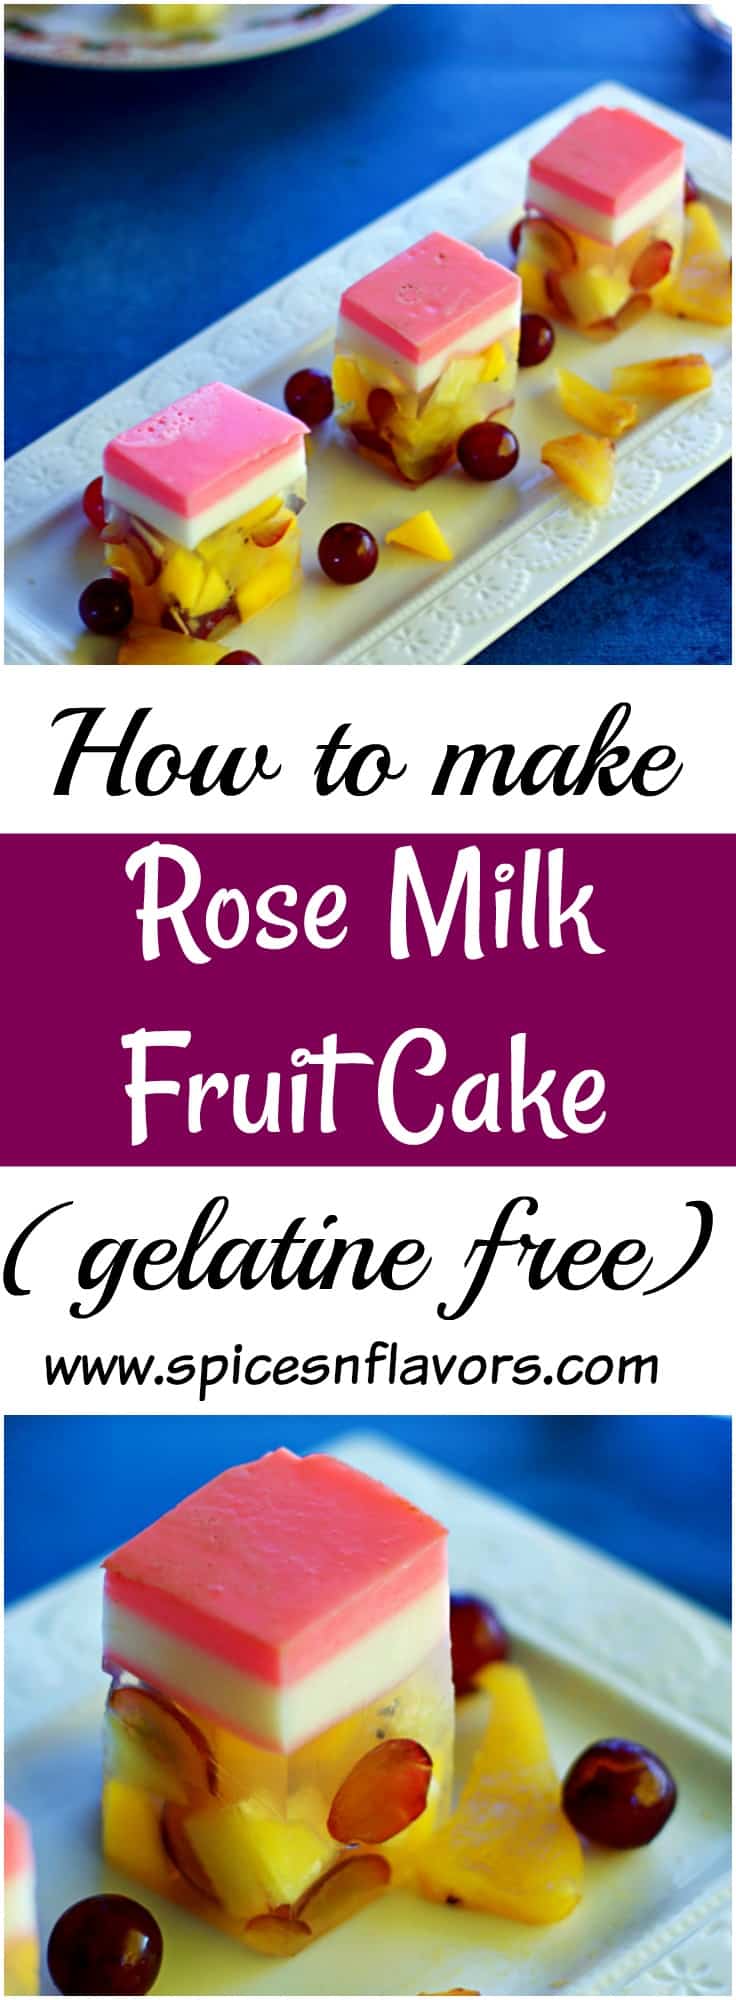
Rose Milk Fruit Cake is actually a layered dessert that has a layer of rose milk, topped up with a milk layer and then fresh fruit layer.
Everything is bound together using agar agar. So basically this is a jelly layered dessert with flavours of rose and a combination of sweet and tart fruits.
There is something that I want to share with you all. Any guesses?
Drumrolls please - My Youtube channel is finally live now. Yay!!!!
It was crazy. I mean I had never even thought that someday I would start my own channel. I had started this blog just to share my ideas with you all. The very same reason why most of the bloggers started their blogs in the first place. But today food has become the most important part of my life.
I am so much into cooking and baking that I now go to a bakery school to learn it more professionally and take my passion to the next level.
This Youtube channel is my new venture to give a new outlook to my blogging journey.
I hope you will extend your support to my Youtube channel like you did to this blog. Here is the link to my channel - SpicesNFlavors
I love making new desserts and specially plating them. Like my Malai Sandwich or the Thandai Cheesecake. Do you remember?
But what do you like the most. I would like to know more about you guys. Which is your favourite part of the meals? Comment below and let me know. Also let me know if there is any particular recipe that you would like me to try. I would love to try and share my experience with you all.
It was such a delight to watch a regular drink that we have on any other regular day given a twist by just adding a simple Agar Agar powder. Yes Rose Milk Fruit Cake is basically inspired by the most common drink Rose Milk.
It was fun to watching a liquid turning into solid form.
This dessert is basically a flavoured jelly. So the base layer is basically rose milk turned into solid form. So it has loads of flavour coming from the rose water. I could not find rose syrup here and hence used rose water and some edible colour. But if you find rose syrup then just use that instead.
The second layer is a Milk layer. I have just used plain milk here. If you wish you can use Coconut Milk or Almond Milk instead.
And the third layer is a sugar syrup with fresh fruits. But I would suggest you can use coconut water or any colourless juice layer instead of water to make it even more flavourful.
However I think the dessert needed a little more sugar. You can adjust it as per your preference.
Here is the detailed recipe
Rose Milk Fruit Cake | Agar Agar Fruit Cake
Ingredients
For the Fruit Layer
- 2 cups Water
- 2 tsp Agar Agar powder
- 1/4 cup Sugar
- 2 cups chopped fruit pieces (mangoes, kiwis, pineapples, grapes, lychee, blueberries etc)
Milk Layer
- 1/2 cup Milk
- 1/4 cup Water
- 1/4 cup Yogurt
- 1 tsp Agar Agar
- 3 tbsp Sugar
Rose Milk Layer
- 1/2 cup Milk
- 1/4 cup Water
- 3 tbsp Rose water
- 1 tbsp Sugar
- Edible colour
Instructions
For the Fruit Layer
- In a saucepan, add agar agar powder to cold water. Switch on the gas. Keep on stirring until the agar agar dissolves (refer notes).
- Bring it to a boil. To check whether the agar agar is completely dissolved; dip the spoon into the syrup take it out and look closely to find any specs on the spoon. No specks means the powder is dissolved and you are good to go. If there is still some specks then simmer the water for a minute more.
- Take it off from the flame. Add sugar and stir to dissolve.
- Pour a ladle full of this syrup onto your cake pan. Arrange 1 cup of fruits in a way that you get a good selection of each fruit in the piece that you cut and serve later on.
- Pour some more water and arrange the remaining cup of water. Repeat until all the fruits and syrup are used up. (refer notes). Allow the mixture to set at room temperature.
For the Milk Layer
- Give the saucepan a rinse and use it for the next layer. Add in milk, water and agar agar powder. Switch on the gas. Stir continuously until the powder dissolves and the milk boils.
- Once boiled do the spoon test to see if agar agar is dissolved completely by lifting up the spoon and looking for specks.
- Switch off the gas and sugar and yogurt and stir to dissolve. (I know what you are thinking the milk might split right don't worry it will come well at the end)
- Check whether the first layer is partially set by touching it gently with your fingers. Then with the help of back of your spoon slowly and gently pour the milk layer on top. (Check the video if you like.)
- Allow this to set too at room temperature.
For the Rose Milk Layer
- In the same saucepan, add agar agar to milk and water mixture. Switch on the gas and repeat the usual process. That is bring it to a boil by stirring continuously. Look for specks and remove from the flame.
- Add sugar, rose water and edible colour and stir to dissolve. Check whether the milk layer is set by gently touching it. Pour this rose milk layer on top using the back of your spoon. Allow this to set too.
For unmolding the cake
- Run a off-set spatula around the sides of the cake tin taking care not to cut through the actual cake layers or disturb the fruits.
- Insert a toothpick on 4 sides of the cake. (Refer the video)
- Place a plate upside down and invert the cake pan. Gently tap the pan to release the fruit cake and voila your delicious three layered dessert is ready.
Notes:
1. It is important to stir the agar agar mixture continuously while making this Rose Milk Fruit Cake as it tends to settle at the bottom and won't be dissolved completely and the cake might then not set.
2. Now while pouring the sugar syrup or any milk layer; it is necessary to note the height of the cake pan. You might be left out with just a tbsp of syrup. Please consider the height of the pan bearing in mind that you need to pour two more layers on top. I have used a 6inch cake pan today. 8 inch cake pan works fine too.
3. You can use a silicon mold cake pan so that it is easy to unmold the cake from it but I just went with what I had at home. I have followed Hot Thai Kitchen's tips to unmold the cake from the pan.
4. The Rose Milk Fruit cake aka jelly cake is not at all sweet. If your family prefers a sweeter jelly then I would highly recommend you to increase the sweetness. Like I said this a best way to make your kids eat fruits so not added much of sugar. You might want to increase the sweetness.
5. You can use instead coconut milk or almond milk instead of plain milk for a flavour or to make it vegan.
6. The big concern - splitting of milk in the second layer while adding yogurt. Ofcourse the milk will split to form paneer when you add yogurt to hot milk. But it won't affect the layering and what you will end up with is the flavour of paneer in your dish which my family liked. If you are concerned or skeptical about using yogurt then just skip it and use same amount of milk instead.
7. I could not find rose syrup here hence used edible colour to bring out that pink colour. But if you can find it then just go ahead and use that.
If you like this recipe or try this recipe do send me a picture on my Facebook, Instagram or Twitter page by tagging me. Please extend your support to my Youtube channel as well.
Would you like to pin this for later
See you soon
Until then
Hugs
Sushma
Sumathee N says
Your fruit jelly recipe is awesome! Looking forward to more of your delicious recipes. 😋
sushma iyer says
I am glad you liked it.. thank you
Pratima says
What size pan did you use? looks delicious
sushma iyer says
Hi Pratima.. that is a 6 inch pan
Ashley Marie Lettice says
How long does it normally take for the fruit layer to set at room temperature?
sushma iyer says
Hi Ashley..
It sets immediately.. Won't take more than 15 mins.. 🙂
Regards
Sushma
Amy says
If I wish to set it in small glasses itself .. ready to serve.. then should I begin with the coloured layer first and move in reverse order ?
sushma iyer says
Hi amy
Yes, that would be practical and that way layers could be visible too..
Regards
Sushma
rani says
nice website, keep on writing..
sushma iyer says
Thank you Rani
so glad to know that you liked it
Regards
Sushma
rani says
look so fresh! i wanna it...
Anna says
Hi,
I like your recipe.
I always find that if i use flavored milk such as banana, strawberry or any other types, the flavor milk tends to burn at the bottom of the pot even a good quality stainless steel is used.
Would appreciate your advise.
Regards
Anne
sushma iyer says
Hi Anna.. So glad to know that you are liking the recipes..
Hmmm to avoid burning of the milk at the base there are two things that you can do.. 1. Always keep the heat on low to med and 2. Keep stirring it.
Well these are not anything new it is generally practised by everyone even you might be knowing it but these simple things is what to be followed.
Thank you
Chhaya badani says
I need to know...
If i pour hot milkagar mixt the jelly layer will melt .if i put room temp mixt it wont stick to jelly layer.how to make this perfect?
sushma iyer says
Hi chhaya..
No the hot milk mixture won't melt the jelly layer.. Agar Agar sets at room temperature so by the time you pour it on top it would be partially set so don't worry it wont melt..
Thank you