
This homemade Christmas Butter Cookies recipe is the perfect cookie for the holiday season, with a buttery, melt-in-your-mouth texture that everyone will love.
Whether you’re piping festive shapes or rolling out classic cookie dough, these cookies are a must-bake treat for this magical time of year.

These delicious Christmas butter cookies are an irresistible upgrade to our reader-favorite three-ingredient piped cookies, with rich, buttery flavors and a melt-in-your-mouth texture.
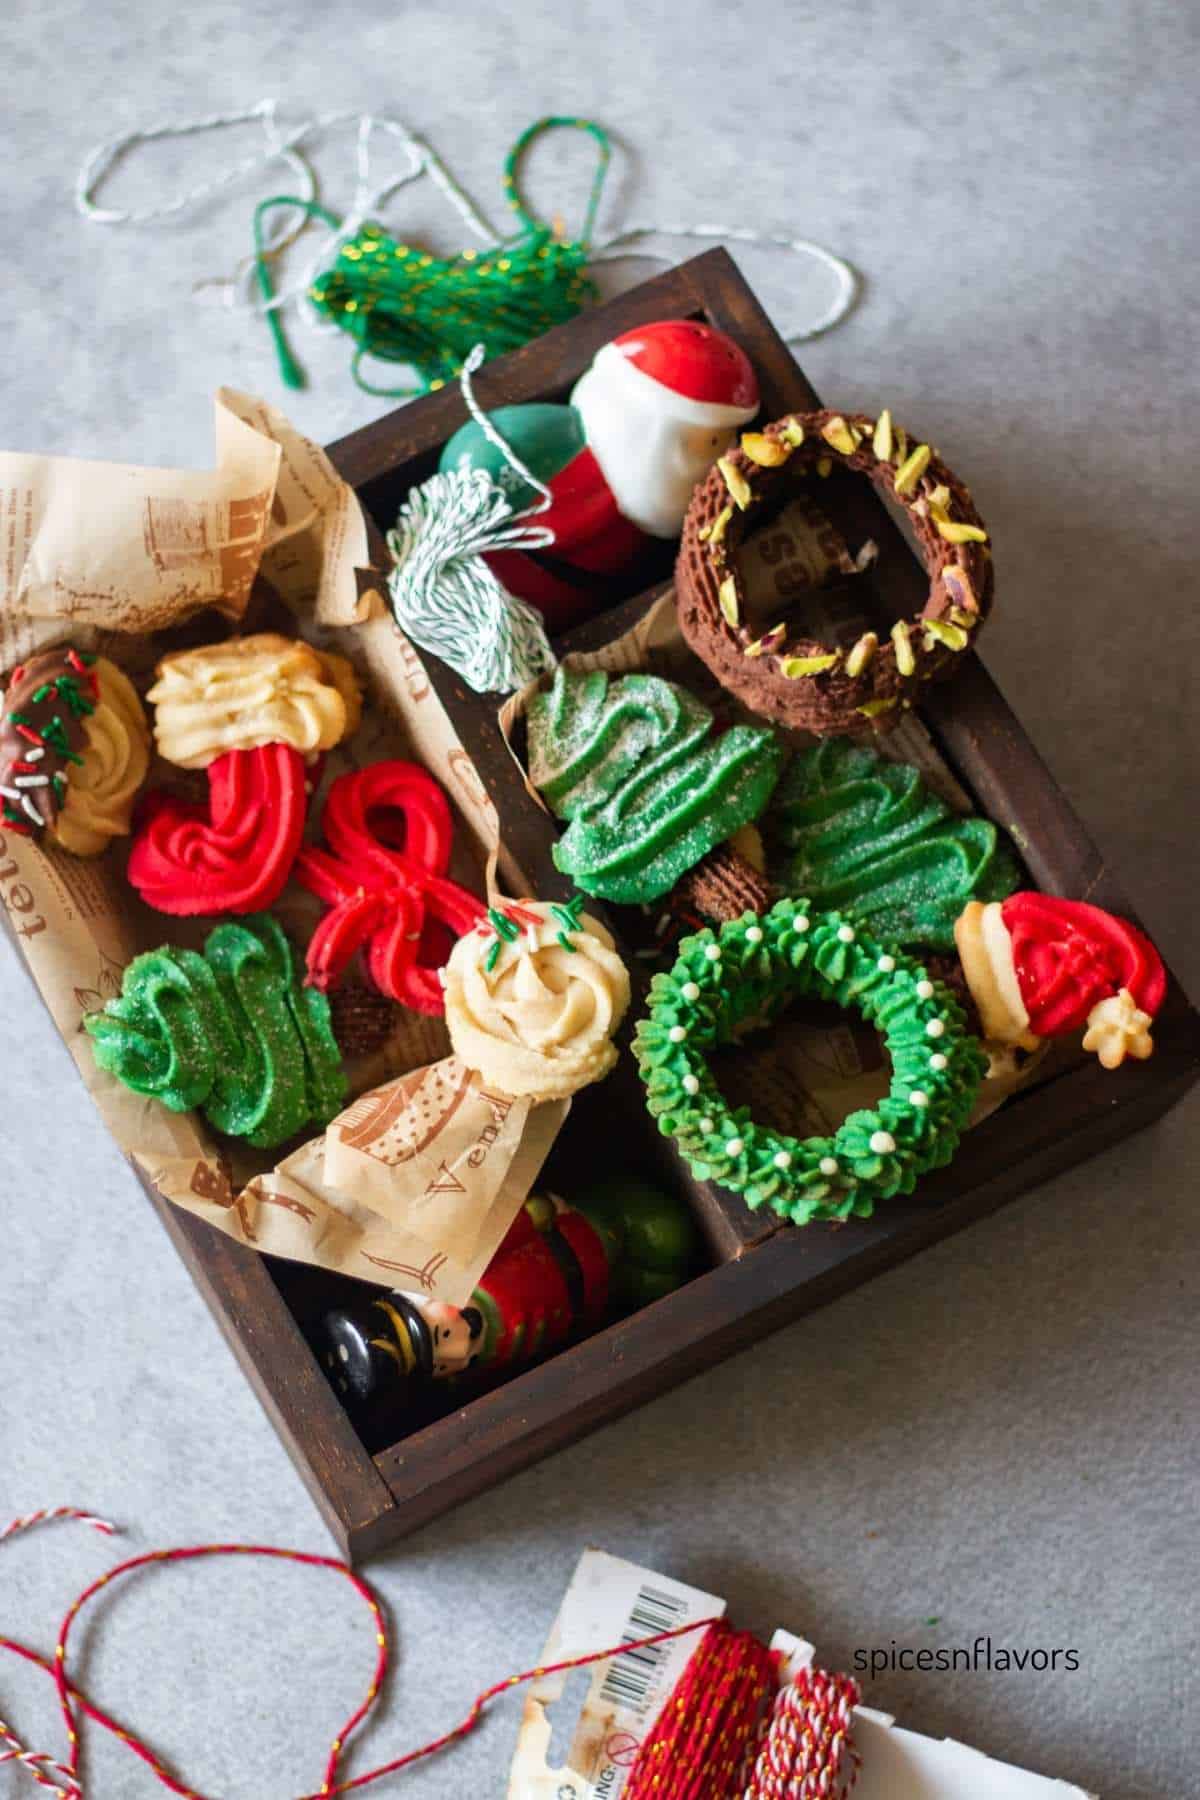
Using just one cookie dough, you can create a variety of festive Christmas cookies perfect for a Christmas cookie platter or a cookie exchange.
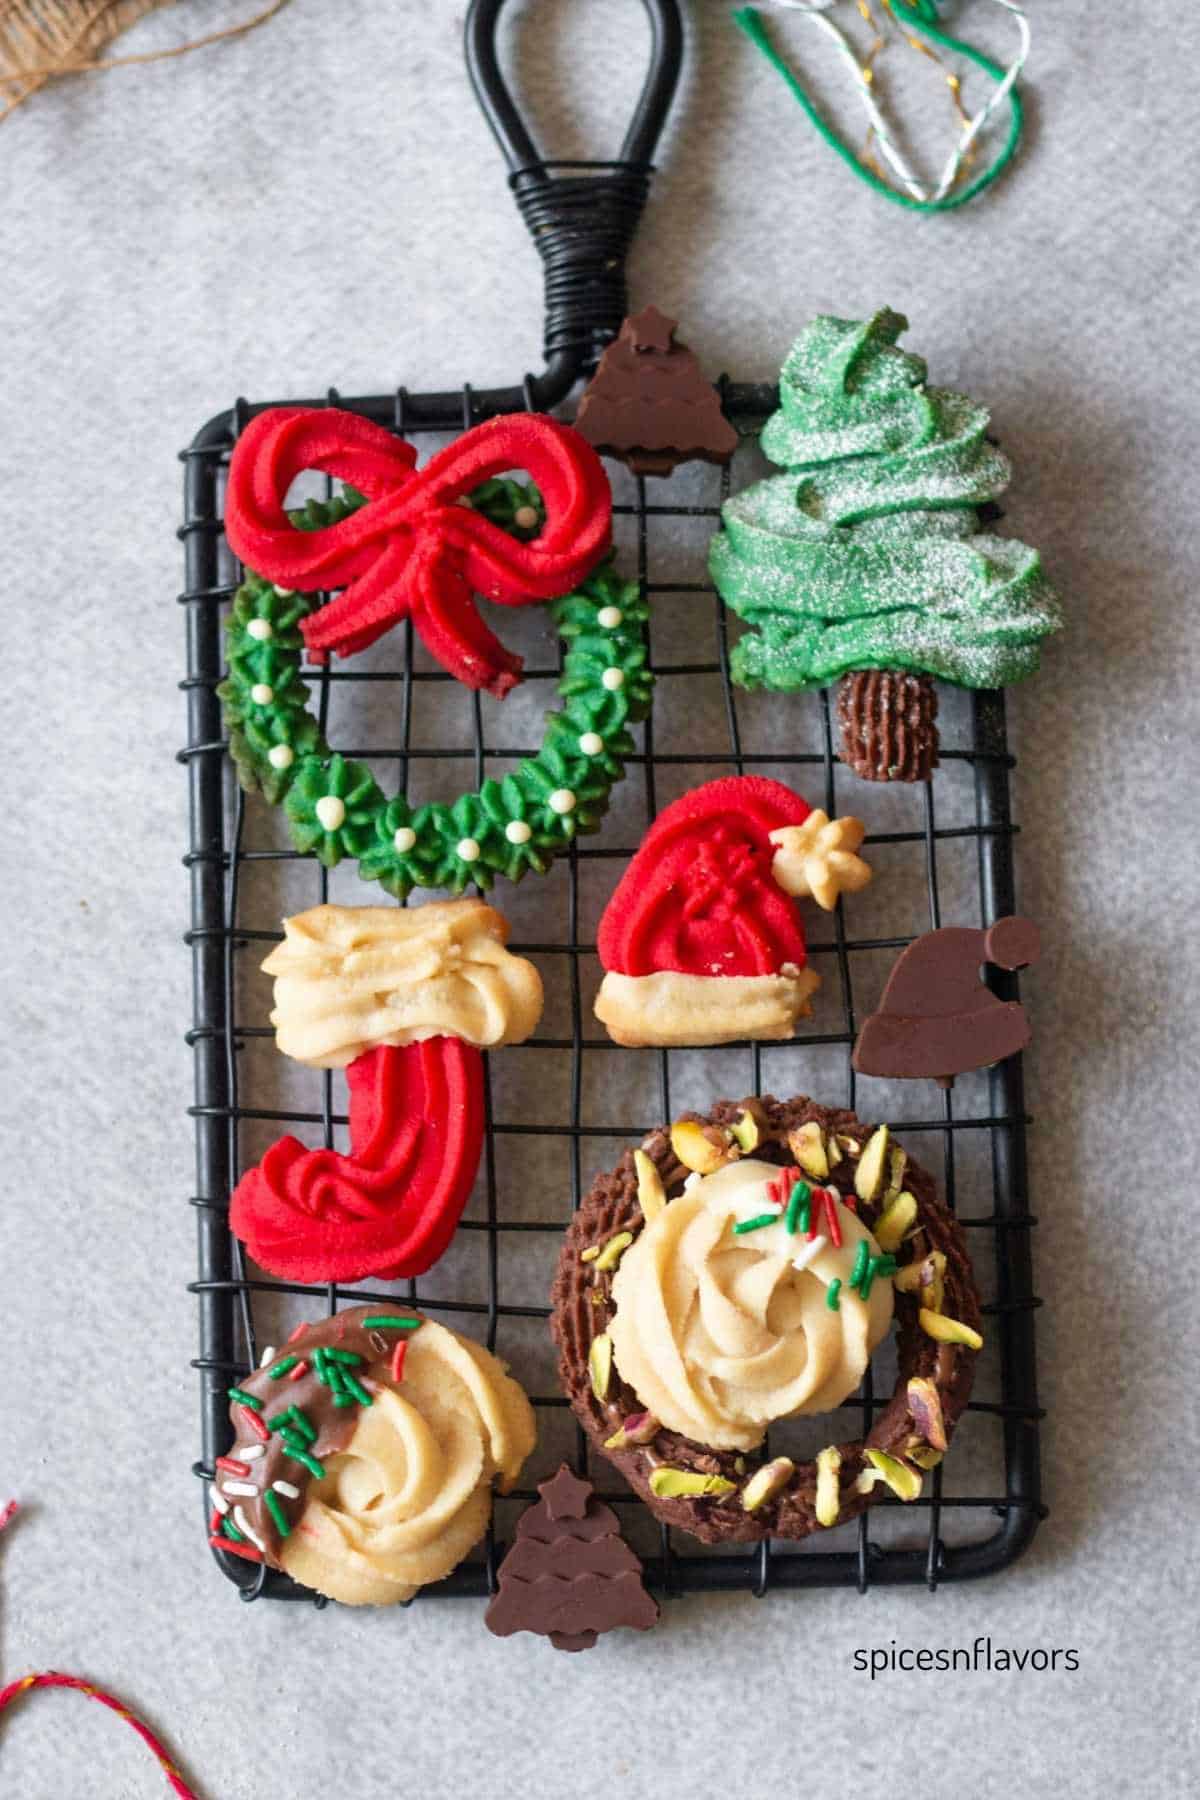
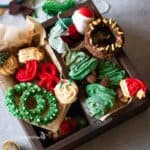
From beautifully piped Christmas trees and classic wreaths to different shapes like cocoa rings, Christmas socks, bows, Santa hats, and elegant rosettes, these homemade Christmas butter cookies are as versatile as they are delicious.
Whether you’re baking for gifting or indulging in your favorite Christmas cookies, these crispy butter cookies are sure to be the star of the season!
Ingredients
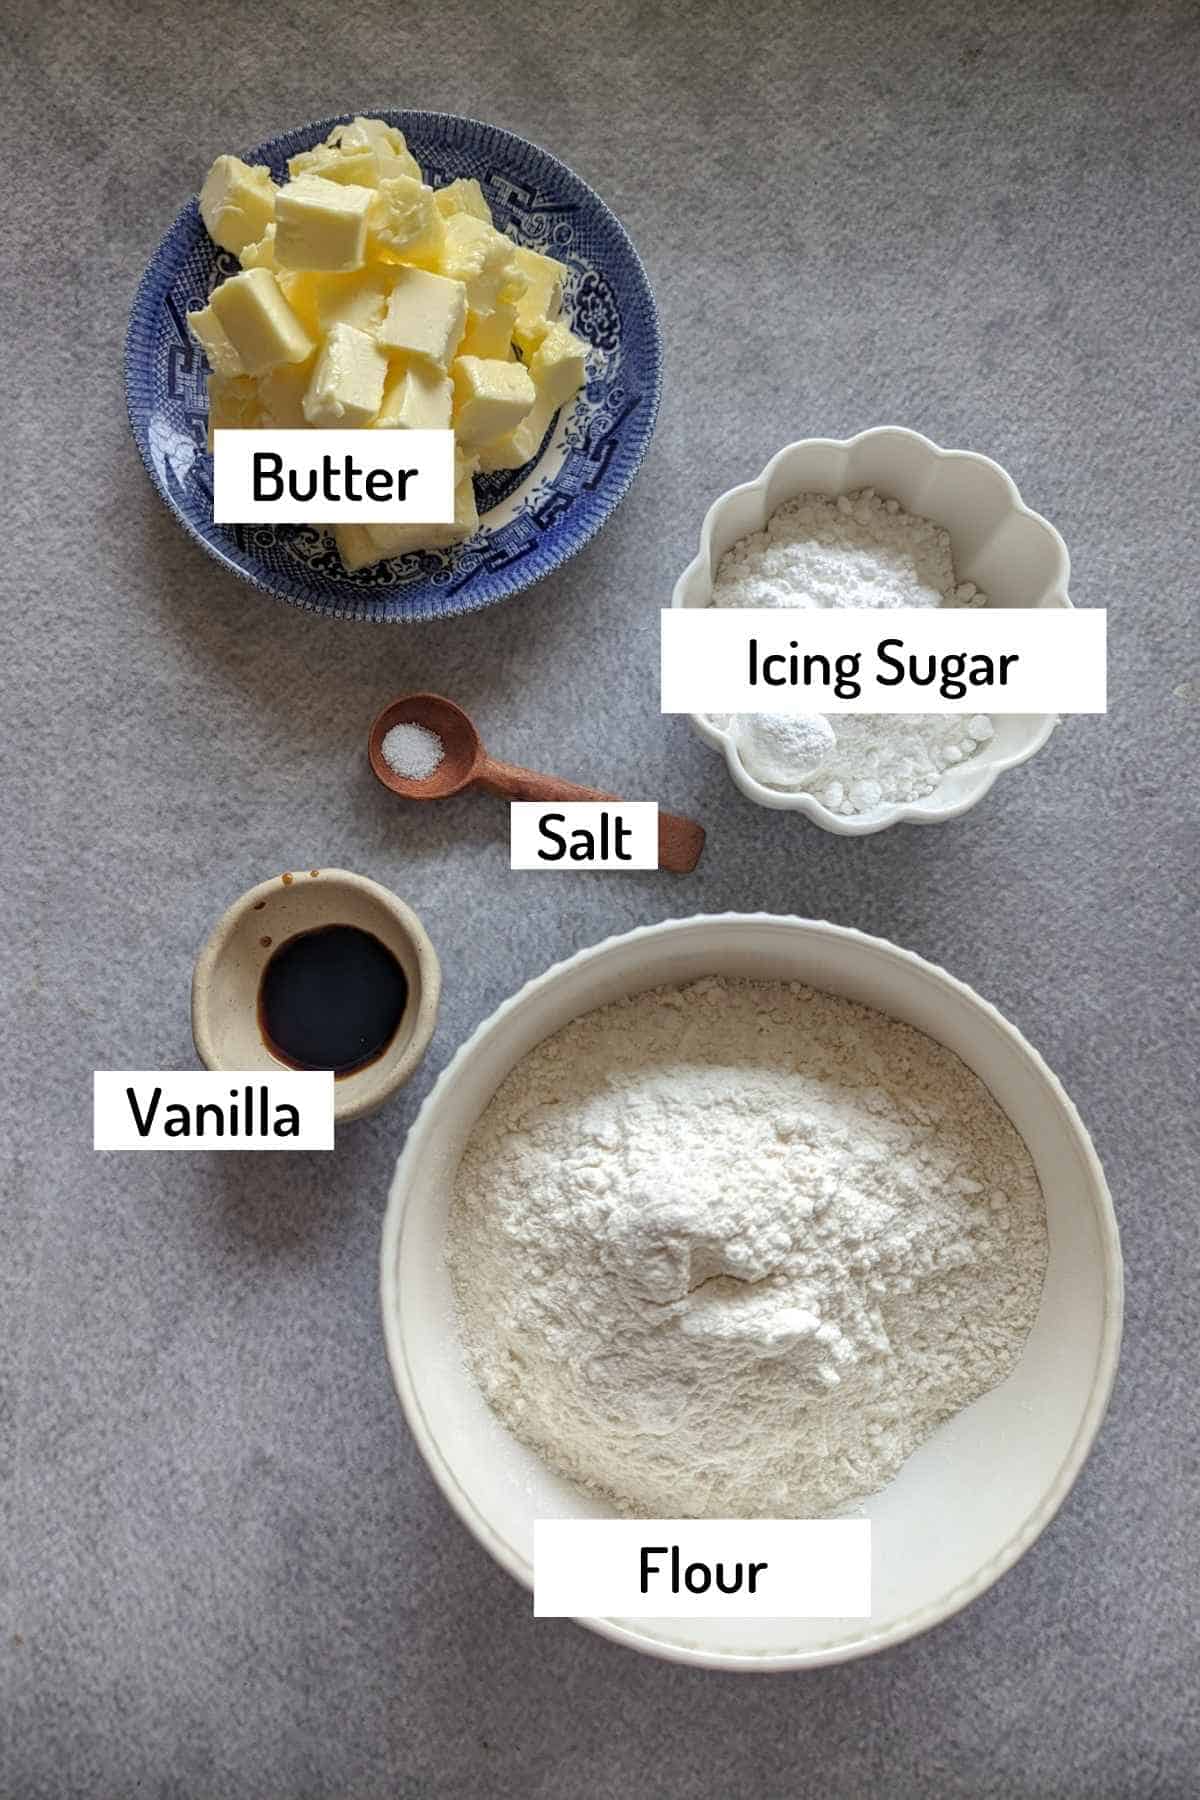
- Butter: Use unsalted butter for better flavor control. Make sure the butter is softened (not melted) to achieve the perfect creamy texture when beating. High-quality butter will give your cookies the best rich and buttery flavor.
- Powdered Sugar (Icing Sugar): Confectioner's sugar is key to creating that melt-in-your-mouth texture. Avoid granulated sugar, as it won’t dissolve well and may make the cookies grainy.
- Vanilla extract: Use pure vanilla extract or vanilla bean paste for a deeper, more natural flavor. For a festive twist, you can experiment with other flavors when dividing the dough. Try peppermint extract for the green-colored dough, rose essence for the red-colored dough, or even a hint of almond extract or cinnamon for added variety.
- Milk: Milk helps adjust the dough's consistency, making it easier to pipe. Add 1 teaspoon at a time to avoid making the dough too soft.
- Optional Additions:
- Cocoa Powder: Mix cocoa powder into a portion of the dough for a chocolatey flavor and color, perfect for making cocoa rings or tree trunks.
- Food Coloring: Use gel-based food colors for vibrant reds and greens without altering the dough's texture.
- Salt: A small pinch of salt enhances the flavors, especially if you’re using unsalted butter.
Scroll to the end of the post to print the recipe from the recipe card.
Step by Step Instructions:

In a large bowl, beat softened butter and powdered sugar for 2 minutes using an electric mixer on medium speed. Pause in between to scrape down the sides with a rubber spatula to ensure everything mixes evenly (image 1).
Add vanilla extract (or preferred flavor) and beat again until well incorporated (image 2).
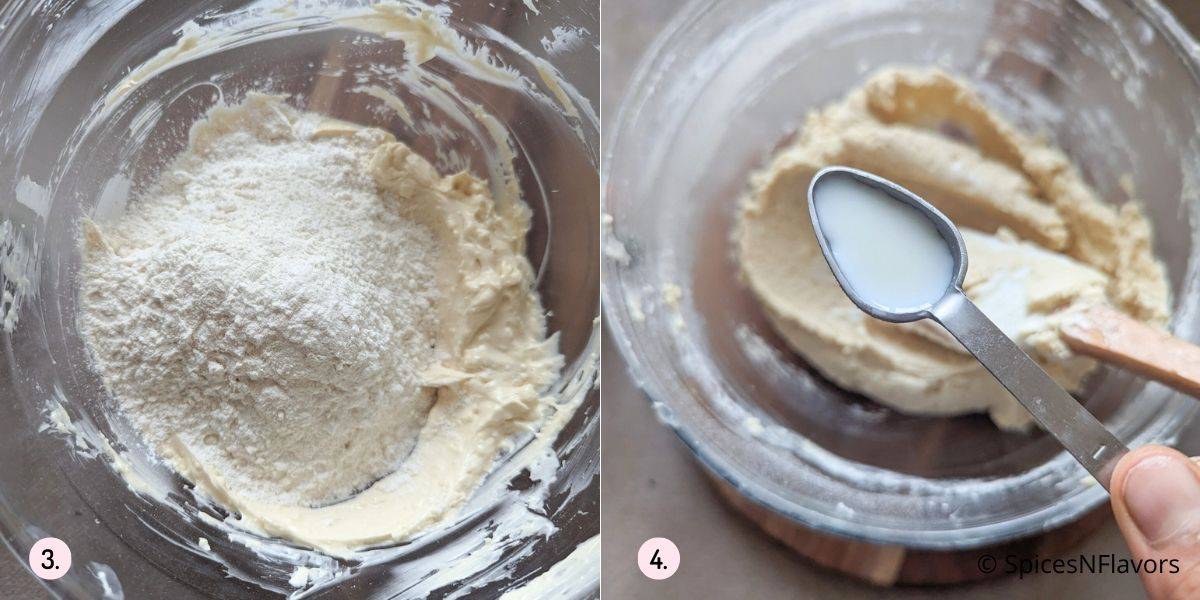
Mix a pinch of salt into the all-purpose flour. Gradually fold the flour into the butter mixture in two batches. Beat for about a minute to combine everything into a smooth dough. (image 3)
Add milk, 1 teaspoon at a time, to adjust the dough's consistency, making it pipeable but not too soft. (image 4)

Divide the dough into 4 portions (image 5)
- Red: Add red food coloring.
- Green: Add green food coloring (peppermint flavor optional).
- Cocoa: Mix in 1 tablespoon of cocoa powder.
- Plain: Leave the last portion plain.
- Place each colored dough into a separate piping bag.
Line a baking sheet with parchment paper to prevent sticking and make cleanup easier.

Christmas Tree:
Using a French tip nozzle, pipe the trunk with the cocoa dough. (image 6)
Switch to a 2D nozzle and pipe the tree shape using the green dough. (image 7)

Cocoa Rings: Use a French tip nozzle to pipe circular shapes with the cocoa dough (image 9).
Wreaths: Pipe stars in a circular pattern using a large star nozzle to create the look of a wreath (image 9).
Christmas Socks, Bow, and Santa Hat: Use a small star nozzle to pipe these shapes with the red dough (image 8).
For the Santa hat base and the sock detailing, use the plain dough with the same nozzle. (image 8)
Rosettes: Use a 2D nozzle to pipe classic rosettes with the plain dough (image 9).
Place the prepared baking sheet in the preheated oven at 170°C (340°F).
Bake the cookies for 10-12 minutes or until the edges turn a light golden brown.
Once out of the oven, these cookies are fragile, so allow them to cool in the pan for 10 minutes before transferring them carefully to a wire rack to cool completely.
Decorate the Cookies:
- Rosettes: Dip the rosettes in melted dark or white chocolate and sprinkle with Christmas sprinkles.
- Cocoa Rings: Pipe melted chocolate over the cocoa rings in a circular motion and top with slivered pistachios for an elegant and festive finish.
- Wreaths: Add small dots using melted white chocolate for a festive touch.
- Christmas Trees: Dust lightly with icing sugar to resemble snow.
These beautifully piped and decorated Christmas butter cookies are not only stunning but also rich, buttery, and melt-in-your-mouth delicious, making them the perfect addition to any Christmas spirit celebration.
Storage Instructions
- Room Temperature Storage:
- Once the cookies have completely cooled, store the baked cookies in an airtight container at room temperature. They will stay fresh for up to 1 week.
- Keep the container in a cool, dry place, away from direct sunlight.
- Refrigeration:
- For longer storage, you can store the cookies in the refrigerator for up to 2 weeks in an airtight container. Allow the cookies to come to room temperature before serving for the best flavor and texture.
- Freezing:
- These cookies freeze beautifully! Place the cookies in a single layer on a baking sheet and freeze them for 1-2 hours.
- Once frozen, transfer them to a freezer-safe bag or airtight container. They can be stored in the freezer for up to 2 months.
- To thaw, let them sit at room temperature for a few hours before enjoying.
By following these simple storage instructions, you can enjoy these delicious homemade Christmas butter cookies well beyond the holiday season!
Best Tips
- Ensure that the butter is softened but not melted. This helps the butter mix evenly with the sugar, creating a smooth and light dough for perfect piping.
- Once you add the flour, mix until just combined. Overmixing can lead to tough cookies. Aim for a smooth dough, but don’t overwork it.
- The amount of milk you need may vary depending on the humidity and your flour. Add milk 1 teaspoon at a time and test the dough to ensure it’s pipeable but not too runny.
- Use a French tip nozzle for the cocoa trunk and cocoa rings, a 2D nozzle for Christmas trees and rosettes, and a small star nozzle for shapes like socks, bows, and Santa hats. This will give the cookies a beautiful, professional finish.
- When coloring the dough, add food coloring sparingly—start with a drop or two and mix well. You can always add more for a deeper color.
- You can choose to add different flavors to the colored dough. For example, use peppermint extract for the green dough, rose essence for the red dough, or even cinnamon for a warm, festive touch. This adds variety and a wonderful twist to each batch!
- Once baked, let the cookies cool on the baking sheet for 10 minutes. They are delicate right out of the oven and can break easily if handled too soon.
- Keep an eye on the cookies during the last few minutes of baking. They’re done when the edges are golden brown but the centers remain pale.
Frequently Asked Questions
To ensure your cookies keep their shape, do not overbeat the butter and sugar. Beat them only for about 2 minutes until the mixture is smooth and creamy to avoid incorporating too much air into the dough. Also, make sure your butter is softened (not too cold or too soft), as this helps the dough hold its shape without spreading too much during baking.
Danish butter cookies and regular butter cookies are very similar but differ in texture and ingredients. Danish butter cookies tend to have a higher butter content, often including egg yolks for richness, resulting in a more crumbly, melt-in-your-mouth texture. They are typically thicker and richer than regular butter cookies, which can be slightly crisper and may use more sugar or egg whites. Danish butter cookies are known for their delicate, buttery flavor and are often sold in decorative tins, while regular butter cookies are more commonly made at home or for events like cookie exchanges.
Related Recipes:
Wish to Join US for the love of BAKING? Subscribe to our newsletter and Youtube channel. Follow along on Facebook, Instagram, and Pinterest for all the latest updates!
Christmas Butter Cookies recipe using 1 basic dough
Ingredients
- 170 gms Unsalted Butter softened
- 70 gms Icing sugar
- 1 tsp Vanilla
- 210 gms Flour
- 1/4 tsp Salt
- 1-2 tbsp Milk as needed
- 1 tbsp Cocoa Powder
- Gel food colours
Instructions
- In a large bowl, beat softened unsalted butter and powdered sugar together on medium speed for about 2 minutes, or until the mixture is smooth and creamy. Scrape down the sides of the bowl to ensure even mixing.
- Add vanilla extract (or any preferred flavor) and beat again until fully incorporated.
- Mix a pinch of salt into the all-purpose flour. Gradually fold the flour into the butter mixture in two batches, beating just until combined. Be careful not to overmix.
- Add milk 1 teaspoon at a time, adjusting the dough’s consistency to make it pipeable but not too soft.
- Divide the dough into portions, then add food coloring as desired (red, green, or leave plain) and mix in thoroughly. For a chocolatey flavor and color, mix in 1 tablespoon of cocoa powder to one portion of the dough.
- Transfer each colored dough portion into a separate piping bag fitted with your desired nozzles. Use a French tip nozzle for the cocoa trunk and cocoa rings, a 2D nozzle for Christmas trees and rosettes, and a small star nozzle for shapes like socks, bows, and Santa hats.
- Pipe festive shapes onto the prepared baking sheet lined with parchment paper using the appropriate nozzles for each design, such as Christmas trees, wreaths, cocoa rings, Santa hats, and rosettes. For detailed piping instructions, check the blog post.
- Bake in a preheated oven at 170°C (340°F) for 10-12 minutes, or until the edges of the cookies turn golden brown. Allow the cookies to cool on the baking sheet for 10 minutes before transferring them to a wire rack to cool completely.
- Once cooled, decorate as desired with sprinkles, icing, or melted chocolate.
Leave a Reply