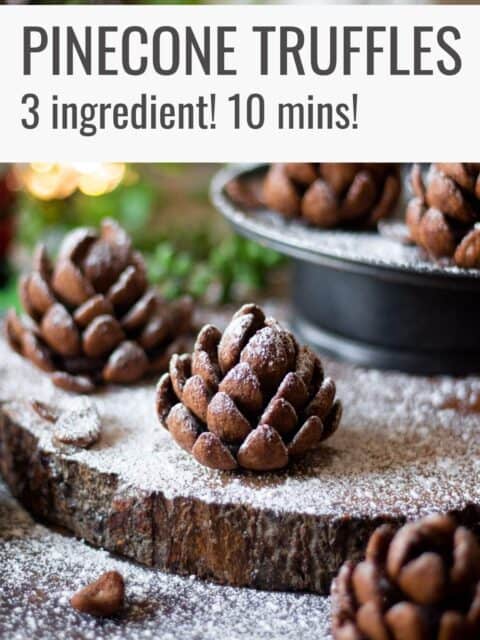
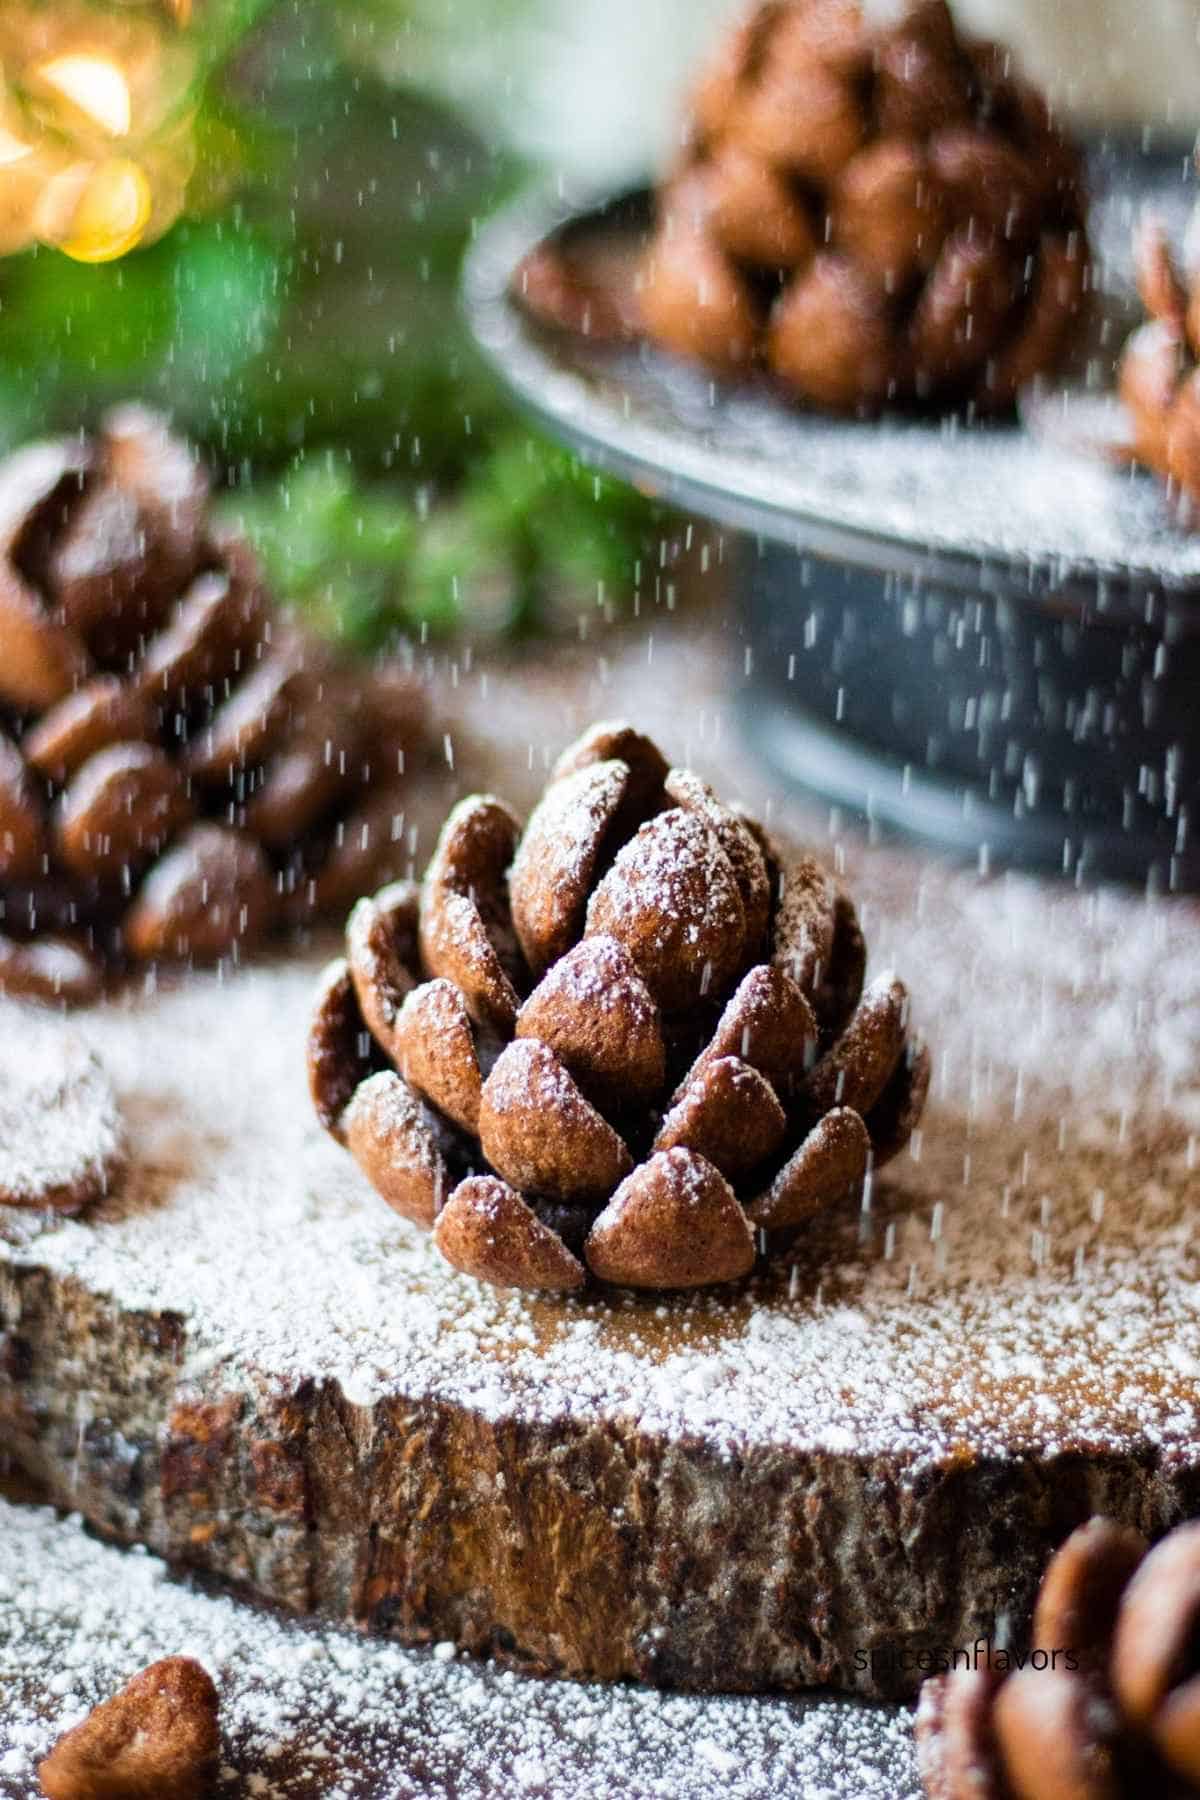
These no-bake Pinecone Truffles are a festive twist on classic Oreo truffles, made with just 3 ingredients and perfect for the holidays.
This easy Christmas recipe combines cookies and chocolate into a charming, festive treat that will be the star of your dessert table!
The holiday season is incomplete without a batch of delicious truffles, with my favorite being the simple 2-ingredient versions that are quick yet indulgent.
I love experimenting with flavors, from classic no-bake cheesecake-inspired truffles, and coffee truffles to easy variations.
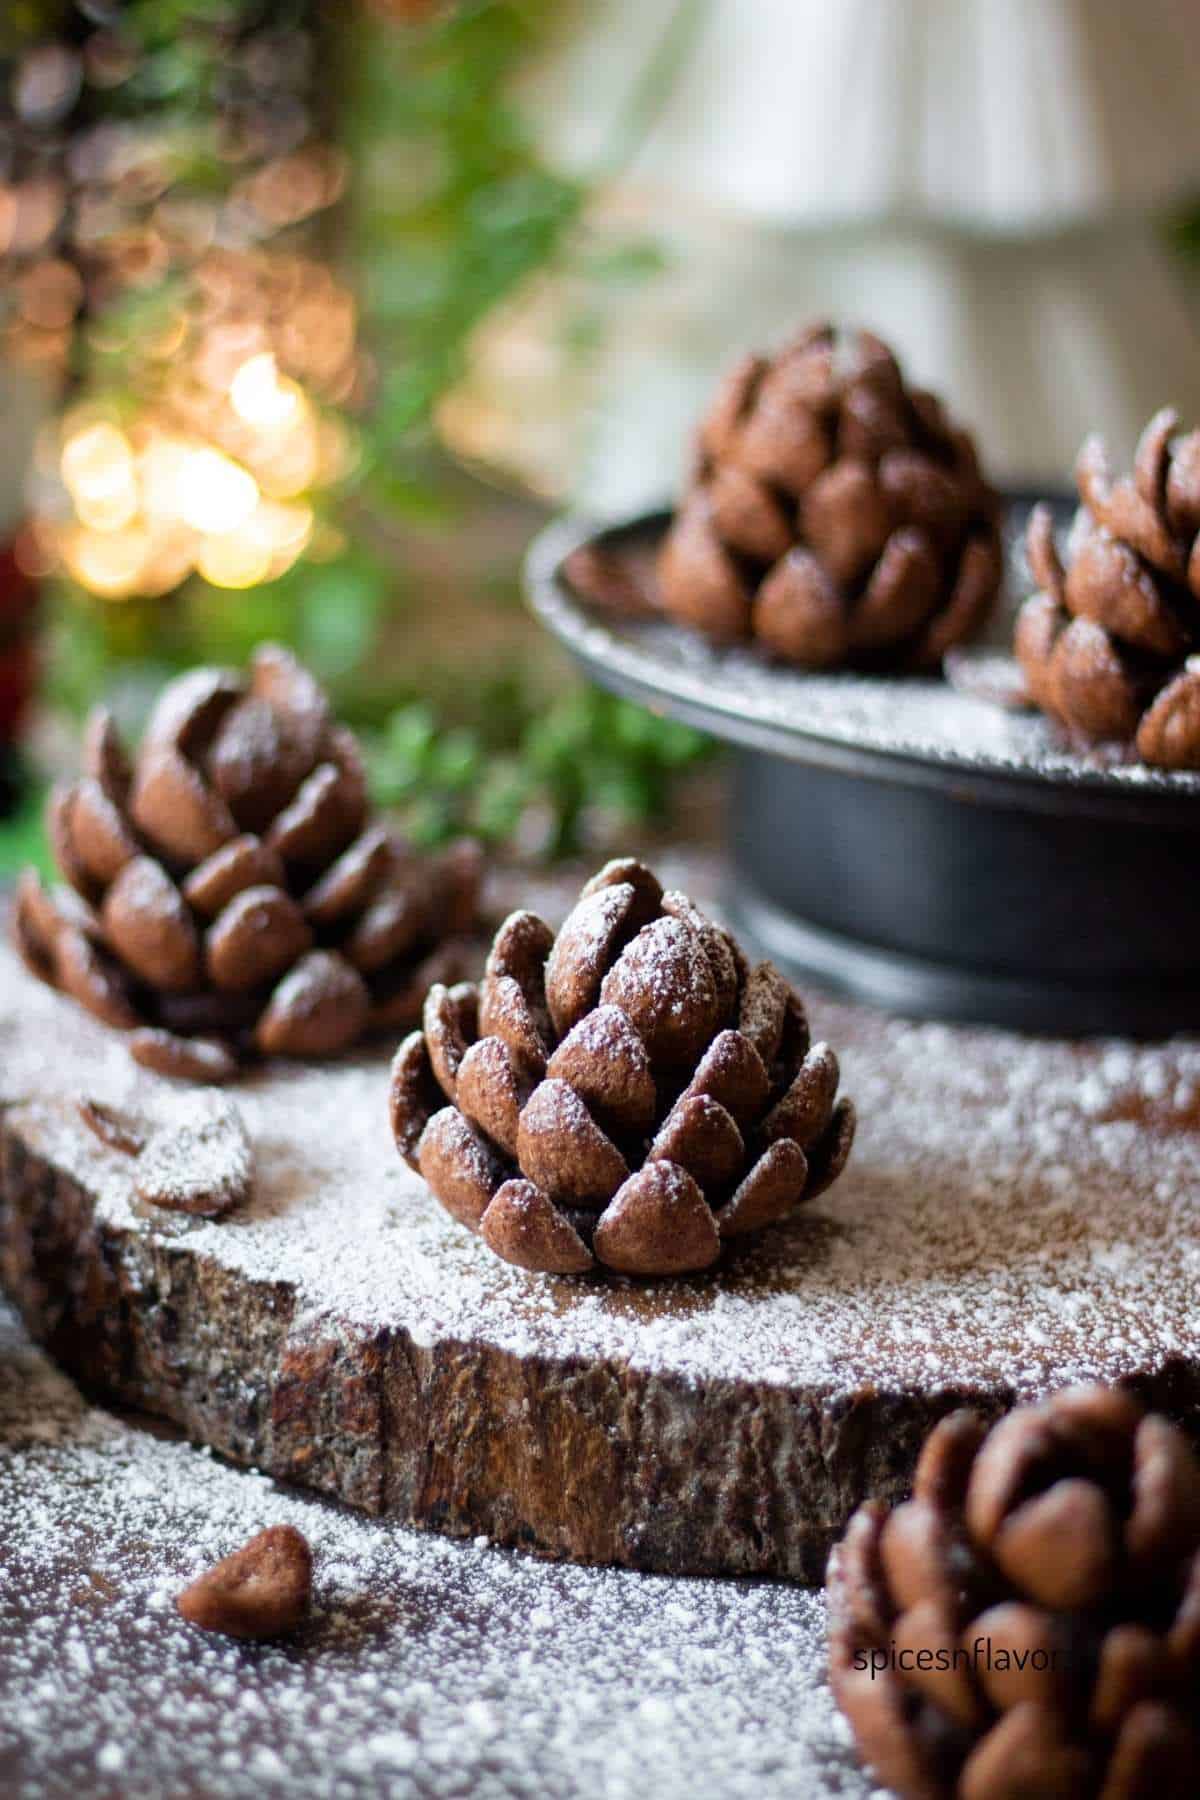
This time, I gave the popular Oreo truffles a festive twist by shaping them into pinecones—it’s surprisingly easier than rolling them into truffle balls!
Plus, it’s a fun activity to get the kids involved, making these treats perfect for the holiday season.
Ingredients
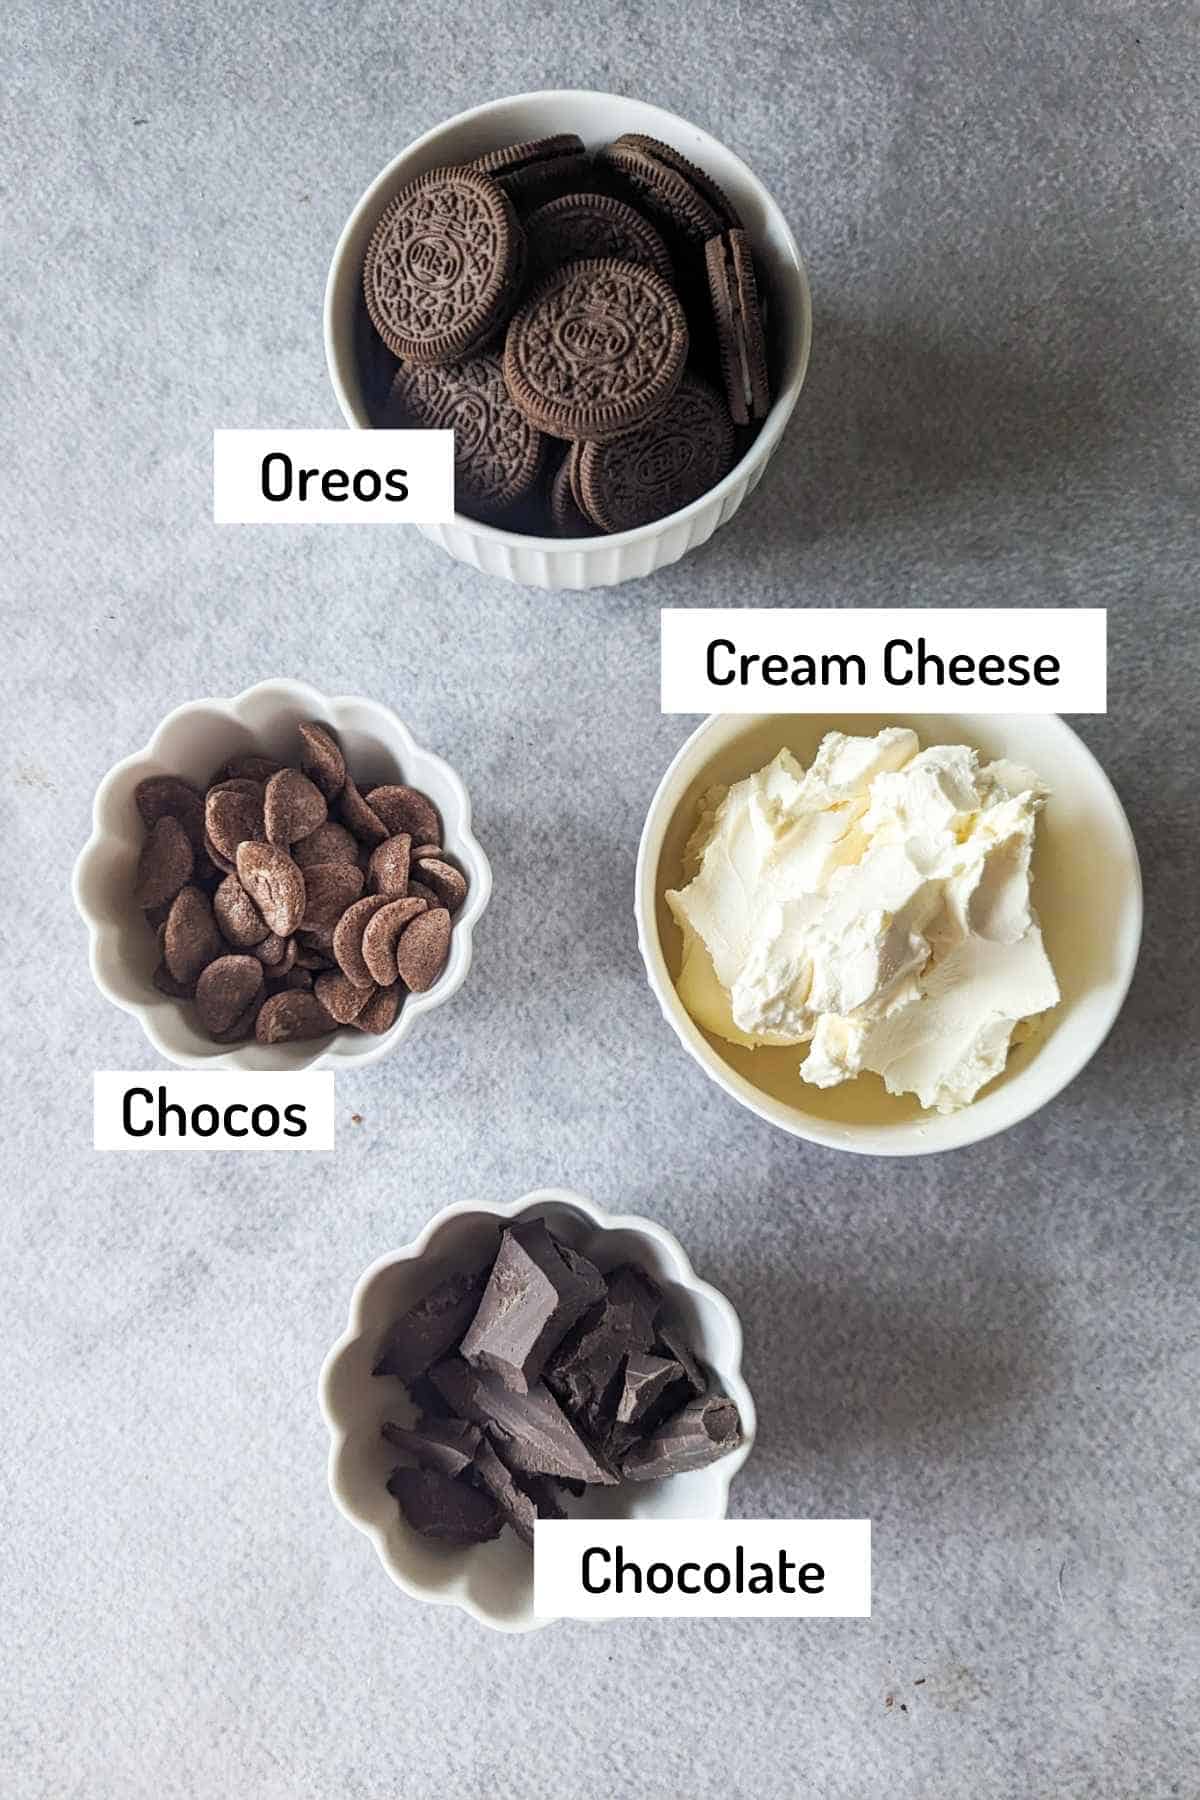
- Oreo Cookies: Use any classic chocolate sandwich cookies. You don’t need to remove the cream filling—it helps bind the truffles together. If you want a different flavor, try using golden Oreos or other flavored sandwich cookies.
- Cream Cheese: Softened full-fat cream cheese works best for a rich and creamy texture. Avoid low-fat versions as they may make the mixture too soft.
- Chocolate: Use good-quality melted chocolate for dipping and decorating. Dark, milk, or semi-sweet chocolate all work well—choose what you love! For extra convenience, chocolate candy melts can also be used.
- Optional Decoration: Chocos cereal makes the perfect “pinecone scales,” but you can get creative with alternatives like sliced almonds or chocolate shavings. A light dusting of icing sugar adds a snowy, festive finish.
Step by Step Instuctions
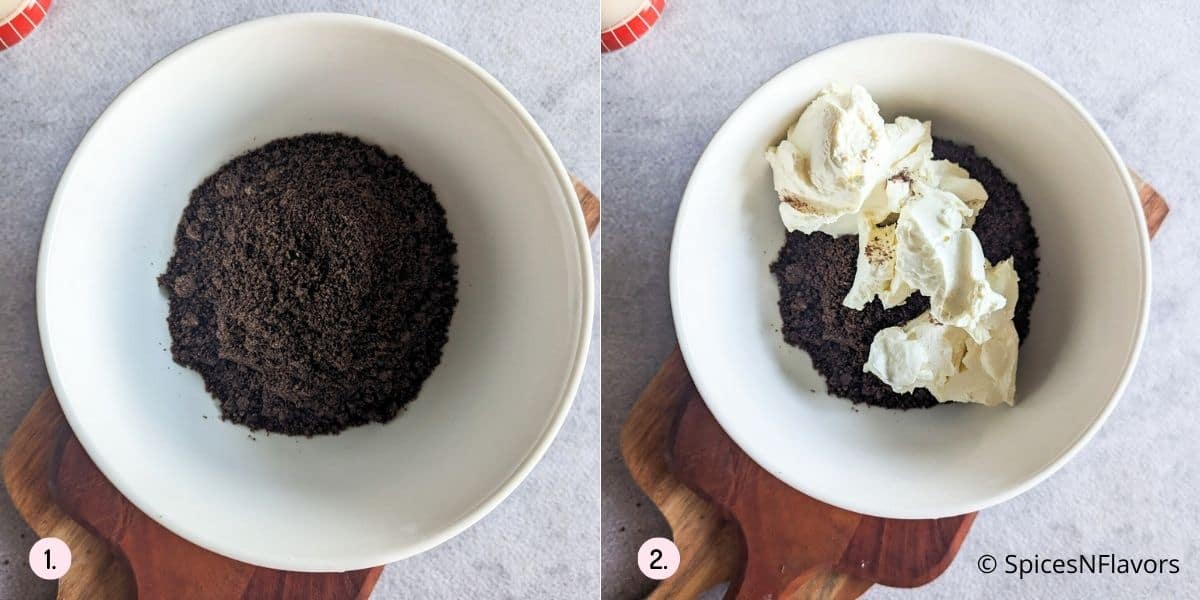
Add the Oreo cookies to a food processor and pulse until they form fine crumbs. If you don’t have a processor, place the cookies in a ziplock bag and crush them with a rolling pin (image 1).
Transfer the crushed cookies to a bowl, add softened cream cheese (image 2).
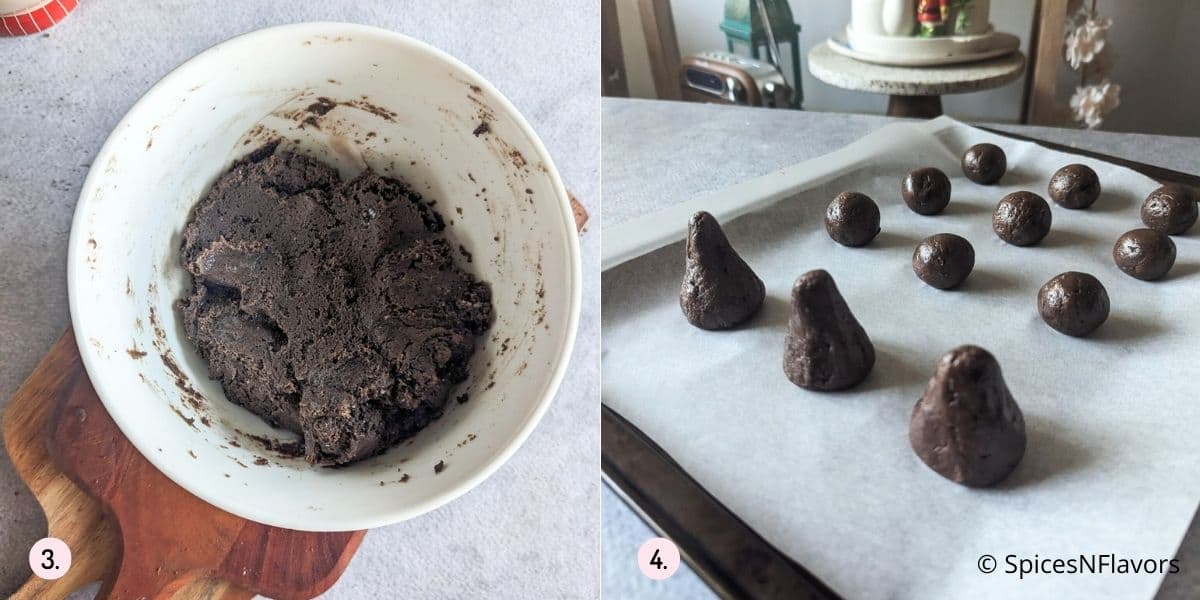
Mix the two until a dough forms. The mixture should hold together easily when pressed. (image 3)
Scoop out portions of the dough using a tablespoon (I used 2 tsp per ball) or cookie scoop and roll them into smooth, round truffle balls. Place them on a lined tray. (image 4)
Pop the truffles into the fridge for 10–15 minutes to firm up before decorating.

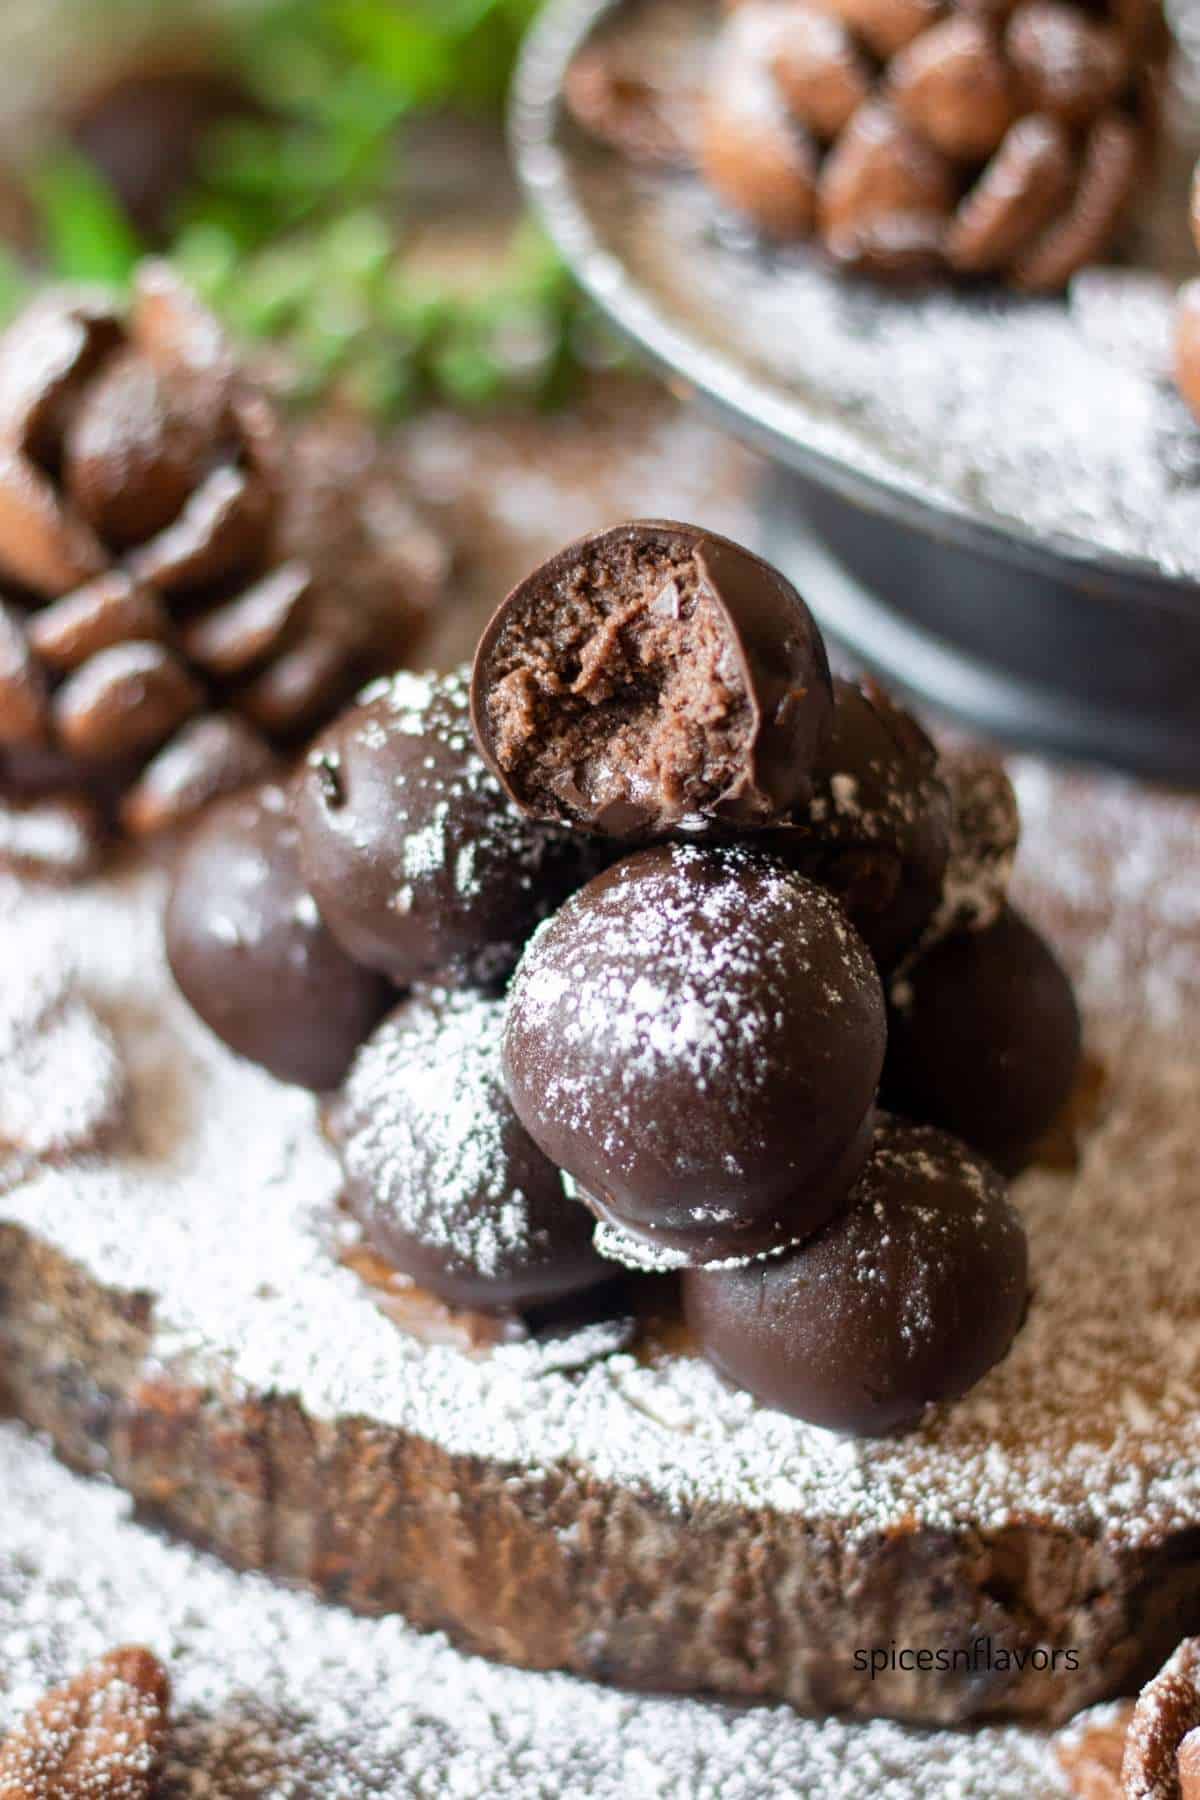
Then dip in melted chocolate to coat it on all sides. Garnish with more melted chocolate or dust with icing sugar.
To Shape Pinecone Truffles
Instead of rolling the mixture into balls, shape the dough into small, cone-like forms by gently molding them with your hands. Start with a round base and taper it to a point. (image 4)
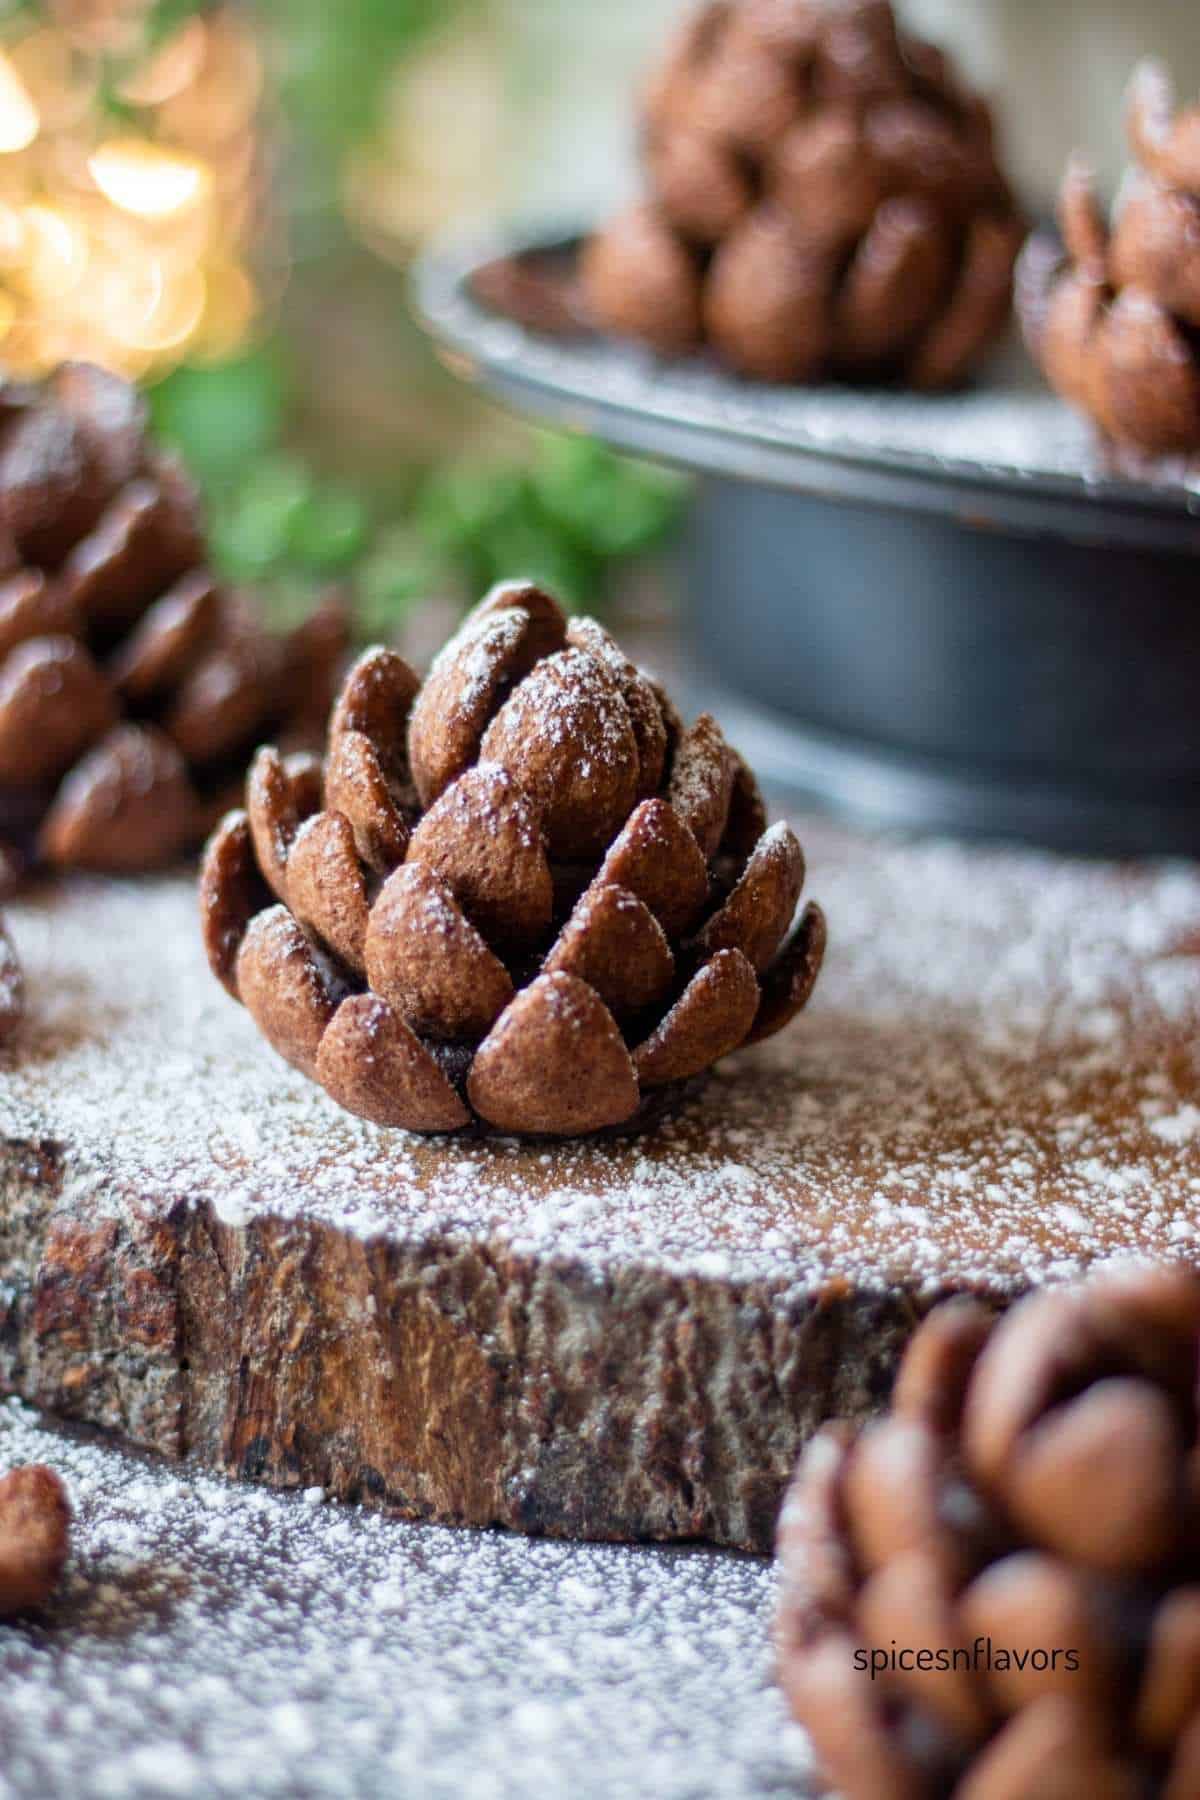
Take Chocos cereal (or your choice of scales) and gently press the pieces into the cone, starting from the bottom and working upwards. Overlap slightly as you go for a natural look.
Once the pinecones are shaped and the Chocos are secured, place them in the fridge to chill for 10–15 minutes.
Before serving, lightly dust the pinecones with icing sugar to mimic a snowy effect.
Storage Instructions
- Refrigeration: Store the truffles in an airtight container in the fridge for up to 5–7 days. This will help keep them firm and fresh.
- Freezing: For longer storage, you can freeze the truffles. Place them on a baking sheet and freeze until solid, then transfer to an airtight container or ziplock bag. They can be frozen for up to 2 months.
- Serving Tip: If stored in the fridge, let them sit at room temperature for a few minutes before serving for the best texture. Avoid dusting with icing sugar until right before serving for the freshest look!
Best Tips
- Make sure the cream cheese is softened to room temperature for easier mixing and smoother dough.
- When adding Chocos or any other cereal for the pinecone scales, press them in gently to avoid squashing the truffle shape.
- After shaping the dough into cones, add the Chocos, and then refrigerate them for 10–15 minutes. This helps the cones hold their shape better when decorating.
- If you don’t have Chocos, you can also use crushed nuts, chocolate shavings, or even mini marshmallows for a different texture and look. These options will still create a charming, pinecone-like appearance while adding a unique twist to the flavor!
- Dust the pinecones with icing sugar just before serving to avoid it melting or getting soggy while stored.
- This is a fun, hands-on recipe that’s perfect for kids to help with. They can shape the cones or press in the Chocos.
- These truffles can be made ahead of time for holiday parties. Just refrigerate or freeze them until you’re ready to serve.
Frequently Asked Questions
Yes! You can substitute cream cheese with mascarpone cheese or even peanut butter for a different flavor profile, though it may affect the texture slightly.
You can add colorful sprinkles, edible glitter, or even a drizzle of white or dark chocolate on top for extra decoration. Dusting them with icing sugar right before serving mimics a beautiful "snowy" effect!
Related Recipes
Wish to Join US for the love of BAKING? Subscribe to our newsletter and Youtube channel. Follow along on Facebook, Instagram, and Pinterest for all the latest updates!

Just 3 ingredients Pinecone Truffles
Ingredients
- 30 Oreos
- 150-180 gms Cream Cheese softened
- 1.5 cups Chocos refer notes
- 1/2 cup Melted Chocolate refer notes
Instructions
- In a food processor, pulse the Oreo cookies until they form fine crumbs. If you don’t have a food processor, you can place the cookies in a ziplock bag and crush them with a rolling pin until finely ground. Set the crumbs aside in a mixing bowl.
- Add the softened cream cheese to the crushed Oreo crumbs. Mix everything together using a spatula or your hands until it forms a dough-like consistency. The mixture should be moist enough to hold its shape when pressed.
- Scoop out small portions of the dough: use 1 tablespoon for shaping into pinecones or 2 teaspoons for making traditional round truffles. Roll the portions into smooth, round balls for truffles. For pinecones, gently taper the mixture into a cone shape using your hands, starting with a round base and narrowing it to a point.
- Place the shaped truffles or pinecones on a lined baking tray and refrigerate them for 10–15 minutes. This helps the truffles firm up and makes them easier to decorate.
- If making pinecones, take the Chocos cereal and gently press them into the pinecone shapes, starting at the top and working your way down, overlapping slightly for a natural, layered effect. After decorating, refrigerate the pinecones again for another 10–15 minutes to set.
- Dip the truffles into melted chocolate or drizzle the chocolate over them for extra decoration. For a festive look, dark, milk, or white chocolate works well.
- Before serving, lightly dust the pinecones with icing sugar to create a snowy effect. This adds a touch of winter charm to the truffles.
- Once the truffles are set and decorated, they’re ready to serve! These pinecone truffles make a perfect festive treat for your holiday gatherings.
Video
Notes
- Ensure that the cream cheese is softened to room temperature for easier mixing and smoother dough.
- The number of truffles you make will depend on the shape you choose. For example, I was able to make 6 pinecone truffles and 14 traditional round truffles with this recipe.
- If you decide to shape the dough into pinecones, you won't need melted chocolate for dipping. However, if you're making traditional Oreo truffles, you can dip them in melted chocolate for extra decoration and ditch the chocos
- If you don’t have Chocos cereal, crushed nuts, chocolate shavings, or mini marshmallows work well as substitutes for the pinecone scales.
Sherri says
I tried making the pinecones using Cocoa Pebbles. The one I made looked great but took forever, so I switched to crushing the Cocoa Pebbles and rolling the truffles in them. They taste great! Now thinking about some peanut butter versions. Thanks for the idea.
sushma iyer says
Hi Sherri
So happy to hear they turned out great! 😊 Yes, shaping the pinecones can take a bit of time — involving family members, if that’s an option, makes it so much easier and turns it into a lovely little holiday activity.
Your truffle shortcut sounds perfect too! That’s exactly how I make the Oreo balls shown in the images. Crushing the Cocoa Pebbles is such a smart idea.
If you ever want that classic pinecone look, you can also use almond slices and dip the whole thing in chocolate — works beautifully.
Thanks so much for trying the recipe and sharing your twist!
Susan says
Hi, I want to make these for Christmas but would like to know where can you buy Chocos cereal?
I appreciate any help you can give me.
Thank you.
Susan
sushma iyer says
Hi Susan
The one that I am using is Kellogs Brand and you can find that in any Indian grocery stores like Patel's 🙂
Susan says
Many thanks; I appreciate your reply.
I live in a small town in PA and, unfortunately, it’s difficult getting different ingredients,
Also, can these be frozen after making them?
Many thanks again!
Susan
sushma iyer says
Hi Susan! 🤗
Thank you so much for your message.
I completely understand how tricky ingredient availability can be in a small town.
The truffles themselves freeze beautifully, but the cereal coating can soften slightly after freezing. It won’t become soggy, but it won’t stay as crisp as when freshly made.
If you want the pinecones to stay extra crunchy, here’s what I recommend:
✔️ Freeze the truffle base only (the Oreo + cream cheese mix shaped like pinecones).
✔️ Add the Chocos/cereal “scales” after thawing, right before serving or even a day before.
If slight softness doesn’t bother you, you can freeze them fully assembled — the shape stays intact.