
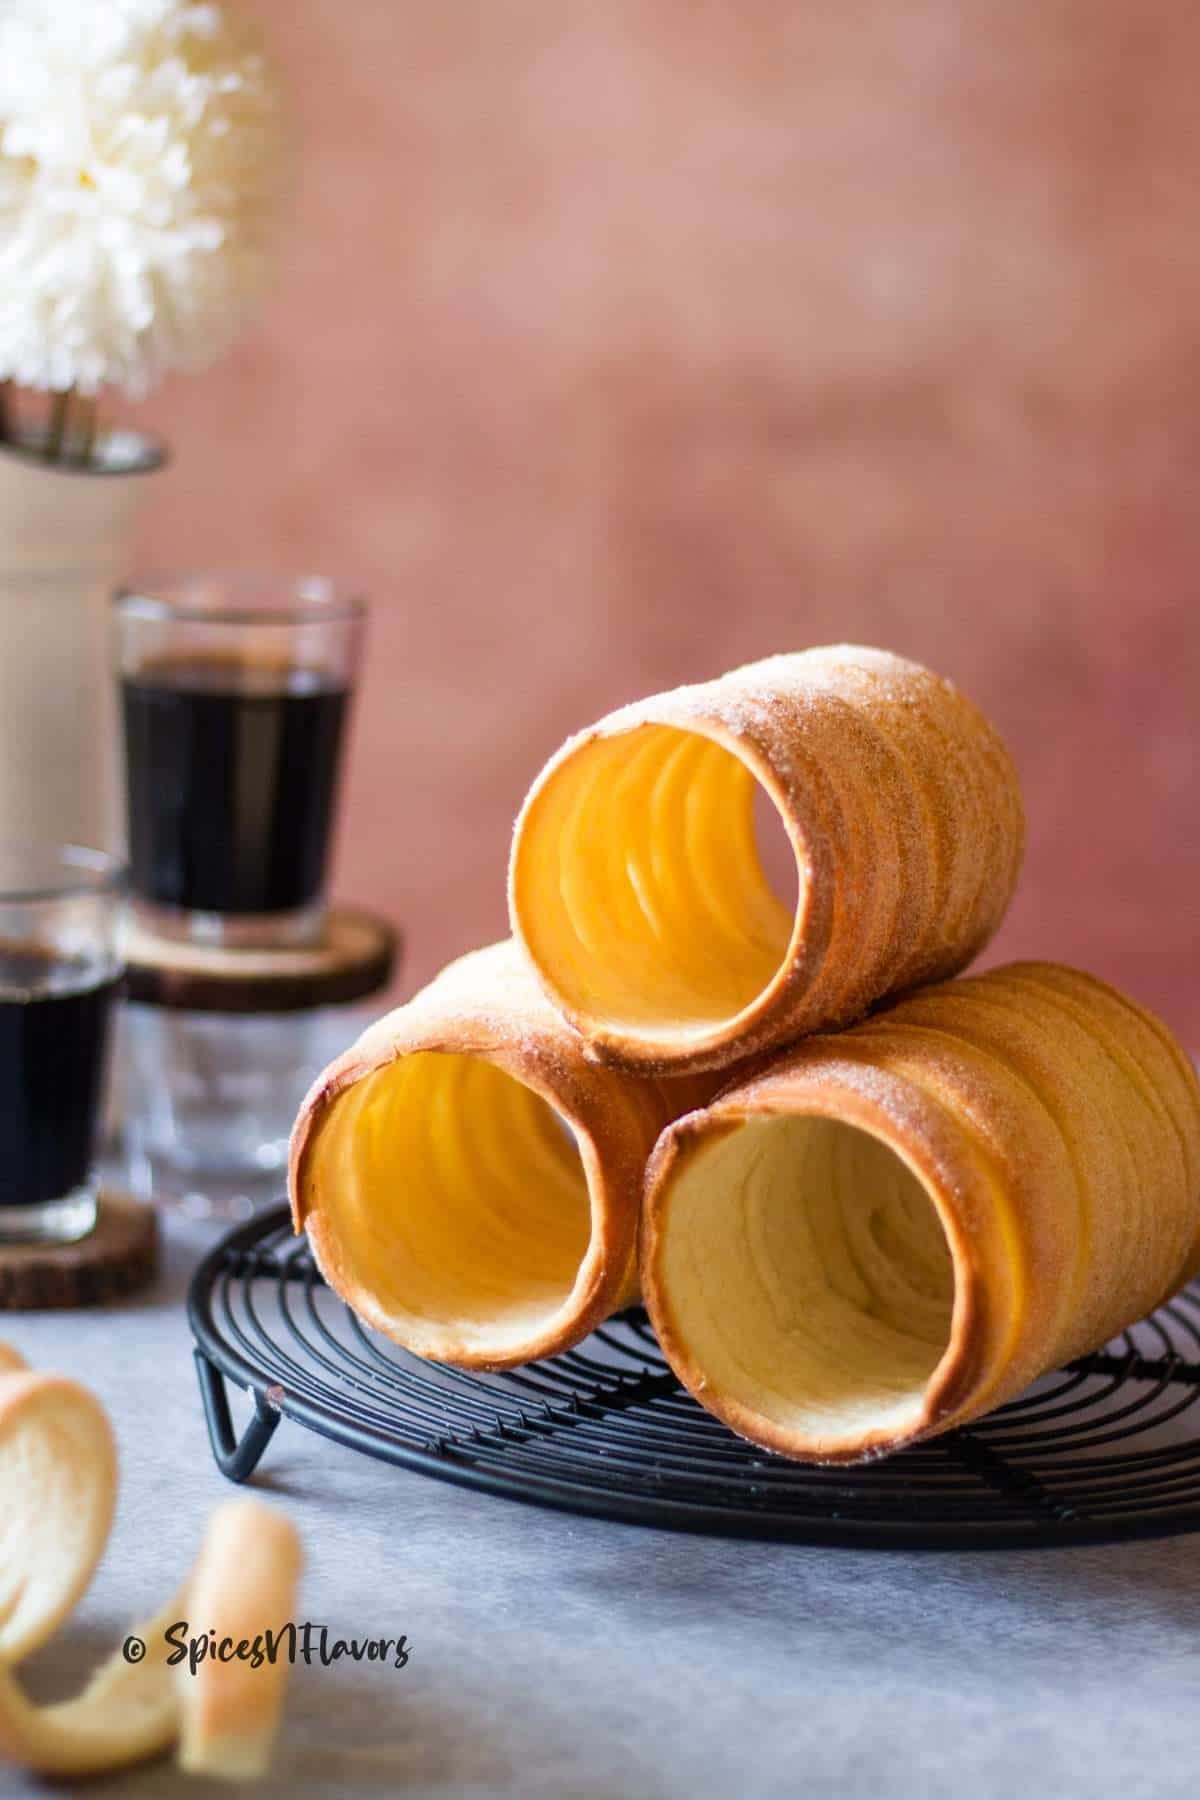
This is your easy-to-follow Chimney Cake recipe; a famous street food delight at home. Known for its crispy cones coated in cinnamon sugar you can enjoy it on its own or pair it with creamy ice cream or whipped cream, these iconic treats offer a satisfying blend of flavors and textures.
What is it like to eat a chimney cake?
Chimney cake, also known as Kürtőskalács, is a traditional Hungarian pastry made by wrapping sweet yeast dough around a spit and baking it over hot coals until crispy and caramelized.
When you bite into it, you'll experience a contrast of textures and flavors: the crispy, caramelized exterior and the soft, fragrant interior of the dough.
Toppings like chopped nuts or coconut flakes add extra texture and flavor to this beloved treat. While not part of Hungary's oldest pastry tradition, different toppings have become a popular addition to modern variations of Kürtőskalács, often catering to tourists' preferences.
Eating a chimney cake is a unique and enjoyable experience, best enjoyed with your hands due to its sticky and crumbly nature.
Do you need Special Equipment to make them at home?

Unlike the traditional method involving open fire cooking on the streets, making chimney cakes at home requires no special equipment.
This recipe offers easy tricks for recreating the process using common kitchen items.
You'll need a rolling pin, aluminum foil, and a baking tray.
Empty soda cans serve as makeshift cylindrical molds to achieve the iconic spiral shape.
In place of empty soda cans, you can also use a wooden rolling pin as well.
Ingredients
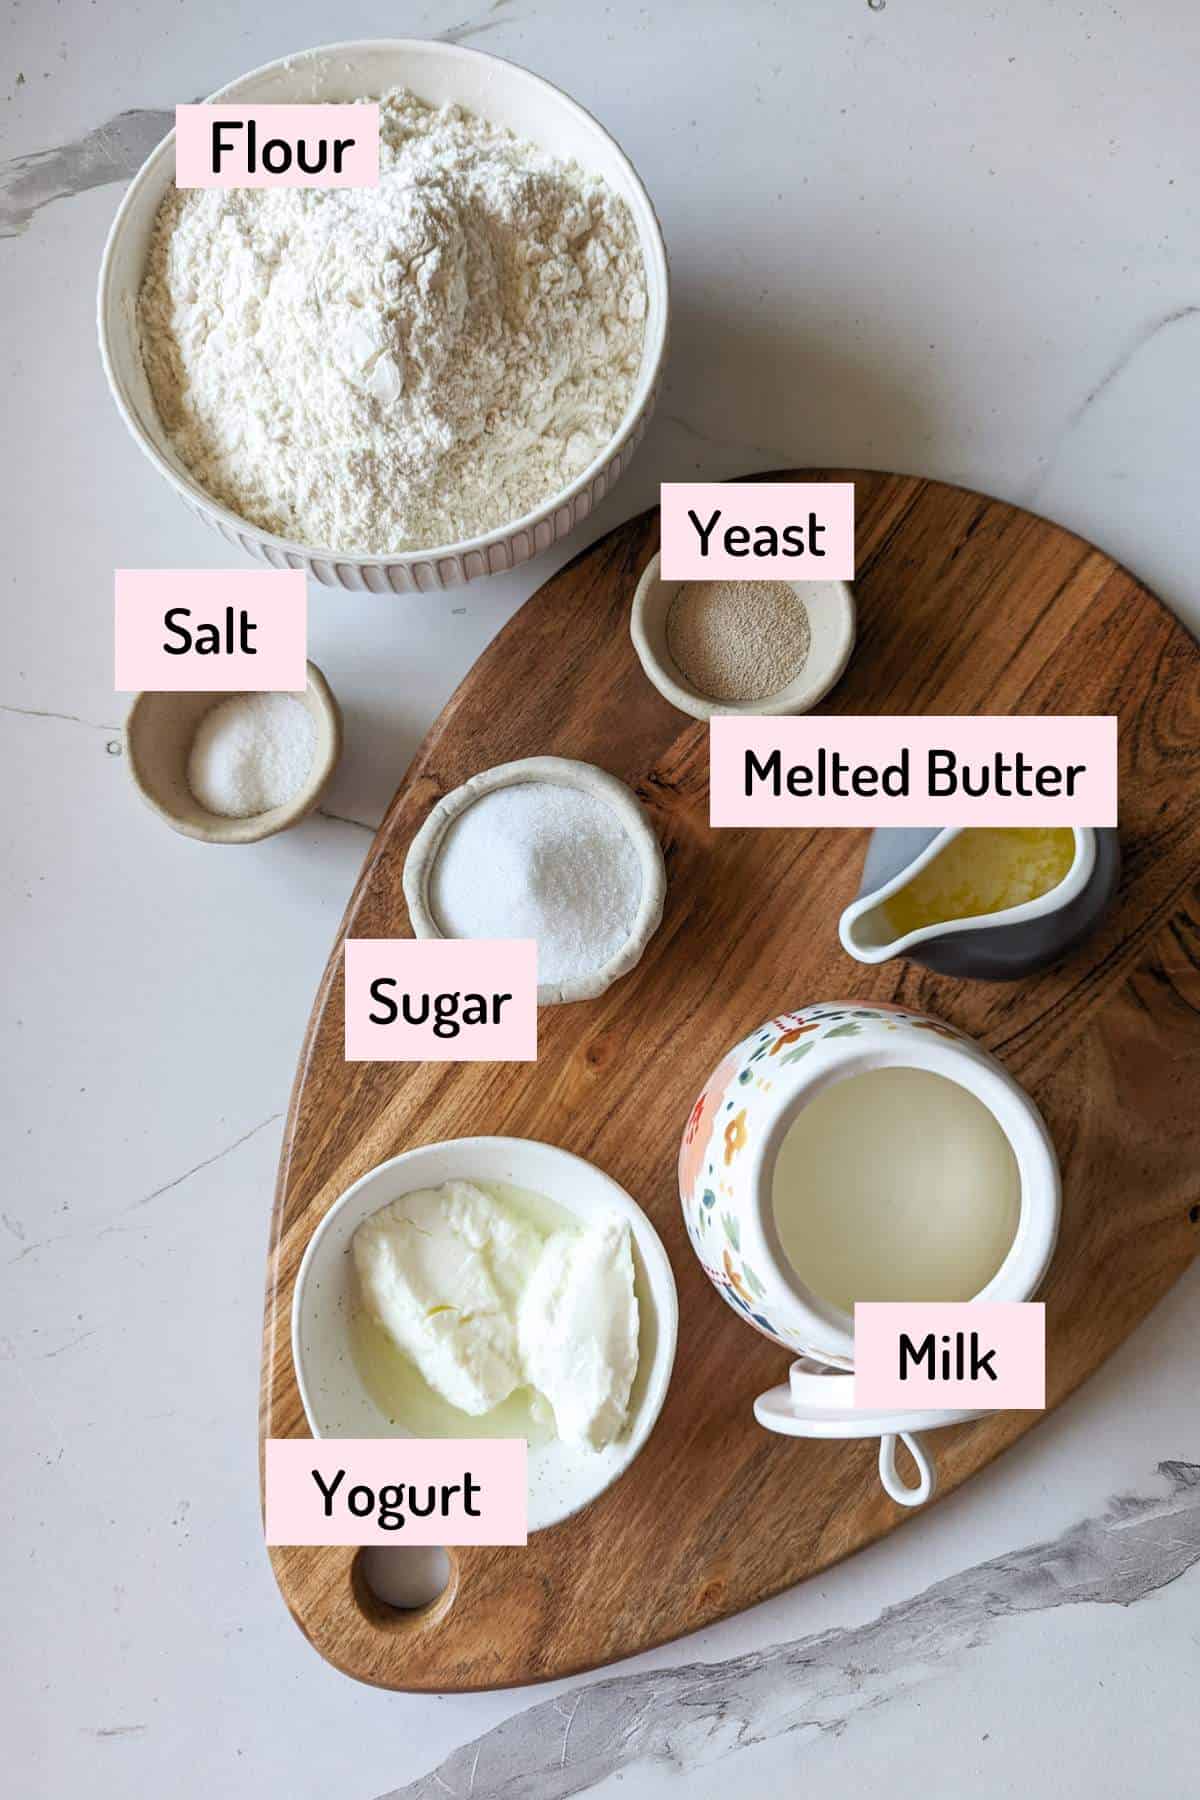
- Flour - Regular All Purpose Flour works just fine. You can also use Bread Flour but not Cake Flour
- Yeast - I prefer and recommend Instant Yeast for baking bread simply for the ease of adding it directly to the dough without needing to activate it before. Fresh Yeast also works similarly but is not easily available in the local grocery stores.
- Yogurt - In place of yogurt you can use 1 egg
- Vanilla - Not listed in the image above but adding 1 tsp vanilla essence would amp up the flavor quotient
Other than the ingredients needed to make the Hungarian chimney cakes you would also need 4 empty soda cans or a wooden rolling pin to shape them into chimney cones.
Print out the detailed recipe card by scrolling to the end of the page.
Step by Step Tutorial
Step 1 - Prepare the Dough

In a large bowl combine the salt, flour, sugar, and yeast, giving them a quick mix using a wooden spoon.
Create a well in the center to add the wet ingredients: yogurt (or add egg, if preferred), melted butter, vanilla, and milk. Form the mixture into a cohesive dough. (image 1)
Transfer the dough to your work surface and knead until it becomes soft and supple. (image 2)
To prevent the dough from drying out during kneading, lightly grease the worktop with oil instead of using additional flour.
This method ensures that your dough maintains its moisture while being worked.
Step 2 - First Proofing

Grease the bowl used for forming the dough with oil, place the dough, and turn it around to ensure it is coated with oil on all sides.
Cover the bowl with cling wrap and let the dough prove for about an hour, in a warm place allowing it to double in size. (images 3 and 4)

Alternatively, to expedite the proofing process, consider utilizing your instant pot, which can reduce the proving time to just 30 minutes.
Discover the exact steps for proofing dough in the instant pot for efficient and timely results
Step 3 - Pre-preparations
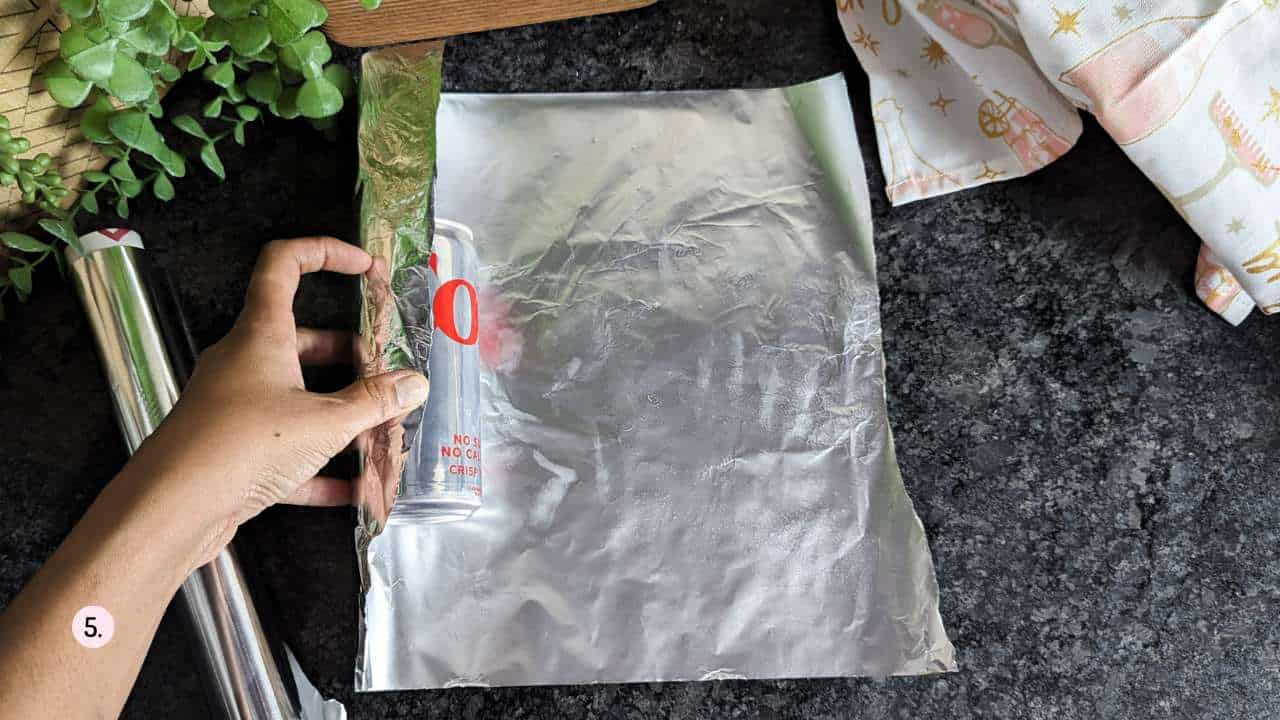
While the bread dough is proofing, prepare your soda cans by wrapping them with aluminum foil. (image 5)
To do this, tear out squares of aluminium foil, then place a soda can on one end of the foil and roll it up to cover the can completely. Ensure the edges are sealed on the top and bottom to enclose the cans securely.
Repeat this process for all 4-6 cans you plan to use.
Next, in a separate wide-mouth bowl, combine the sugar and cinnamon powder to prepare the cinnamon sugar mixture.
Step 4 - Shaping
After the dough has finished proofing, gently punch it down and roll it out into a large rectangle, roughly less than 1/4 inch in thickness.

Using a pizza cutter, bench scraper, or knife, cut the dough into long strips or long ribbons about 1 cm in thickness. (image 6)
Grease the outside of the soda can with oil or cooking spray to prevent the dough from sticking.
Starting from the bottom of the can, wrap the strip of dough around the can in a spiral motion, slightly overlapping each layer as you go. (image 7)
Continue wrapping until you reach the top of the can, ensuring the dough is evenly distributed and there are no gaps.
Once the can is fully covered, gently roll it on your countertop to even out the dough, ensure it adheres to the can and also seals gaps if any.

Place the wrapped cans upright on a baking pan, ensuring they are evenly spaced, and repeat the process until all your cans are covered. (image 8)
Roll each wrapped can in the cinnamon sugar mixture, ensuring they are coated evenly. (image 9)
This sugar will caramelize during baking, giving the chimney cakes their characteristic crunchy texture once baked.
Step 4 - Baking

Bake the prepared chimney cakes in the preheated oven of 160°C for 20 minutes, or until golden brown and cooked through.
Allow it to cool to the touch before attempting to release the chimney cake from the tin foil. To remove them simply twist the cake gently and then pull firmly.
Serve the warm chimney cakes and enjoy their delightful flavor and texture.
And that is how you can easily make the chimney cake recipe at home without any wooden spit, open flame or wooden cylinder at home.
How to Serve them?
While traditional chimney cake, are often savored on their own, there are various ways to enhance their enjoyment.
Consider serving these sweet treats with a side of chocolate or caramel sauce for an extra touch of sweetness.
Alternatively, topping them with ice cream or whipped cream with your favorite nuts and a drizzle of sauce would add to their flavor.
I have also seen savory versions of fillings getting popular on Instagram as well.
For a crunchy twist, try rolling the dough in coconut or ground walnuts before baking, reminiscent of popular variations of Hungarian kürtőskalács found at many tourist hotspots or Christmas markets these days.

Storage Instructions
To store the chimney cake, allow it to cool completely after baking. Once cooled, place it in an airtight container or wrap it tightly in plastic wrap to prevent it from drying out.
You can store the chimney cake at room temperature for up to 2 days for optimal freshness.
If you want to store it for a longer period, you can freeze the chimney cake. Wrap it tightly in plastic wrap and then aluminum foil to prevent freezer burn. It can be stored in the freezer for up to 2-3 months.
When ready to enjoy, thaw the frozen chimney cake at room temperature for several hours or overnight in the refrigerator. Once thawed, you can reheat it in the oven at a low temperature or enjoy it at room temperature.
However, I do find that the chimney cake tends to lose its crunchy texture when stored so I prefer to enjoy them when made fresh.
Avoid storing chimney cake in the refrigerator, as it can cause the pastry to become dry and lose its texture.
Baker's Tips:
- Activate the Yeast: If using Active dry yeast, make sure to activate it by mixing it with some warm milk and sugar in a small bowl before proceeding with the recipe. This step ensures that the yeast is active and will help the dough rise properly.
- Use a Stand Mixer: You can also make this dough in the bowl of a stand mixer using a dough hook. Simply add all the ingredients into the bowl in the mentioned order and knead for 8 minutes.
- Check the Dough Consistency: Pay attention to the consistency of the dough while kneading. It should be soft, smooth, and slightly tacky to the touch. If the dough feels too dry, you can add a little more milk or water, one tablespoon at a time, until it reaches the desired consistency. Conversely, if the dough feels too sticky, you can add a little more flour, one tablespoon at a time.
- Preheat the Oven: Make sure to preheat your oven to the correct temperature before baking the chimney cakes. This ensures that the oven is at the optimal temperature for baking, resulting in even cooking and a nicely browned exterior.
- Evenly Coat with Sugar: When rolling the dough in the cinnamon sugar mixture, make sure to coat it evenly to ensure that each chimney cake has a deliciously caramelized crust. You can gently press the sugar mixture onto the dough to help it adhere better.
- Properly Grease the Cans: When shaping the dough on soda cans, make sure to grease the cans thoroughly with oil to prevent the dough from sticking. This will make it easier to remove the baked chimney cakes from the cans once they are done.
- Try a Chocolate Version: Add cocoa powder to the dough for a chocolate chimney cake variation.

Frequently Asked Questions
Insufficient proofing time or inactive yeast may cause the dough not to rise. Ensure proper proofing by allowing enough time for the dough to double in size. If using active dry yeast, make sure to activate it properly before mixing it into the dough. Ensure that you are not using expired yeast. And all ingredients are lukewarm and not hot which actually kills the yeast.
Thoroughly grease the soda cans with oil or cooking spray before wrapping the dough around them. This will help prevent sticking and ensure easy removal of the baked chimney cakes.
An alternative to using a soda can is a wooden rolling pin. Cover it with foil, brush it with oil, and shape the dough ropes around the rolling pin. However, since it lays flat in the oven while baking, remember to turn it midway through baking to ensure even baking on all sides.
Chimney cake, also called spit donut or stick cake, finds its roots in Hungary, where it's known as Kürtőskalács. This sweet delicacy derives its name from the Hungarian word "kürtő," which translates to stovepipe, owing to its distinctive cylindrical shape. Freshly baked, the warm cake emits steam, reminiscent of a chimney, and hence the name chimney cake.
Related Recipes
Wish to Join US for the love of BAKING? Subscribe to our newsletter and Youtube channel. Follow along on Facebook, Instagram, and Pinterest for all the latest updates!

How to make Easy Hungarian Chimney Cake at Home
Ingredients
- 1 tsp Salt
- 3 cups (360 gms) All Purpose Flour
- 1.5 tsp Instant Yeast
- 2 tbsp Sugar
- 50 gms Yogurt refer notes
- 3/4 cup (180 gms) Milk
- 2 tbsp (28 gms) Melted Butter
- 1 tsp Vanilla
- 4 empty soda cans
Instructions
Step 1: Prepare the Dough
- In a large bowl, mix salt, flour, sugar, and yeast. Create a well in the center and add yogurt (or egg), melted butter, vanilla, and milk. Knead the mixture on a lightly greased surface until soft and supple.
Step 2: First Proofing
- Grease a bowl with oil, place the dough inside, and cover it with cling wrap. Let it proof in a warm place for an hour until doubled in size.
Step 3 - Pre-preparations
- Wrap empty soda cans with aluminum foil for which tear out squares of aluminum foil large enough to cover each soda can completely. Place a soda can on one end of the foil square. Roll the can along the foil, ensuring it is completely covered from top to bottom. Seal the edges of the foil on both the top and bottom of the can to enclose it securely.
- Repeat this process for each soda can you plan to use, ensuring they are all tightly wrapped and sealed.
- Combine sugar and cinnamon in a bowl and set aside.
Step 4: Shaping
- After the dough has finished proofing, gently punch it down and roll it out into a large rectangle, roughly less than 1/4 inch in thickness. Using a pizza cutter, bench scraper, or knife, cut the dough into long strips or long ribbons about 1 cm in thickness.
- Grease the outside of the soda can with oil or cooking spray to prevent the dough from sticking.
- Starting from the bottom of the can, wrap the strip of dough around the can in a spiral motion, slightly overlapping each layer as you go. Continue wrapping until you reach the top of the can, ensuring the dough is evenly distributed and there are no gaps.
- Once the can is fully covered, gently roll it on your countertop to even out the dough, ensure it adheres to the can, and also seal gaps if any.
- Place the wrapped cans upright on a baking pan, and repeat the process until all your cans are covered.
- Coat wrapped cans in cinnamon sugar mixture and place them upright on a baking tray lined with parchment paper.
Step 5: Baking
- Place the baking pan with the wrapped cans in a preheated oven and bake at 160°C for 20 minutes, or until the chimney cakes are golden brown and cooked through.
- Once baked, remove the baking pan from the oven and allow the chimney cakes to cool slightly before attempting to release them from the aluminum foil. To remove them, gently twist the cakes and then pull firmly.
- Enjoy it plain, or dipped in melted chocolate or fill it with ice-cream or whipped cream.
Video
Notes
- You can use 1 egg instead of yogurt in this recipe.
- Activate the Yeast: If using Active dry yeast, make sure to activate it by mixing it with some warm milk and sugar in a small bowl before proceeding with the recipe. This step ensures that the yeast is active and will help the dough rise properly.
- Use a Stand Mixer: You can also make this dough in the bowl of a stand mixer using a dough hook. Simply add all the ingredients into the bowl in the mentioned order and knead for 8 minutes.
- Check the Dough Consistency: Pay attention to the consistency of the dough while kneading. It should be soft, smooth, and slightly tacky to the touch. If the dough feels too dry, you can add a little more milk or water, one tablespoon at a time, until it reaches the desired consistency. Conversely, if the dough feels too sticky, you can add a little more flour, one tablespoon at a time.
- Instant Pot Proofing: Grease your pot with little oil and place your dough into it. Choose Yogurt mode and set the time to 30 mins. Use a glass lid to cover the pot. This literally cuts your proving time in halve. You can choose this method to proof any dough of choice. Check out our Instant Pot Bread Proofing Hack to know how.
- Preheat the Oven: Make sure to preheat your oven to the correct temperature before baking the chimney cakes. This ensures that the oven is at the optimal temperature for baking, resulting in even cooking and a nicely browned exterior.
- Evenly Coat with Sugar: When rolling the dough in the cinnamon sugar mixture, make sure to coat it evenly to ensure that each chimney cake has a deliciously caramelized crust. You can gently press the sugar mixture onto the dough to help it adhere better.
- Properly Grease the Cans: When shaping the dough on soda cans, make sure to grease the cans thoroughly with oil to prevent the dough from sticking. This will make it easier to remove the baked chimney cakes from the cans once they are done.
- Try a Chocolate Version: Add cocoa powder to the dough for a chocolate chimney cake variation.
Leave a Reply