Did you know that you can proof dough in Instant Pot? In fact, let me tell you proving dough in instant pot is one of the easiest kitchen hacks that you could ever come across. Learn every minute detail of the same in this post.
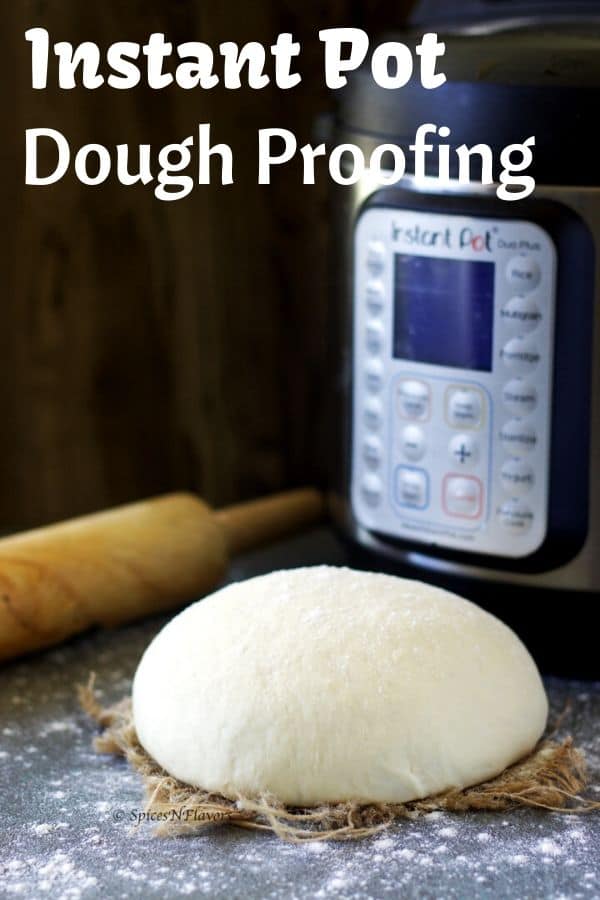
Got Instant Pot for Christmas??
Yay!!! Welcome to the community..
Trust me it is truly a magic pot. Is there something that you cannot make in an IP??
Well, if you are wondering whether, can I bake in my instant pot? or what other hacks can I try in an Instant Pot, then trust me you won't be disappointed by this particular hack which covers all the details on How to proof bread dough in Instant Pot?
I would also suggest you to, subscribe to our Youtube Channel to get regular updates on baking and dessert related recipes by clicking here - because in my next post I am going to cover:
5 Basic Hacks every Instant Pot owner must know. (I ended up sharing 7 hacks 😉 )
Now coming back to Instant Pot Dough proofing, let me briefly explain what proofing is for those of you do not know.
What is Bread Proofing?
In bread baking terms, proofing or proving is the stage when you allow the bread dough to rise and ferment.
It is at this stage that the dough also develops flavor.
During the fermentation process, yeast reacts with the sugars to develop CO2 and this is what creates the beautiful air pockets once baked.
I am assuming that most of you might bot be interested in learning the science behind so just explained it briefly.
The first rise is often termed as bulk fermentation but we would keep it simple by calling First Proofing
This is the stage wherein the Instant Pot comes handy and you would be doing your first proofing in the pot.
Once proved we usually shape the bread dough and allow for second proofing if the recipe calls for or directly go ahead and bake it.
Now that brings us to our post for today:
How to Proof Dough in Instant Pot?
Oh before we begin if you enjoy exploring Instant Pot Hacks then you would love this instant pot melted chocolate trick. 😉
And now, here is a detailed step by step format.
To proof the dough we obviously have to make the dough right 😉
Step 1: Making the Dough
Practically you can use any type of bread dough that you like.
If you ask me, I have tried so many recipes so far, my favourite one being Naan Bread and the softest Dinner Rolls.
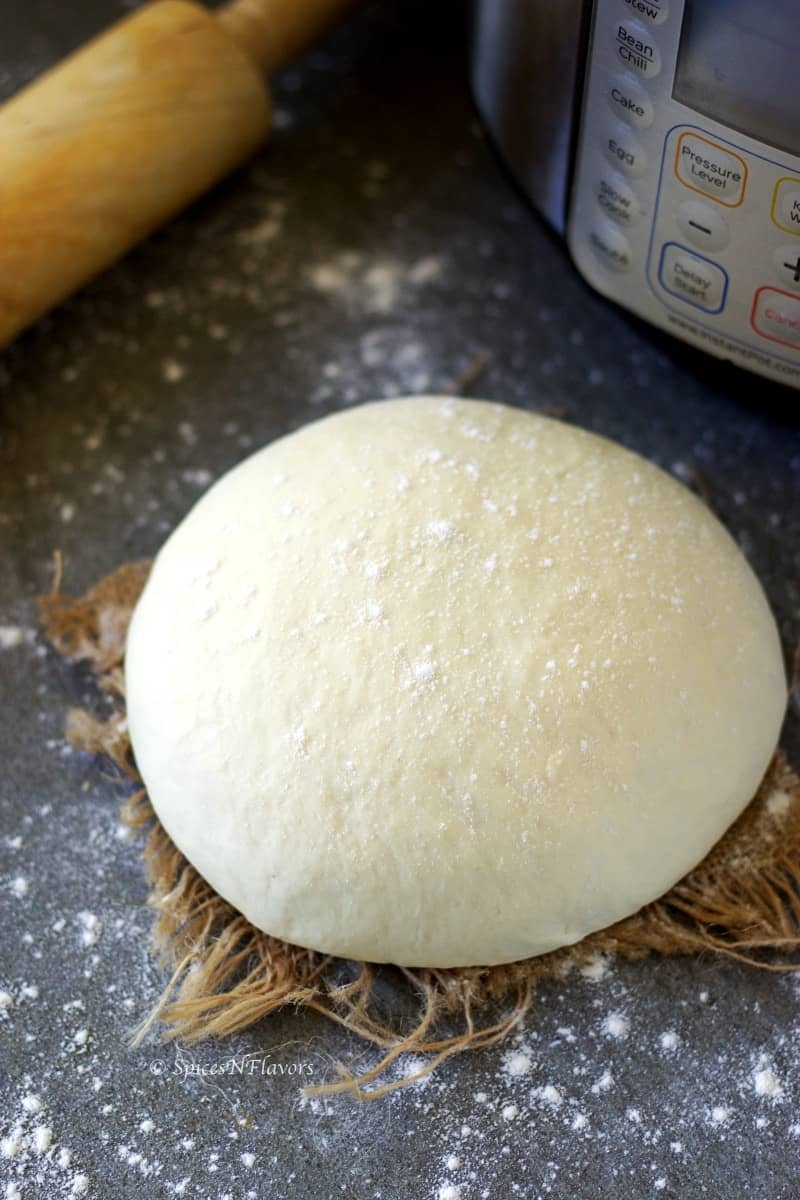
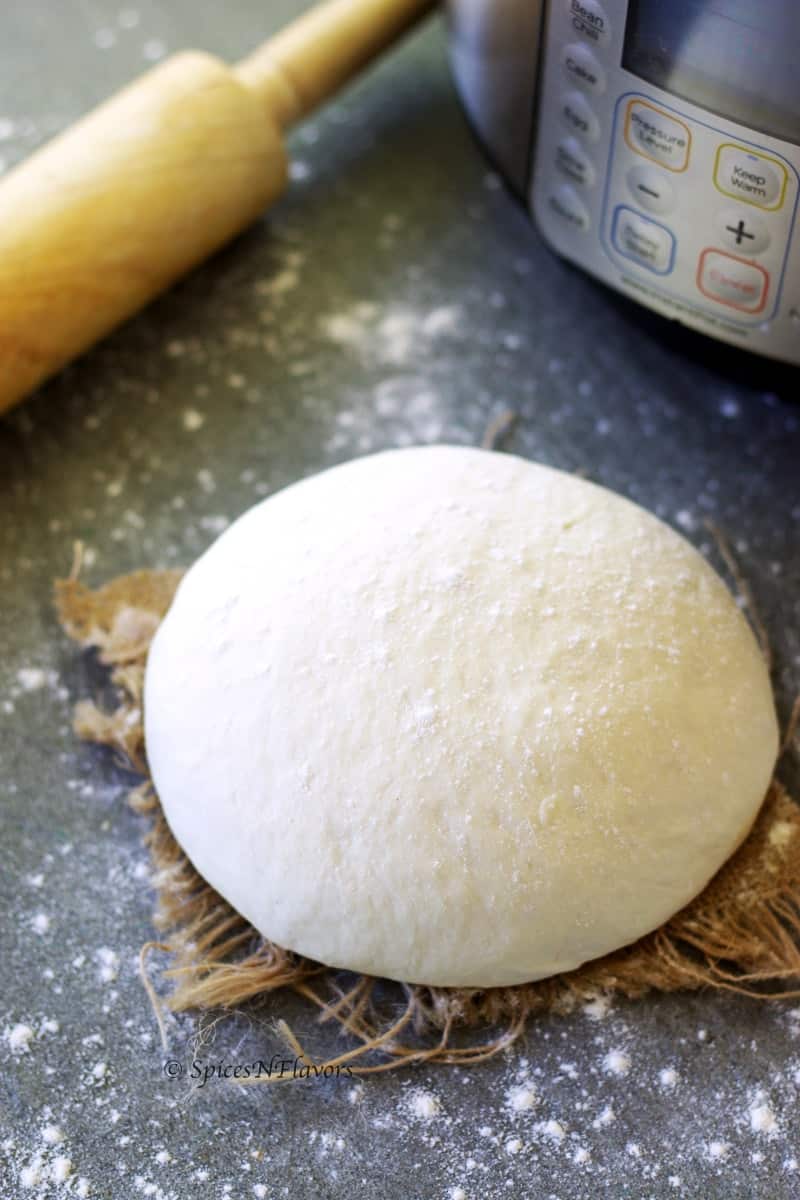
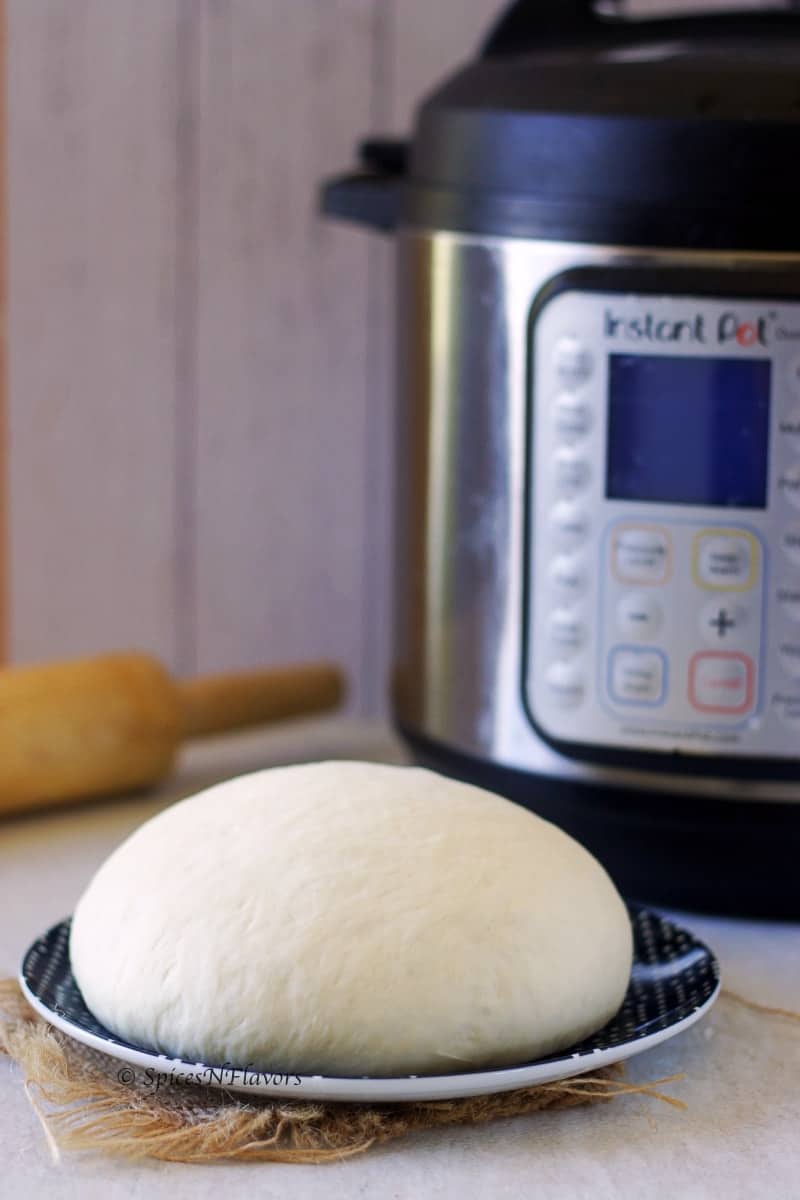
The one you see in the picture and video is of making Sandwich Bread; I will soon be sharing the recipe here so do keep a tab 😀
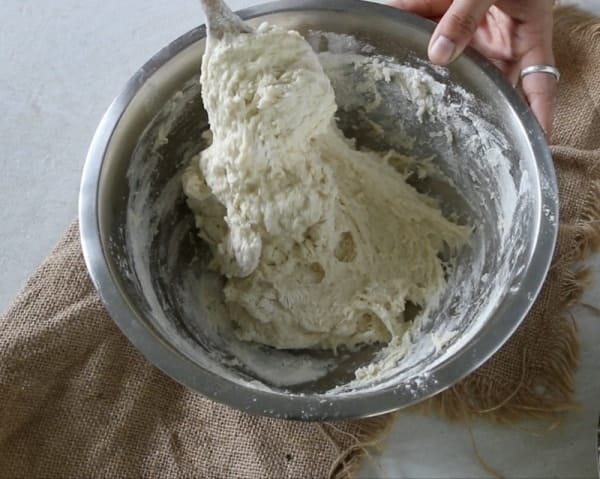
Basically just combine the ingredients, knead the dough and proceed to the next step.
Step 2: Prep the Instant Pot
Once you knead the dough, just give it, a round shape so that it fits in the inner pot.
No need to be perfect here as when the dough rises, it will stretch and take up the shape of the pot.
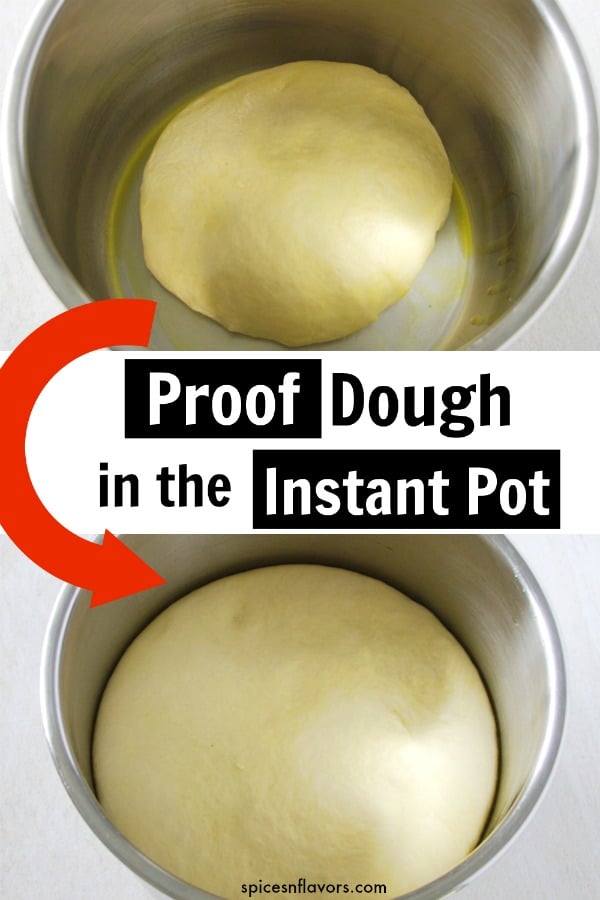
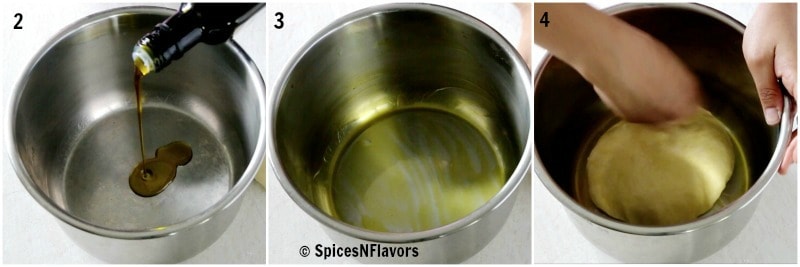
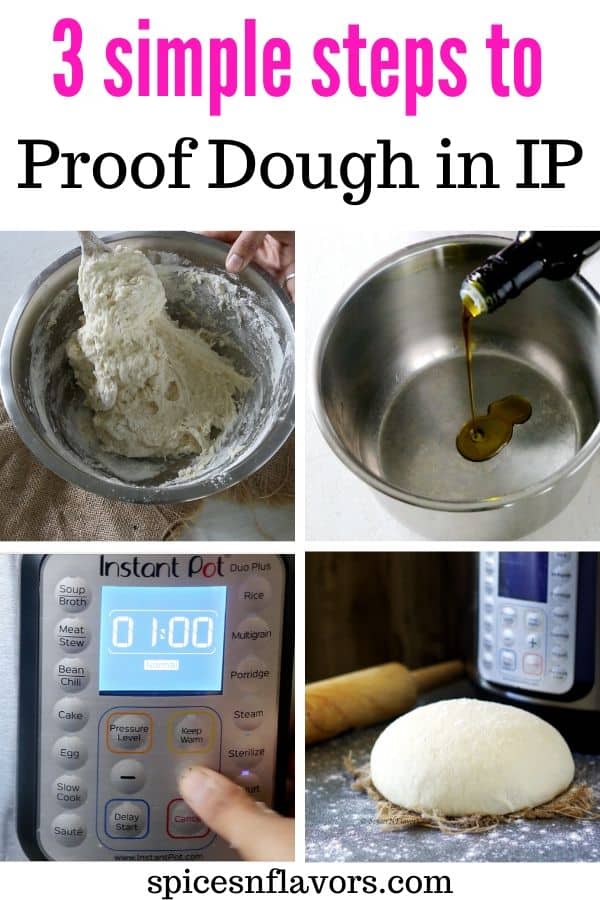
Before placing the dough in the pot to rise just add around a tsp to 2 tsp of oil (image 2) and spread all around the pot (image 3).
Place the dough and coat it with oil as well (image 4).
This step of oiling prevents the dough from getting dry.
Can you put parchment paper in an instant pot?
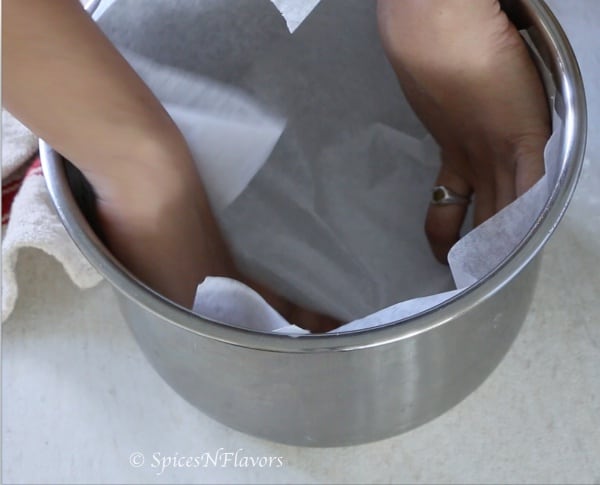
Alternatively, you can also place a parchment paper in the pot.
Put the dough inside and allow it to proof.
WORD OF CAUTION:
Do not use the lid that came along with the pot, instead use a glass lid that would fit the top as seen in the video.
If you do not have a glass lid you can also use an aluminium foil or any other steel or plastic plate that would fit the top.
Do not worry, the glass lid won't break here as there is no pressure generation here.
The reason we do this is that there are possibilities that the dough will rise to the very top and get stuck to the sealing ring of the instant pot lid.
And once that happens you will have a hard time releasing the pressure and opening the lid thereon.
So it is advisable to use a glass lid or a plate on top just to be on the safer end.
Instant Pot came with an attractive lid that I absolutely love and is on my wishlist!!
Step 3: Setting the mode and time on the pot
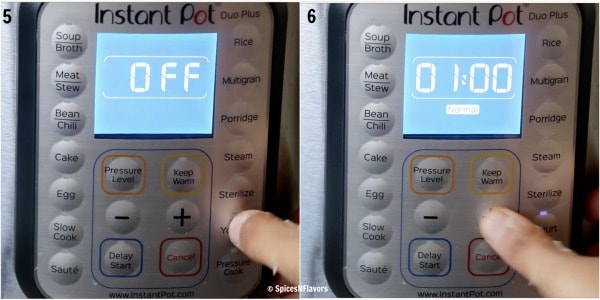
The mode one has to select is, of course, the YOGURT setting (image 5).
A General Rule of Thumb when it comes to setting the time is to halve the time given in the recipe that you are following.
So for example generally a bread dough would take 60 to 90 mins to prove and double in size on the countertop so when it comes to proving dough in instant pot you have to halve it. The time then comes down to 30 to 45 mins (image 6).
Usually, it would take 30 mins for first proving, so take that as the starting point and what you are looking for is that the dough should be doubled in volume as mentioned in the recipe.
So How long to proof dough in Instant Pot?
Take 30 mins as your starting point and go on from there. Usually, simply halve the time mentioned in the recipe that you are following.
Of course, this would not be the case if you are about to make a No-Knead Bread.
Once the dough is proofed, take it out, shape and allow for second proofing if the recipe calls for and then bake the beautiful bread.
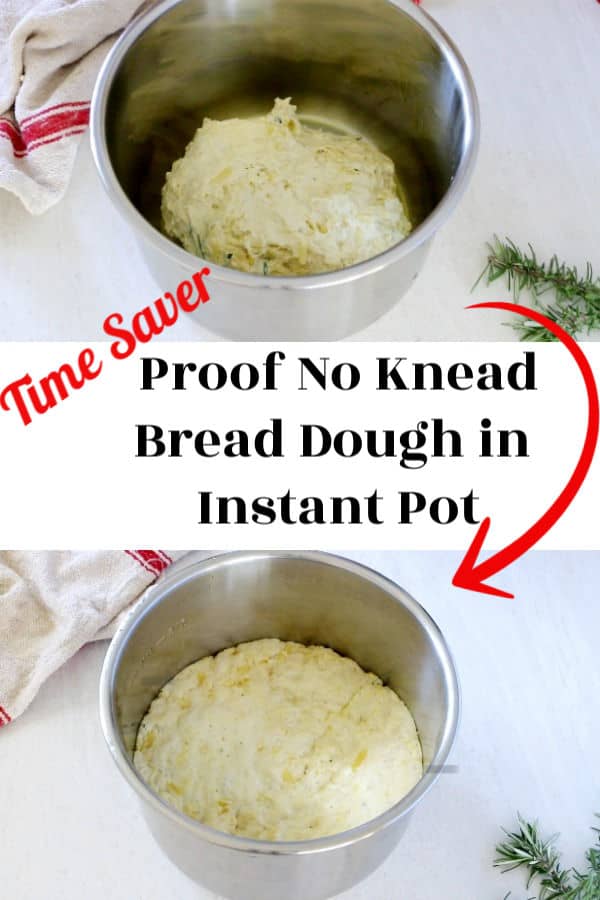
How to Proof No-Knead Bread in Instant Pot?
Usually, no-knead bread takes about 8 to 12 hours to proof on a countertop.
The longer you proof it, the better the flavour development.
Now, will you believe if I tell you that just 4 hours of Instant Pot Proofing will yield a beautiful crusty homemade bread without any compromise in terms of flavours and texture?
Yes trust me last month I tried this recipe thrice and each time was just surprised that I could actually make Artisan Bread right at the comfort of my kitchen.
A recipe, definitely worth trying.
The process remains the same as proofing a regular bread dough in instant pot, just adjust the timing to 4 hours if you are planning to make this Dutch Oven No-Knead Bread.
How to proof Sourdough Bread in the Instant Pot?
Bitten by the Sourdough Bug?
Well, I definitely am.. especially in this quarantine period.
So much so that I not only ended up making my own Starter and also shared a 12-page blog post about it.
Yes, it includes everything under the sun that you would ever want to know about the sourdough starter.
Now you might be aware that making Sourdough Bread is fairly a time-consuming process - though it is the most satisfying thing too so no complaints there.
And that is where I love to use Instant Pot.
It really cuts down the time.
For eg: in my Sourdough Sandwich Bread Loaf recipe it took me 3 hours to proof the dough on my countertop whereas in the Instant Pot it just took me 1.5 hours.
Again the concept of halving the time applies here too.
However, for recipes that call for longer hours of proofing time make sure to adjust the settings to low.
So you choose Yogurt mode and set the pressure to low instead of normal.
One query that I have been asked multiple times especially on the Facebook page is that:
Can I make Instant Pot bread without yogurt button?
Unfortunately No.
This method won't work with the models without the Yogurt Mode.
The Keep Warm Mode or Saute Mode would make the Pot heat up way too much and make the dough go drier.
Do I have to change the Yogurt Pressure Setting from Normal to Low?
Well as mentioned I use Instant Pot Duo 6 plus and have always and always proofed dough in the default setting which is NORMAL.
I have had people commenting that sometimes they feel the heat is too much and their dough gets cooked from the bottom.
Personally, I have never faced this situation.
So I am assuming that different models work in different way.
The first time you try go with Normal setting if you feel that the base is too hot -
- Either change the pressure setting to LOW
- Place the dough on your trivet (that came along with the pot) or in a separate bowl so that it is not in direct contact with the base or the heat. If you choose to go with second option you can continue to proof in NORMAL pressure only.
But why rise dough in IP in the first place?
1. The biggest advantage is, of course, saves you a lot of time. Especially if you are making the no-knead sandwich bread.
2. The climatic conditions won't affect the bread proofing stages. Be it summers or winters it would take the same time to proof the dough unlike when you let it prove on the countertop.
3. Consistency - You will always end up with a consistent rise no matter what.
Which IP makes bread?
Even though I have seen articles wherein one have actually baked bread in the IP itself I am yet to try that method.
However, so far ever since the history of owning an IP I have always proofed my bread dough in it.
Comes out perfect every single time and it has definitely been the reason to grow my love for baking homemade bread.
I own an Instant Pot Duo 6 plus and have always proofed my dough in it.
Basically you would need an Instant Pot with Yogurt mode for the same.
Any size be it 3qt, 6qt or 8qt won't make much difference in terms of time required however, you need to be mindful about the quantity when proofing in 3qt.
Few Recipes that you can try with clear step by step instructions would be:
3. Restaurant-style Naan Bread
4. Holiday special bread - Star Bread
If you found this post informative then please do give it a star rating and share it with your friends and family on Facebook, Twitter or Instagram and help me spread the word.
Consider subscribing to our Youtube channel for more baking and dessert related recipes.
Here is a detailed instruction on
How to Proof Dough in Instant Pot
Equipment Needed:
How to Proof Dough in Instant Pot
Equipment
- Electric Pressure Cooker
- Glass Lid
Ingredients
- 1-2 tsp Oil
- 1 Prepared Dough
- Parchment Paper (for alternate method)
Instructions
- Add the oil to the base of the inner pot. Spread it all around.
- Place the prepared dough in it and coat it with the oil ensuring even coating all around.
- Alternatively you can line the inner pot with parchment paper and place the prepared dough in it to rise if you do not wish to use oil.
- Cover with the glass lid and choose the Yogurt Mode. By default my screen always read Normal and I do not change it. You can manually choose the "Less" mode but never on "High" mode.
- Using the +/- button set the timer to 30 mins.
- Once done, remove the lid to check whether the dough has risen to double its volume. If Yes then take the dough out and proceed with the recipe. If not give an additional 10 mins.
Video
Notes
- Always use the Glass Lid or a regular plate that fits the top of the pot or an aluminium foil to cover the pot. That is because if you allow the dough to rise for a longer time and use the lid that came along chances are that the dough might stick to the sealing valve and you would have a hard time to release the pressure in that case.
- Do not be afraid to use the Glass Lid. It won't break. We are not generating any pressure here so using a Glass Lid is totally safe.
- A general rule of thumb for proofing the bread dough in instant pot in terms of timing is to halve the time given in the recipe that you are following. For example if the recipe says 1 hour then set the timer to 30 mins.
- I have always used Instant Pot Duo 6 plus - 6 qt for proofing the dough. A 3qt or 8qt will also work in the same way provided it comes with a Yogurt button.
- Please do check out the post for more information and also links to the recipes that I have successfully tried so far.
Conclusion:
Yes!!! Yes!!! Yes!!
You can definitely proof dough in instant pot.
And in fact, this is one of the best hacks you could ever try.
No need to worry about the weather outside while proofing, a total time saver and consistent results every single time - If that excites you then do give this method a try and I bet you would never revert.
Pin this for later:
I will see you soon with yet another one
Until then
Hugs
Sushma
SpicesNFlavors is a participant in the Amazon Affiliate Program. Amazon Affiliate Program is designed to provide a means for sites to earn advertising fees by advertising and linking to products on Amazon. The price you pay as a consumer does not change, but if you make a purchase through one of our links, we receive a small commission – and we continue delivering delicious recipes to you!

Cp says
Cookingwithcurls.com has an article that tells how to proof dough using the sous vide button on the instant pots that do not have a yogurt button. I thought you may be interested in her method. Also thanks for your wonderful recipes and techniques. 😊
sushma iyer says
thank you for sharing will look into it 🙂
Larry says
Do you have a link on Pinterest to follow?
sushma iyer says
Hi Larry Yes definitely.. here is the link for you: https://www.pinterest.nz/spicesandflavor/_created/ thank you
Puay Lim says
My instant pot kept giving me a lid on message and even though I put a plate on, the message lid detction message kept coming up.
Ellen says
Need help!
I proffer bread and put top on and now can’t get it open
sushma iyer says
OMG.. thats so sad. I have talked about it in the post. I am sorry this happened to you.. Now what you can do is put the pot in the fridge or wait till the dough deflates then the pin would be released and you would be able to open the pot. hope this helps
Anne says
My goodness this post was unnecessarily wordy and confusing. You should consider being more concise in this post. It was difficult to find the information I needed.
sushma iyer says
Thank you for your feedback Anne. I will try to work on my writing. 🙂
Jennie says
Instant pot duo cooker has a Souse Vide setting. You can set the time and temperature to whatever you want so you should be able to proof dough on that setting.
Kate says
My IP doesn't have a yogurt setting. Anything else I can do instead to make this work?
sushma iyer says
Hi Kate
Unfortunately No. This doesn't work in any other setting.. People have tried using the Keep Warm Mode function but apparently the ends up drying.. So I do not recommend it. Sorry
Denise says
Any experience with gluten free bread.? The recipe I tried did not work. They used the keep warm setting. Came out like stiff mashed potato
sushma iyer says
Hi Denise
I have not made many gluten-free bread so don't have much experience but when it comes to proofing always use the Yogurt Setting. The Keep Warm mode is too hot for proofing.. I think the basic principle would be same for a gluten-free bread too which is to halve the proofing time.. Just use the Yogurt Mode next time and set the time to half of what the original recipe calls for..
Regards
Sushma
Sujita says
Can u post the recipe after the dough is ready
sushma iyer says
Hi Sujita..
I have tons of bread recipe on the blog with this method. You can check the Bread Category.
The one shown in the images here is by doubling the White Bread Recipe: https://spicesnflavors.com/white-bread-recipe/
Regards
Sushma