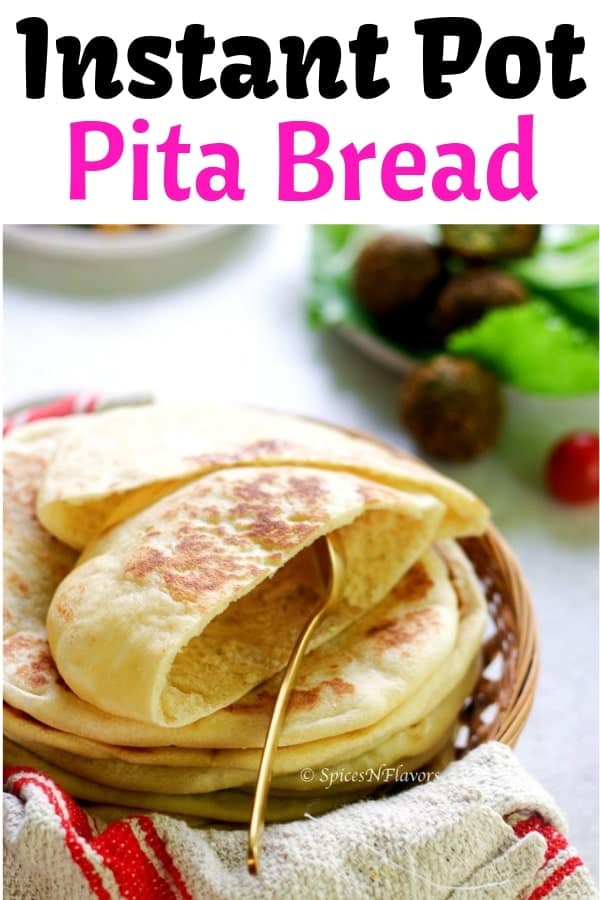
I am sorry for making you addicted to bread baking at home, because once you make this soft and chewy Whole Wheat Pita Bread at home then there would be no looking back..
You would totally get addicted to its flavour and would keep coming back for more!!!
What can you expect from this Whole Wheat Pita Bread recipe post?
In this vegan pita bread post, I will cover details on:
- A brief discussion on What is Pita bread and why to make it with whole wheat?
- Answering questions from you guys from my earlier video on How to Make Pita Bread at home like a pro?
- 6 steps you need to know to make the best pita bread I mean Whole Wheat Pita Bread.
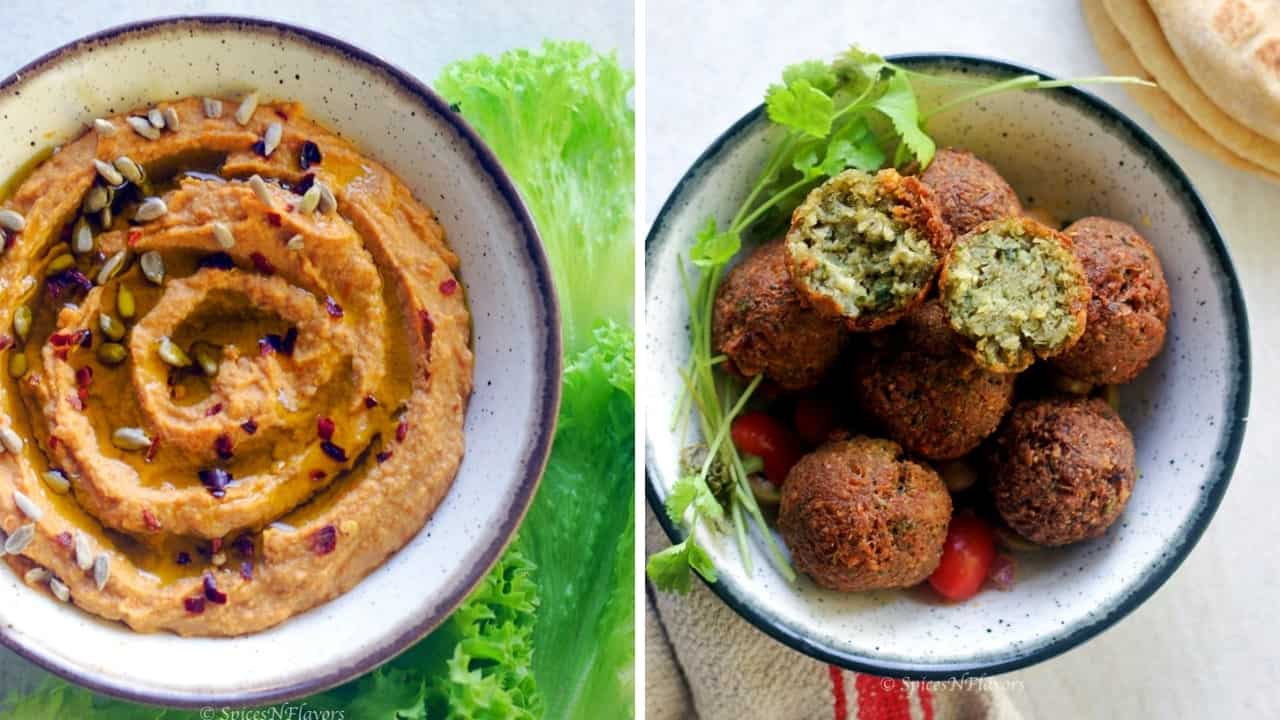
- And on popular demand have included the recipe for falafel and hummus too. 😀
Now I would try to keep this post short and cut it down because all the tips and tricks and the methods that I have discussed in my Pita Bread post applies to this as well so I will try not to repeat the same and try to share few additional information instead.
And hence if you have not already gone through my earlier post I would highly recommend you guys to look into it now or maybe after you read through this recipe. Here is the link to that post.
Beginning with, What is a Pita Bread?
Pita Bread basically falls into the category of flatbreads from the Meditteranean Cuisine.
The pita bread dough has similar ingredients like other flatbreads such as pizza dough or a naan dough, the little techniques used to make this dough is what gives the Pita Bread that characteristic puff and that pockets is then used to fill hummus, veggie or meat filling, falafel and dipping sauce.
Stay tuned because the 6 steps and tricks mentioned in the post would definitely help you make a Pita Bread on your own.
If Pita bread itself is so amazing then why make it with whole wheat?
Why make Whole Wheat Pita Bread?
To be brutally honest with you, I have made this homemade pita bread just on the request you guys made on the video. I like to enjoy bread or cakes made of Plain Flour or Maida more than ones made using Whole Wheat.
However, I must respect your thoughts and opinion too right.. so if you ask for a whole wheat pita bread recipe I would definitely share it.
Moreover, whole wheat flour is easily digested by our body as compared to plain flour and also it is said that whole wheat flour has more iron and nutrients comparatively. Does that answer your question; is pita bread healthy or is whole wheat pita bread healthy?
Well, I for one do not believe that everything made using whole wheat is healthy. Let us not get into that debate as for now, but rather let us enjoy making pita bread at home.
Now that you know what is pita bread, time to look into the Whole Wheat Pita Bread ingredients - which includes the usual flour, yeast, salt, sugar and water.
I have already discussed each of them in detail in my previous post so skipping it now and moving on to the next step. In place of plain flour or maida mentioned in that post we are using whole wheat flour here.
So let us now have a look at:
6 steps to help you make the perfect Best Whole Wheat Pita Bread at home!!!
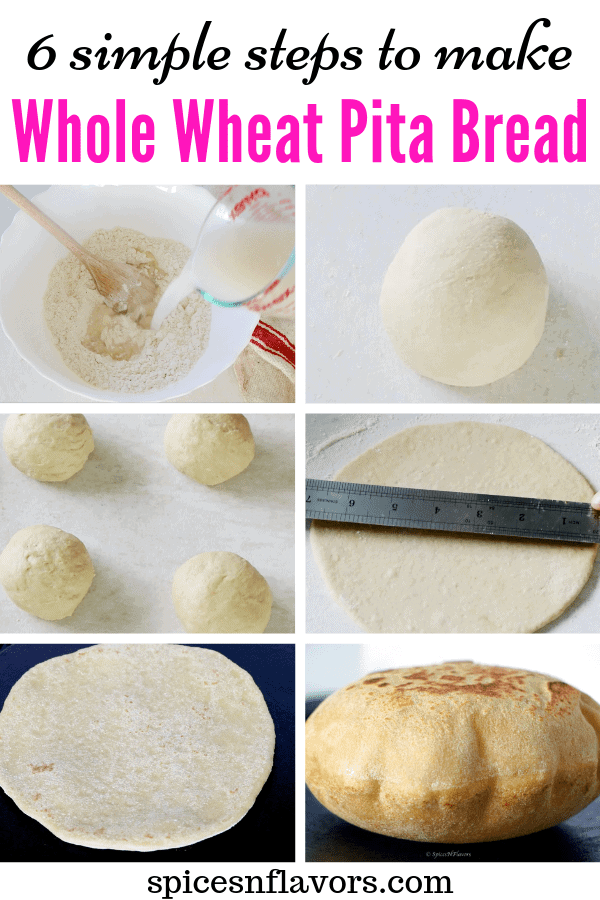
Like any other yeast-leavened bread, to make a soft Whole Wheat Pita Bread you will have to follow the same steps of bread making – Kneading, First Proofing, Shaping, Second Proofing and Cooking.
So that brings us to our first step.
Step 1: Kneading a Soft and Smooth Dough
Did you know each and every bread has an optimum temperature after kneading? And to get that optimum temperature we need to have the liquid required to make the dough at a specific temperature.
Pheww...
And the temperature of water for this Whole Wheat Pita Bread dough has to be around 90-100 degree Fahrenheit.
The second thing to note is that if you are using Active Dry Yeast in place of Instant Yeast then you need to activate it first before adding to your mixture.
To make this dough, we will add all our dry ingredients - flour, salt and sugar in a bowl and give a mix. Dissolve your yeast in the water and add this to the dry flour.
Combine together until all the flour is hydrated.
Dust your worktop with some dry flour. Transfer the dough to your worktop and start kneading.
This is going to be a really sticky mess to begin with but keep on dusting and keep on kneading. After about 10 mins add olive oil and kneed again. It took me around 25 mins and almost 1/2 cup of more wheat flour to get a soft, smooth and tacky dough.
Once again I would refer you guys to check my previous post on Pita Bread as to how to knead the dough right way!!
Step 2: First Proofing in an Instant Pot
Grease a bowl with oil. Transfer the dough into it and allow this to proof for 2 hours.
And this is where my new found love - Instant Pot comes in play. Instant Pot Bread is suddenly a rage now and I can totally see why.
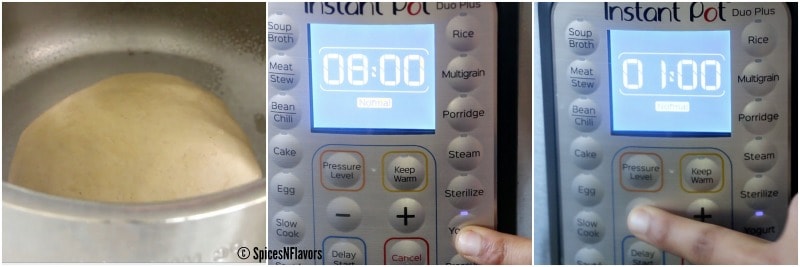
So I allowed my bread to proof in Instant Pot for 1 hour. Yes, that is the advantage of using the magic pot it literally cuts down the proofing time by half. Super handy to make a no-knead bread.. no need to wait for 6 to 8 hours for it to proof.
Yea so if you have an Instant Pot then allow it proof in the pot for 1 hour in yogurt setting mode or else proof it for 2 hours.
Proofing in a Bowl : 2 hours
Proofing in Instant Pot : 1 hour
Next time I am gonna test the batch for 30 mins of proofing in Instant Pot.. Will test it and update the results with you guys 😀
Step 3: Shaping and Rolling the Dough
After the first proofing, gently deflate the dough, shape it into a log and divide it into 6 balls. Or you can also weigh them to be accurate. I weighed them this time and each ball was around 75 gms.
Take a ball, tuck the sides to the base and try to give them a round shape and place it on your worktop. Cover it with a tea towel and repeat the step with the remaining 5 balls and place it adjacent to the previous one.
Starting with the first dough that you shaped, flatten it out and using a rolling pin to roll it into a circle with around 6 inch diameter.
Points to note while rolling
- The dough should be rolled thin.
- I observed that trying to keep the diameter to 6 inches gives the dough the required thickness and also helps to maintain a uniform size for all the pitas.
- Make sure to roll it evenly without any tears or cracks on the surface.
Don't get me wrong again to understand the why and how's just check that post..
Step 4: Second Proofing
Once you roll the dough out, place them on a baking tray lined with parchment paper or worktop dusted with flour. Cover with a tea towel so that it doesn't dry out.
You need the parchment paper beneath because the dough on resting seems to get wet a bit and when you try to lift it up you might unknowingly cause it to tear and then the pitas won't puff so it is important to place them on a parchment paper.
So once rolled out, allow the dough to rest a bit - second proofing for 30 mins so that the gluten gets time to relax.
Step 5: Cooking the Pitas
In whichever medium you choose to cook your pitas be it in an oven or a skillet make sure that it is super HOT.
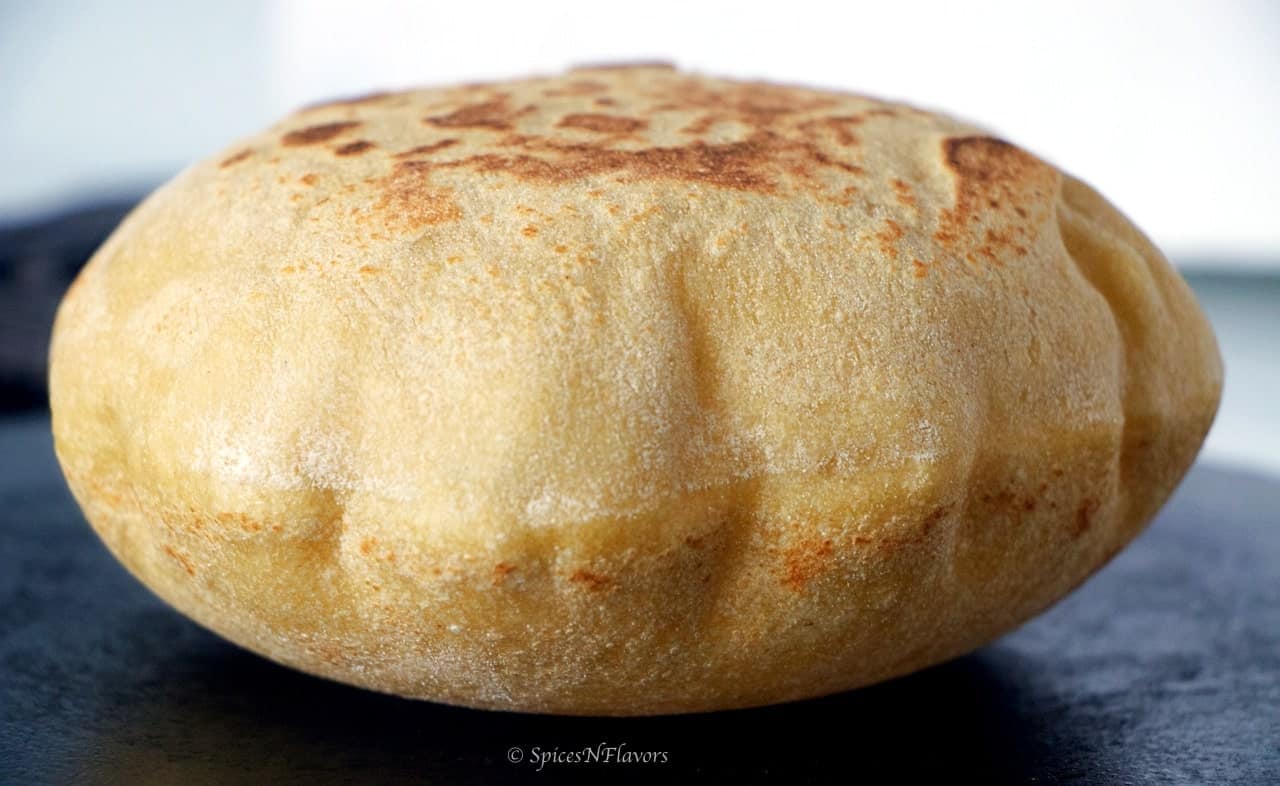
The hot conditions of the oven are needed to quickly create steam which would eventually create the pockets. If the oven temperature is too low, the steam won't cause the puff, and you’ll end up with thick pita bread.
Preheat the oven to max temperature with the baking stone inside so that the stone is also hot when you place the pitas. Within a matter of 3 to 5 mins, you will observe the pitas puffing up.
The same logic applies to cook it in the skillet too.
Apart from that, the other thing you need to note is to flip the pitas before cooking.
So the rolled portion which was the top portion would hit the skillet or baking stone first and would now be the bottom portion.
Step 6: The right way to store them
Simply place them in a tea towel stacked one above the other. This would keep them warm and soft. The tea towels would retain the moisture and at the same time letting the pitas to breathe.
Follow these 6 simple steps and I assure you that almost all of your pitas would puff.
I am saying almost because sometimes the pitas just don't puff
Pitas that don't Puff:
Yea even after following all the tips and steps sometime the pitas won't puff. Don't get disheartened.. It took me 2 attempts to perfect my pita making skills 😉
Even though it doesn't puff the base would be still so soft that it makes an excellent base for pizzas. Or simply dip them in hummus and enjoy.
Or bake them again to make pita chips and enjoy with dip of your choice.
Frequently Asked Questions:
Now a heartfelt thank you to all of you who watched my Pita Bread Video and shared your thoughtful and meaningful comments on the same.
Even though I tried to reply to each of you, after a point it was just not possible, extremely sorry about that but definitely, I have read all your posts and few questions that were asked frequently in that video and that is what I would like to address in this one.
1. What is the flat surface that I am using to cook the Pita Bread?
It is called Tawa. Basically, it is an iron skillet that I got from India. I am pretty sure you can easily find it in any of the Indian stores near you or you can also choose to order it from Amazon.
2. How hot is my skillet?
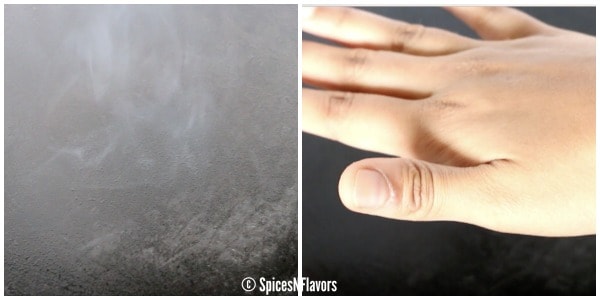
So on a scale of 1 to 9 on my gas stove, I heat it on 7. After about 5 to 8 mins when I place my hand a few inches above the skillet I could feel the heat on my palms and that is when I reduce it to 5. And then start cooking my pitas.
You will have to initially test 1 or 2 pitas to understand your gas flame.
3. Do I use oil while cooking or do I oil the skillet?
I do not use oil while cooking the pitas.
And neither do I oil it separately.
What I mean is every time I wash the skillet, I put it back on the flame to dry it and once dried add in a tbsp or 2 of olive oil and using a paper towel simple spread it all over the skillet evenly and then heat it up until it smokes. Switch off the flame and store it once it is cool to touch.
Basically, that is how I store my iron vessels to avoid the formation of rust.
And that oil which is already present on the skillet is the only Oil I use apart from that I do not add any extra oil while cooking.
4. How to store the Pitas. Can you freeze it?
I will divide the section into three parts.
First, let us see how to store the pita bread dough?
Simply transfer the dough to an airtight container. Store it in the refrigerator for upto a week. Just pinch out 1 or 2 balls or depending upon how much ever you need for the day and proceed with the steps mentioned in the recipe.
How to store partially cooked pitas?
Well, I would not recommend this method, to begin with.. Because when you cook the pitas on one side and flip to the other side it automatically starts to puff immediately which means we would end up cooking it completely.
So I have not tried it successfully and hence would not recommend it.
How to store cooked pita bread?
You can store cooked pita bread in the freezer for up to 3 months.
Just place a parchment paper in between each pitas. Wrap it with an aluminium foil. Put it in a ziplock bag with correct labelling and then store it.
How do you revive Pita Bread?
I personally use the following method to revive my day old Pita's.
Simply cut the pitas lengthwise like you normally do.. Then using wet hands just dab dab dab the water onto the pitas on both the sides. Place it on a microwave-safe plate and microwave for 10-15 seconds.. and you will have a perfect soft pita as fresh as new ones 😀
Since I just made a small batch of pitas the other day I could not film this portion using pita bread as nothing was left out. So I am using a regular Indian flatbread - Lachha paratha as an example here in the above pictures. Sorry about that guys.
How do you eat pita bread?
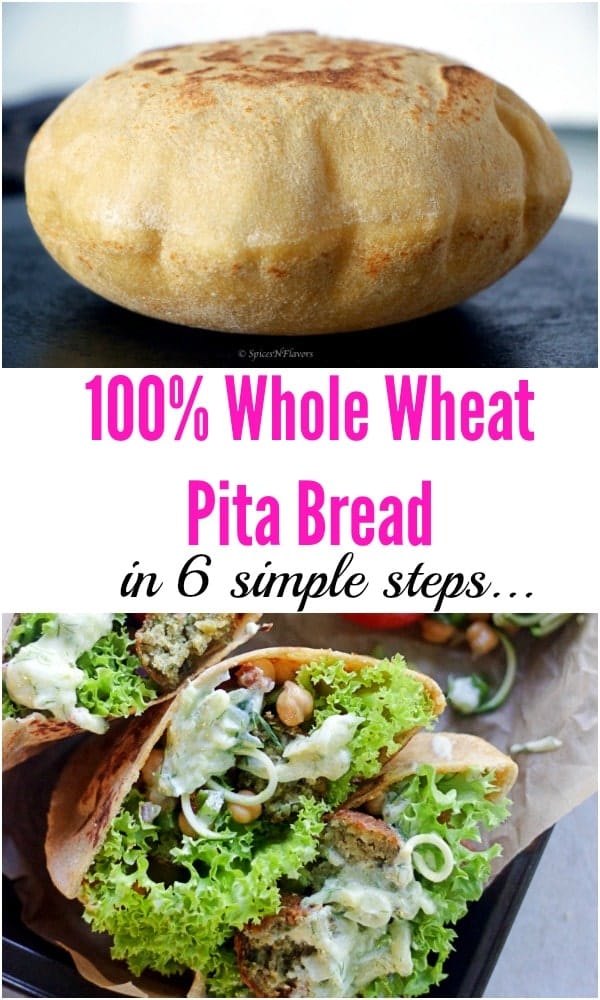
Due to the puffy pockets it gets while cooking or baking, it is usually used as a medium to stuff things in.. The common thing that you would find in all kind of stuffings is a salad.. Other than that you can use any filling like kebabs, falafel, eggs, the meat of your choice just anything you like..
Any sauce or condiments like a different flavour of hummus, tzatziki sauce, basically something to keep it moist.
You can also cut it into triangles add some spices, bake it until crispy to enjoy it like chips.
Can we add herbs or spices to flavour the dough?
Yes, you can add any dried herbs or spices to flavour the dough. Just add in along with the dry ingredients itself be it while making regular Pita Bread or this Whole Wheat Pita Bread.
With all those things in mind, let us see how to make Whole Wheat Pita Bread
How to make Whole Wheat Pita Bread like a PRO!!
Ingredients
Pita Bread
- 2 cups Whole Wheat Flour/Atta
- 1 tsp Sugar
- 1/2 tsp Salt
- 200 ml Water
- 1 tsp Instant Yeast
- 1 tbsp Olive oil
- +/- 1/2 cup whole wheat flour for dusting
Falafel
- 1/2 cup Chickpeas soaked overnight
- 1/4 cup chopped onion
- 2 garlic cloves
- 1/4 cup Coriander leaves
- 3/4 tsp Salt or to taste
- 1/2 tsp Black Pepper powder
- 1/2 tsp Cumin powder
- 1/4 tsp Coriander powder
- 1/4 tsp Baking Soda
- 1/2 tsp Flour
- 1 tsp Lemon Juice
Hummus
- 1/3 cup cooked chickpeas
- 1 tsp Garlic Powder
- 1/2 tbsp Sesame seeds
- Salt to taste
- 1 tbsp Lemon Juice
- 2 tbsp Olive Oil
- 1/4 cup Sun dried Tomatoes
Balela Salad
- 1/2 cup Cooked Chickpeas
- 1/4 each of bell peppers, onions, cherry tomatoes, sundried tomatoes, cucumber
- Olive oil, Lemon Juice, salt and pepper to taste
Tatziki Sauce
- 1/2 cup Greek yogurt
- 1/2 Cucumber grated
- 1/2 tsp Garlic Powder
- 1 tsp Lemon Juice
- 1 tbsp olive oil
- handful of Dill leaves Chopped
- Salt and Black Pepper to taste
Instructions
Pita Bread
- Combine all the dry ingredients in a bowl and give a good mix.
- Dissolve yeast in the water and add it to your dry ingredients and combine together until the flour is hydrated. Transfer to the worktop dusted with some whole wheat flour and then knead the dough
- After about 10 mins of kneading add a tbsp of oil and knead again until you reach the soft, pliable and tacky dough stage which would take another 15 mins of kneading. You would have to approximately knead the dough for 25 mins in total. Add extra flour while rolling the dough as needed
- Feel free to cut short the kneading time to 10-15 mins by choosing to knead the dough in a stand mixer.
- Oil the bowl and allow the dough to proof in it for 2 hours or until doubled in size. Or cut short the time by proofing the dough in the Instant Pot.
- Spray some oil to the base of the pot. Transfer the dough into it. Vent to sealing position. Use the yogurt setting and set the time to 1 hour.
- After the timer beeps, take the dough out and divide it evenly into 6 balls of 75 gms each. Tuck the sides underneath to create a smooth round surface. Cover with a tea towel so that it doesn’t dry out.
- Take the first dough that you weighed. Roll it out evenly into circles measuring 6 inch in diameter .
- Place them on a baking tray that has been pre-lined with parchment paper.
- Allow for second proofing - 30 mins.
- Prereheat the oven to 230 degree Celsius with the baking stone inside. Right before baking flip the rolled out dough on to the stone and bake for 4-5 mins until it is nicely puffed up.
- To make it on a stovetop make sure that the skillet is hot. Flip the rolled out dough and place it on the hot skillet. After about 20 sec flip the dough and you will observe that the dough puffs up like a balloon in minute's time. Flip it over again and cook on both sides.
- Wrap it in a tea towel as soon as it comes out of the oven or skillet to keep it soft.
- Pita bread tastes best when still warm.
Falafel, Hummus, Salad and Tzatziki Sauce
- Please refer the attached video in the recipe card for the exact steps.
Video
Notes
- Please note I have used the Instant Pot only to proof the bread. Under normal conditions the first proofing takes 2 hours whereas Instant Pot cuts the time to 1 hour so note the time difference depending upon how you proof the dough.
- If you are using any other variety of Yeast other than Instant make sure to activate the yeast first before proceeding with the recipe 🙂 The quantity remains the same.
- The ideal water temperature for this recipe is 90 to 100 degree F.
- Please refer the Frequently Asked Questions section right above the recipe card to get all your queries answered
Conclusion:
Whole Wheat Pita is considered to be a healthier version over its plain flour counter part.
To me in terms of taste and texture both the pitas were equal.. there was not much difference.. both were soft, chewy and flavourful.
Only thing is that I had to knead it for a longer time as compared to the plain flour ones.. but I would say that is a good exercise 😀
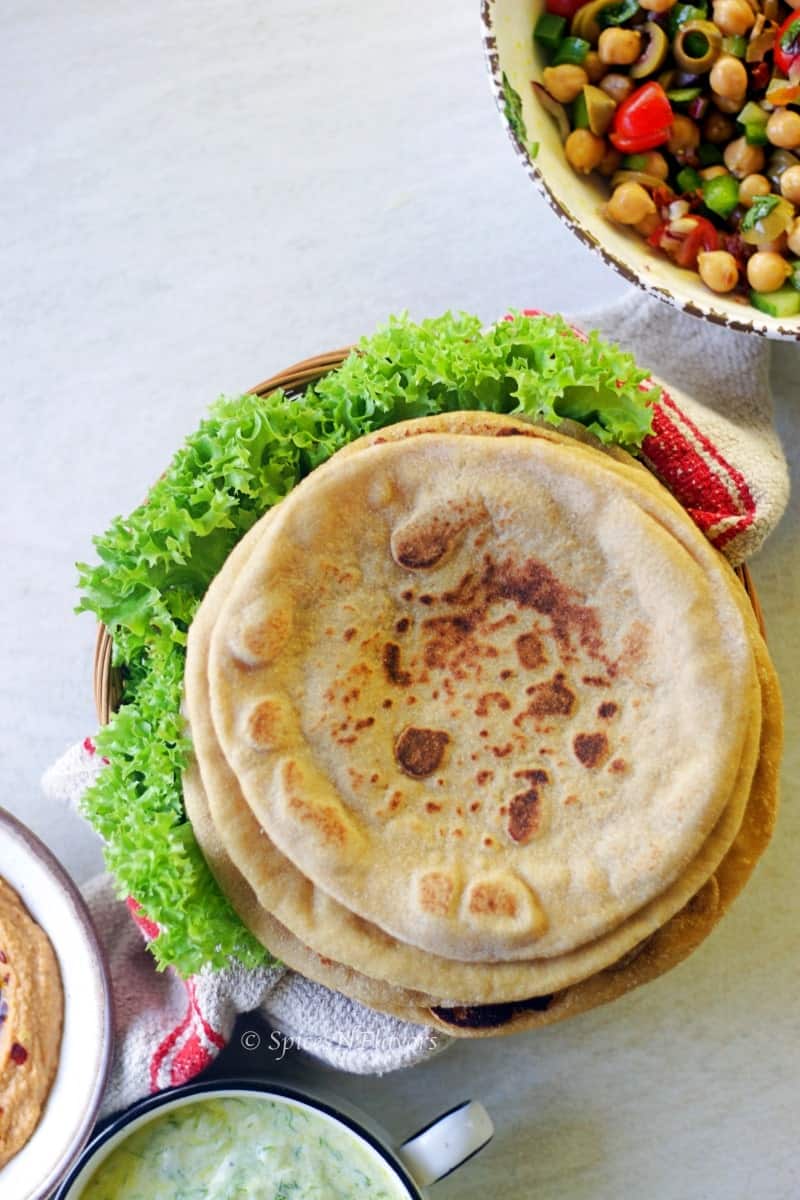
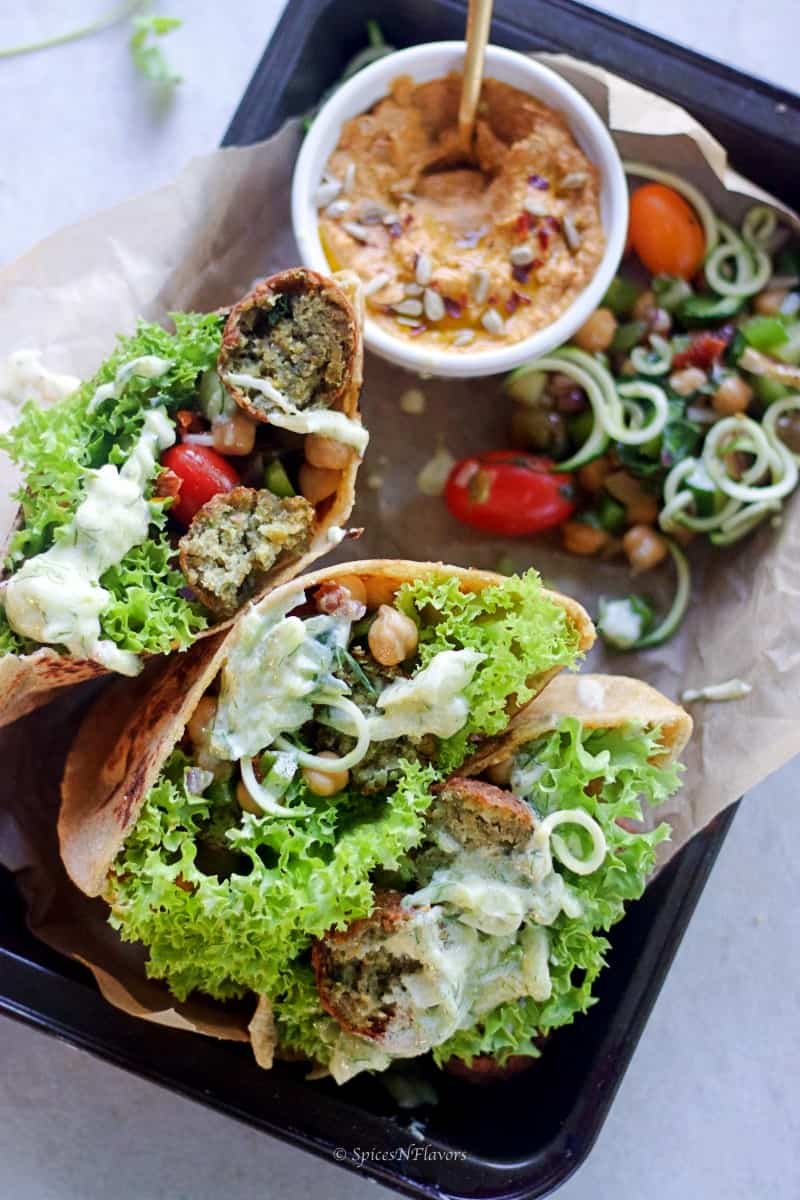
The homemade Whole Wheat Pita Bread paired with hummus, falafel, tzatziki sauce and balela salad was one flavourful combination.
Few other bread recipes that I think you might love:
If you thought that this post was informative then definitely let me know by tagging me, tweeting me or Instagram me. I would love to follow you and your posts.
Pin this to your Bread Board on Pinterest.
I will see you soon with yet another one.
Until then
Hugs
Sushma






Jenn says
These looks good, I would like to try it sometime. If you bake them on a stone in the oven, do you need to flip them?
sushma iyer says
Hi Jenn.. no.. no need to flip in the oven
Vidya says
This was amazing. I tried all of this and a tabouleh. My pitas didn't puff though 🙁 not sure why. But thank you for this beautifully descriptive recipe. My family loved the meal!
sushma iyer says
Hi Vidya..
so pleased to learn this.. glad you enjoyed this. yes it takes time to practise and puff the pitas.. but I would recommend you to go through the other pita post for learning the techniques if you haven't already. HEre is the link: https://spicesnflavors.com/homemade-pita-bread/
Tiffany says
Any luck with the 30 min proofing?
Smitha says
This is very detailed post on Pita bread. I like the pita pockets but never tried them at home. Would definitely try it.
sushma iyer says
Hi Smitha..
so good to know that you liked the post.. hope you went through the other part (Part 1) of the pita bread in case you are planning to make it at home would highly recommend you to look into it that too.
Regards
Sushma
Rita says
Just wonderful recipe and instructions. Cant wait to try it.
sushma iyer says
Hi Rita..
That sounds amazing.. do share your feedback with us if you happen to try.. Thanks a bunch
Regards
Sushma