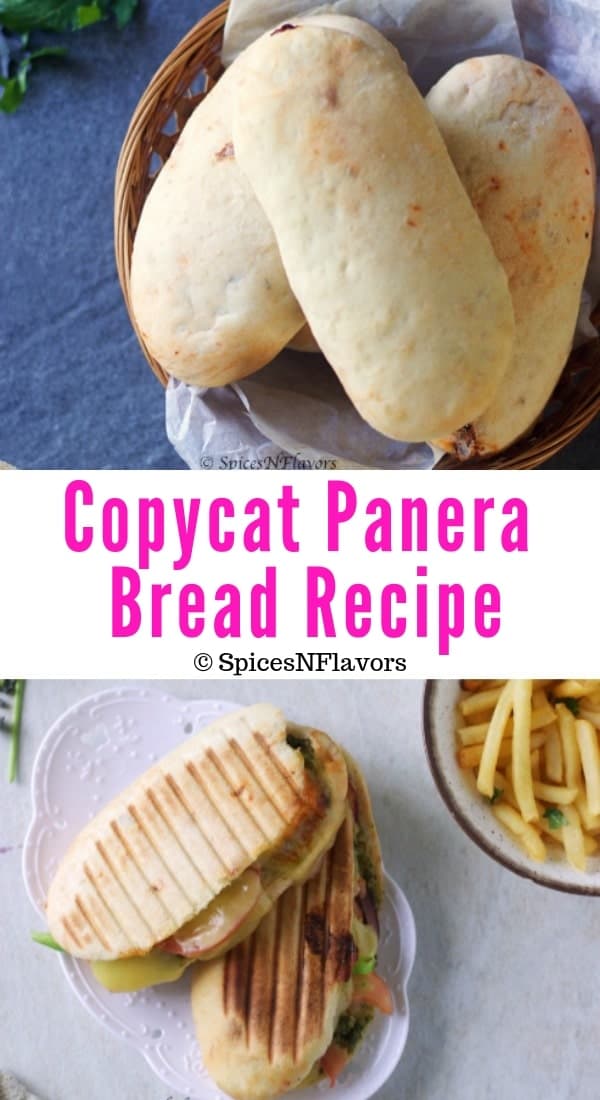
Drooling over your favourite Panera Bread Sandwich and wondering how on earth do they make it?? Well, this Panini Bread Recipe is surely gonna blow your mind then..
Soft and Chewy bread customised to your favourite fillings, grilled to perfection and that too right at the comfort of your home. What more could you ask for?
What is a Panini?
Panini is basically a sandwich but is made with not the regular bread recipe. A panino or panini is a sandwich made using Italian bread.
Off lately, it has gained popularity in bakeries across the country.
And one such bakery that we all know is the Panera Bread. The sandwiches that they sell are so good and trust me with this panini bread recipe you can totally crack it at home.
A classic recipe that uses leftover meat or salad leaves as a filling and is usually pressed in a panini maker and served hot. A great filling sandwich perfect for your lunch.
The crispy grilled bread with your favourite filling and the melting goey cheese - oh my gosh I am sorted for my lunch this weekend. What are your plans?
The secret to making Bakery style Panini Bread
There is a reason why I am claiming this as the best bread for panini. You can make the best panini using this secret bakery style recipe.
And this is also the trick that I use to make the best Bakery Style Pizza Dough as well.
Won't keep you waiting for long and that secret thing is to make the "BIGA" or the starter before actually making the dough.
What is Biga?
Biga is basically a starter culture or you may say a pre-ferment made from flour and yeast.
Advantages of using Biga:
- It helps to increase the enzyme activity that is the yeast activity of panini dough. Not only panini but all yeast bread recipes.
- Also imparts a beautiful flavour and aroma to the baked bread.
Apart from the Biga the other panini bread ingredients include:
The usual Flour, Yeast, Salt and Oil.
Other than that
- Maltexo : It does the work of adding sugar or food to the yeast. But I did not want to make a round to the stores to buy something that I am sure would be lying on one corner of my pantry unless I dig in to find ways to use it ;)So instead I have substituted it with honey which is a common ingredient in our pantry 😀
- Sun-Dried Tomatoes: It imparts an amazing flavour to the Panini bread recipe but of course you can skip it if it is not handy or not available in the place where you live 🙂
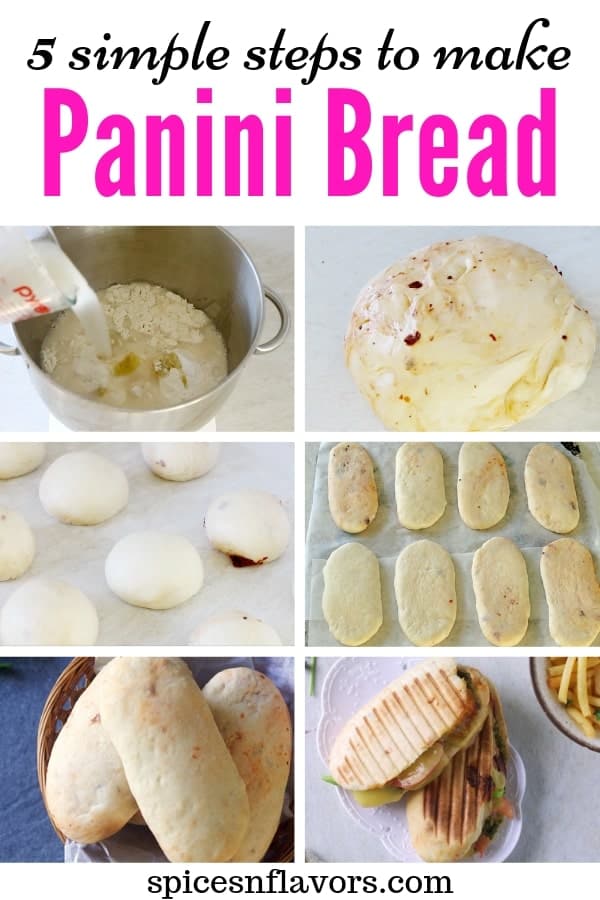
6 steps to help you master making your own homemade Panini Bread?
Step 1: Making the Biga
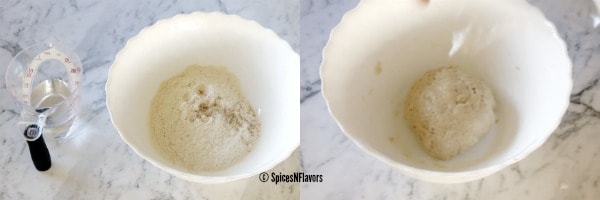
The night before just combine the flour, yeast and water until it comes together as a dough. There is absolutely no need to knead the dough.
Cling wrap and let it ferment overnight.
Step 2: How to make the Panini Bread Dough
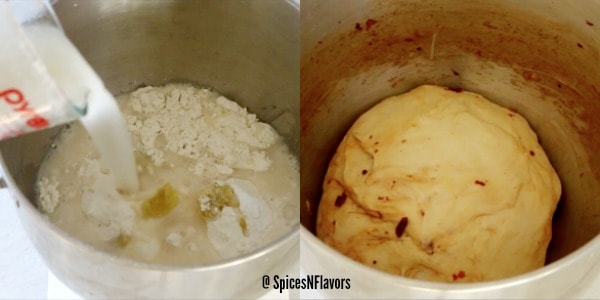
Just combine all the ingredients - flour, salt, olive oil, honey, yeast dissolved in water into a stand mixer along with the biga that is the starter that you made on the previous night. Knead it in the stand mixer for 8 mins.
Add in the sun-dried tomatoes and mix for 30 sec until it gets incorporated.
A stand mixer really makes your life easier right!!
But if you do not have a stand mixer you can still knead this bread manually. Knead it for 15-20 mins until you get a soft dough.
This dough is not as tacky as the ones we made for Pita Bread but instead is a soft dough similar to our regular Indian chapati dough.
Step 3: First Proofing
Lightly oil the bowl in which you mixed the dough with some olive oil and spread all around.
Place the dough in it and coat it with oil so that it does not dry out, cover it with a tea towel or cling wrap and then allow it for first proofing - 40 mins or proof in the Instant Pot for 20 mins.
Step 4 : Scaling and Shaping
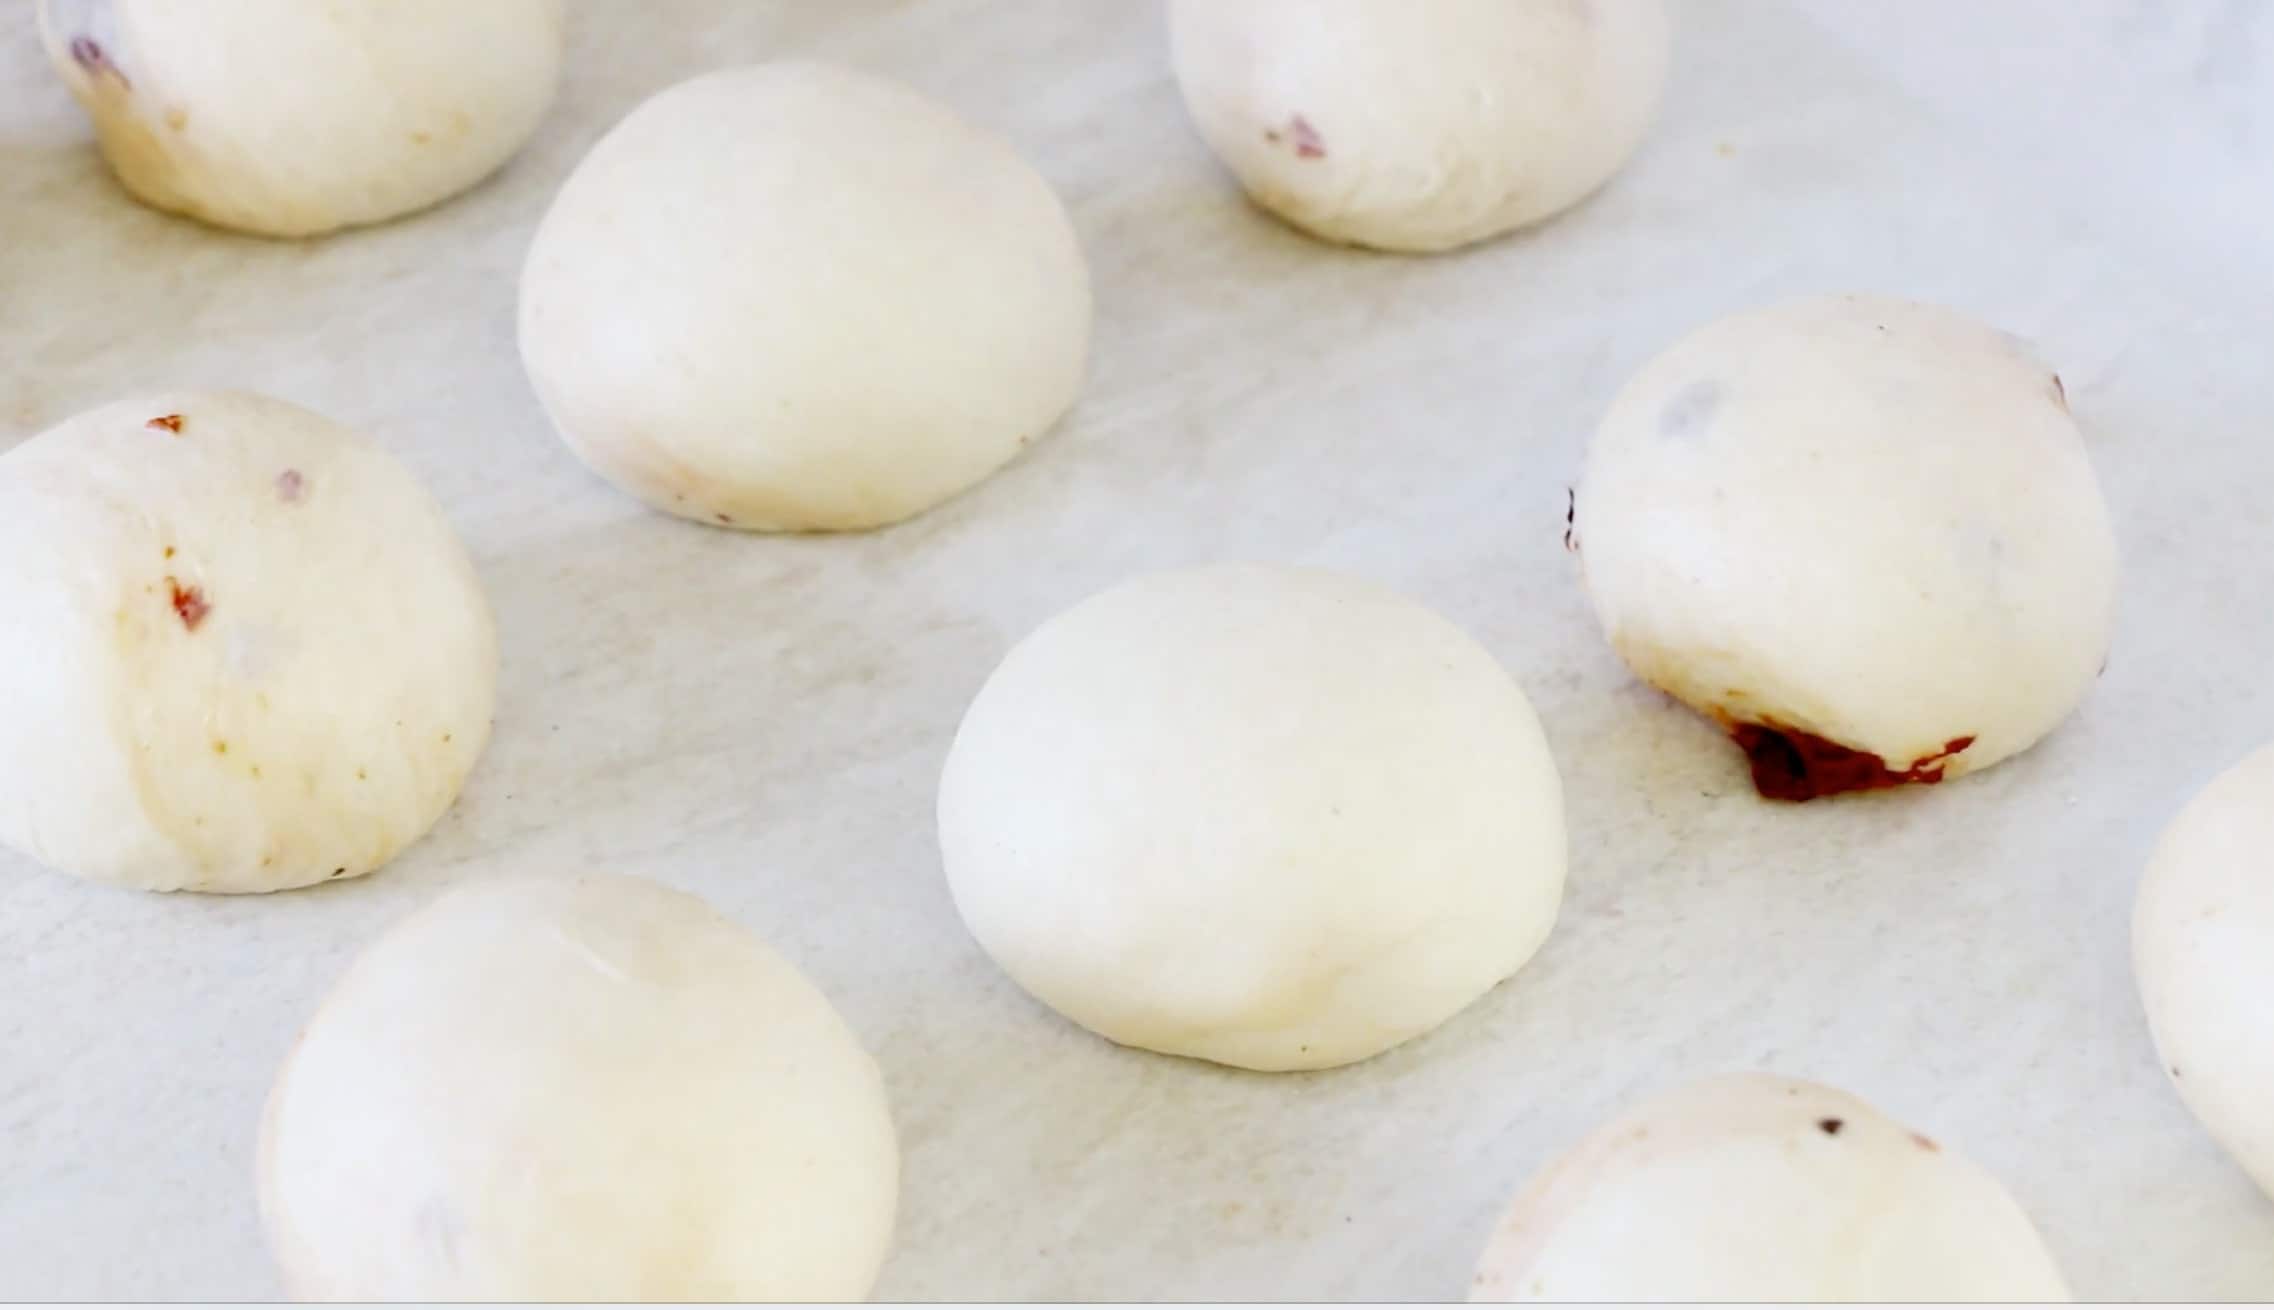
After 40 mins take the dough out onto your work top. Scale and divide the dough into 100 gms each.
You would get 12 roundels from this recipe.
Lightly tuck the sides of each dough to the bottom and give it a round shape. Check this video on how to shape the bread into roundels. Super helpful for beginners.
Cover the roundels with tea towel and allow an intermediate proofing of 10 mins.
Shaping
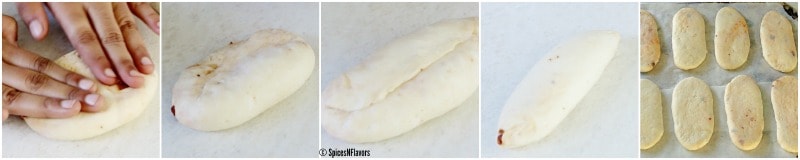
Take the roundel that you had done first.
Flatten it out.
Take the top portion of the dough and bring it to the centre and press well so that it sticks to the centre really well.
Repeat the same on the bottom side. Take the bottom side and bring it to the centre such that it overlaps the first fold. Seal well.
Turn around and roll it forwards and backwards such that you get two narrow ends and a broad centre. This shape is called "Torpedo shape" in culinary terms.
Shape all the roundels in the same manner.
Using a rolling pin roll the torpedo's to get an elongated oval shape.
Let it proof for 10-12 mins before hitting the oven.
Step 5: Baking

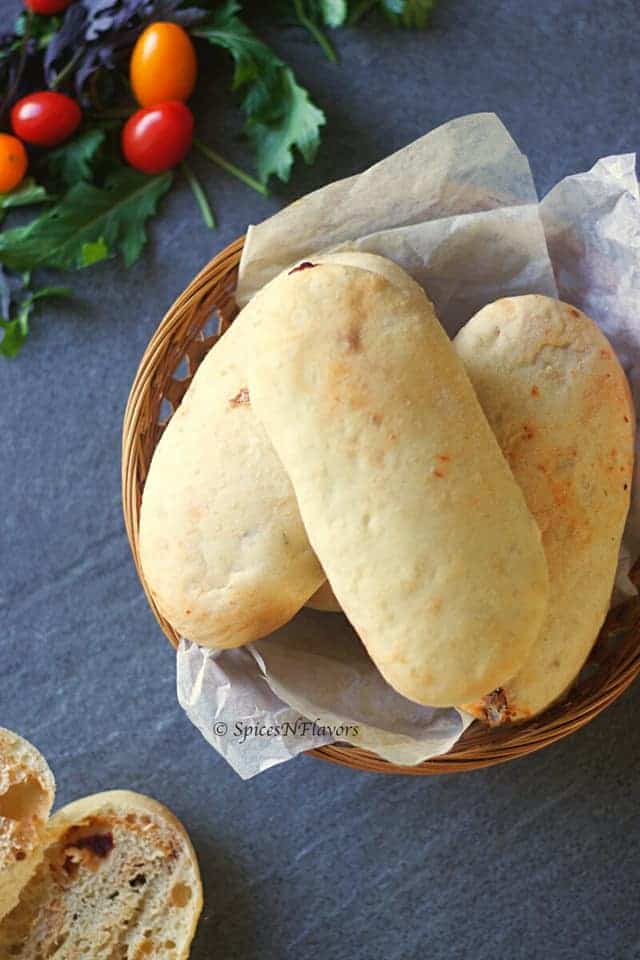
Bake them in a preheated oven of 160°C for 14-18 mins.
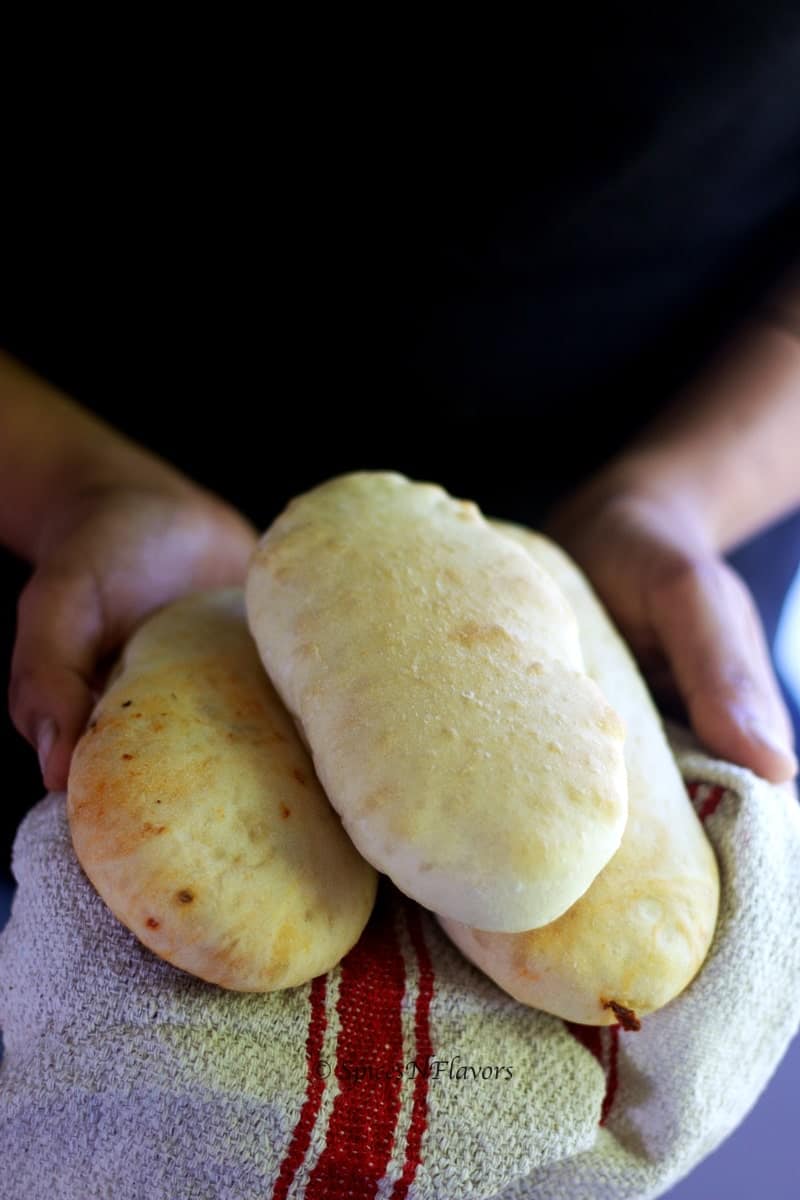
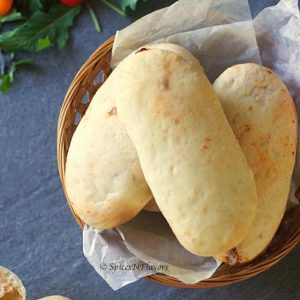
The bread would be pale in colour even after baking. Do not worry that is how it should be. Soft and pale.
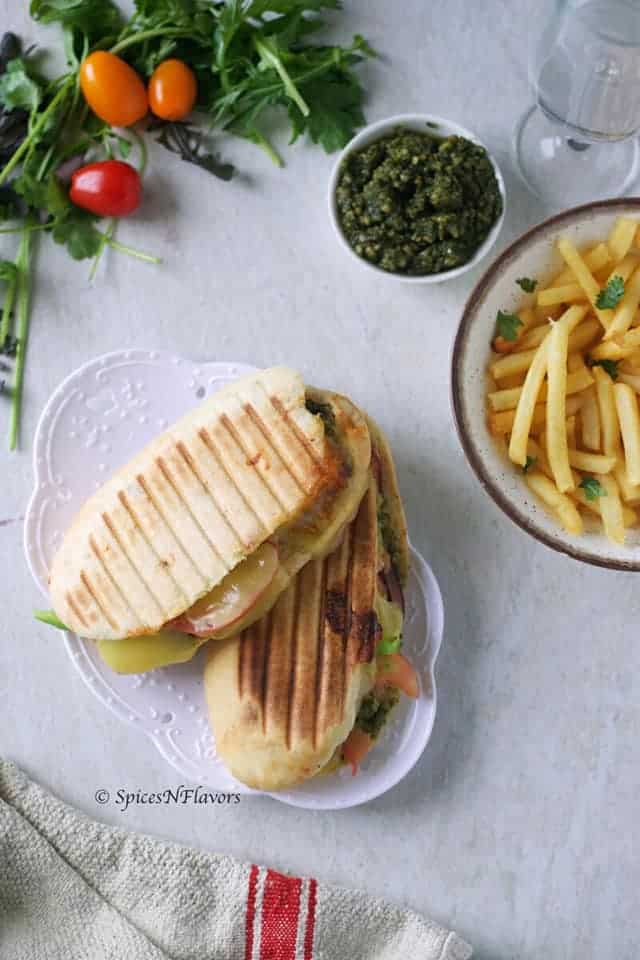
Once the bread is cooled completely make a slit in the centre fill in with your favourite filling and then grill in a panini press or panini sandwich maker until crispy and toasted. Enjoy your toasted panini warm 🙂
Which is the best Panini Maker to own?
Cuisinart panini press and Breville panini press are a really good ones to own.
Can I make this easy panini bread recipe without panini maker?
Yes, of course, you can. Even I used my sandwich grill maker for the same. And it turned out absolutely amazing in it.
How to store the Panini Breads?
Cling wrap the panini bread individually and then store it at room temperature for 2 days or in the freezer for upto a month.
When needed let it thaw to room temperature and then slice, fill, grill and enjoy.
And here is how to make panini bread at home?
Panini Bread Recipe
Ingredients
Biga/Starter
- 2 gms Yeast
- 250 gms Flour
- 140 ml Water
Panini Bread Dough
- 500 gms Flour
- 10 gms Salt
- 25 gms Olive Oil
- 10 gms Honey
- 12 gms Yeast
- 300 ml Water
- 50 gms Sun dried Tomato
Instructions
- Start by making the biga or starter culture. Mix everything mentioned under the Biga Ingredients and combine to form a dough. No need to knead the dough here. Just mix to form a dough. Cling wrap and let it ferment overnight or a minimum of 8 hours.
- Next day to make the dough, take the flour, salt, olive oil, honey and the biga in the stand mixer. Dissolve the yeast in the water and add to the stand mixer. Knead the dough for 8 mins.
- After 8 mins add the sun-dried tomato and mix for another 30 sec.
- Lightly oil the bowl and transfer the dough into it and allow it to proof for 40 mins. Alternatively you can proof in the instant pot for 20 mins.
- After 40 mins, scale and round the dough to 100 gms each and allow an intermediate proofing of 10 mins.
- Then take a roundel, flatten it and give it a torpedo shape. (Refer the above paragraph for a pictorial representation or check out the video) Using a rolling pin just flatten them to give an oval shape the size of your palm.
- Line it on a baking tray that has been pre-lined with parchment paper. Allow it to proof for 10 mins and then bake in a preheated oven of 160°C for 14-18 mins.
- Allow it to cool completely before slicing, filling and grilling your favourite sandwich
Video
Notes
- Since I am using the Instant variety of yeast there is no need to activate it. Please keep in mind that if you use any other variety make sure to activate it before use.
- Please refer the video tutorial for a clear understanding of shaping your bread dough.
- The panini bread once baked is pale in colour as compared to other bread. Do not panic that is how it is supposed to be.
- These are a really soft bread however once grilled it becomes so crispy and so tasty with the filling inside enhancing the flavour quotient of the bread.
Now instead of looking for where to get panini bread, make your own with this Panera bread copycat recipes.
If you are someone who truly enjoys good panini bread then definitely try this out yourself and if you do then let me know by tagging me, tweeting me or Instagram me. I would love to connect with you.
Pin this to your Bread Board
I will see you soon with yet another recipe
Until then
Hugs
Sushma
Kavitha says
Made it today!! Simply superb and so easy. I have never made breads before and this was amazing. Thank you for such a well explained and good recipe
sushma iyer says
Hi Kavitha.. thank you so much! I'm so happy to hear that you tried it and loved it—especially as your first time baking bread! That truly means a lot. Your kind words made my day. Grateful to be a small part of your baking journey
Margaret Cleare says
Hi, I would like to try this recipe today but don't want to have to wait overnight to finish it. Can I just proof the yeast & continue with the remainder of the recipe or do you have another recipe for same day baking? Thank you.
sushma iyer says
Hi Margaret.. So glad you're planning to try the recipe 😊 This particular one is designed for an overnight proof, which really helps develop the flavour and texture. I currently don’t have a same-day version of it, but I totally get the need for quicker options—I'll definitely consider working on one! For now, you could try proofing it in a slightly warmer spot to speed things up a bit, but the overnight rest does make a big difference. Let me know how it goes
Gavy says
Hi,
I am interested in making these paninis. But a bit confused about the yeast, is it fresh yeast or instant yeast?
sushma iyer says
Hi Gavy.. you are right.. these are made using fresh yeast. If using instant yeast please reduce the quantity in the actual bread to 4 gms
BHarti says
Hi Sushma
What flour do ou use to make the pannini bread? Bread flour or regular AP?
sushma iyer says
Hi.. Bread Flour
emmajune says
Recipe sounds and looks wonderful !! I can't wait to try it.
Do you use regular AP flour ? Thanks !
sushma iyer says
Waiting for your feedback now.. thank you 🙂
Melanie says
Hi . I tried this recipe , happy with that. Thank you
sushma iyer says
Pleasure is all mine.. thank you
Christina says
Do you have a conversion to teaspoons, tablespoons and cup measurements? I'd love to make but it's overwhelming.
sushma iyer says
sorry I don't.. may be I will update the recipe sometime soon 🙂
sri says
I made this. Decided the dough into 2, one using sun dried tomato and one plain. The plain came out lighter crumb. Both are very good. Thank you for your recipe.
sushma iyer says
so good to know this.. thank you
Carine says
Hi
I have some starters. Can i use it instead of making the biga? If so, how many grams of starter should i use?
Thx
sushma iyer says
Hi Carine.. I have not tried this recipe with sourdough starter yet. so I won't be able to guide you on the same. Sorry about that
Greer Jacobs says
I have these in the oven at the moment, they're about 2 mins from done, look perfect, and the dough was so nice to work with. From the smell I have no doubt they're going to taste divine!
sushma iyer says
Yay!! that's awesome Greer.. Thank you for taking the time out to try and share your experience with us 🙂
Jackie says
Hi! This is exactly what I was looking for. Only question I have is can I freeze half the dough or do you recommend baking it first then freezing the baked bread? Assuming the former but wanted to get your thoughts.
sushma iyer says
Hi Jackie.. Personally I have never tried freezing the dough but you can very well freeze the baked bread.
Maxine says
Freeze it already shaped. Take it out of the freezer and thaw overnight in the fridge then bring up to room temperature before baking.
I have used this dough to also make buns. Shape into balls, rest 10 minutes then flatten to about 10cm thick. Proof to double size then bake.
brian Stephen Williams says
Perfect. Very nice and simple to make.
sushma iyer says
Thank you so much.. glad to know that you liked them Brian 😀
dan says
Great recipe ! Thank You
Linda says
Can I make the dough in my bread maker?
sushma iyer says
Hi Linda.. I do not own a bread machine so have never tried using one and hence am unable to comment. Sorry
Maxine says
No reason why not using the dough function putting ingredients in in the order your breadmaker recommends.
Connie says
Do I refrigerate the starter or leave room temperature. Thanks
sushma iyer says
Hi Connie..
You leave it at room temperature. No need to refrigerate.
Regards
Sushma
Barbara Moore says
Is this the same recipe they use for rolls?
sushma iyer says
Hi Barbara..
Not really.. Rolls follow a basic proofing method. I have a separate post for the same too.. Here is the link if you would like to have a look.. https://spicesnflavors.com/ladi-pav-dinner-rolls-cooker-oven/
but a similar recipe is used for pizza.. here is the link if you are interested to see: https://spicesnflavors.com/tawa-pizza-no-oven-homemade-pizza-dough/
Maxine says
I have made buns from this recipe and they turn out lovely and soft. Made them twice now and perfect.
Angel Wilson says
I made this with my new 500 watt Cuisinart stand mixer but I keep a sourdough starter going year round. It turned out wonderful. I use throwaway starter for pancakes waffles and pizza crust but friends always want starter to. Mine is about 20 years old and if I'm not making bread I put it in the fridge and pull out the night before I need it. One other thing I do is if I'm making 12 sandwiches for a crowd I put them on a large sheet pan and then put another one on the top and bake at 425 degrees for about 12 to 15 minutes. Really quick. My favorite right now is grilled apple brie argula paninis with either pesto or honey or sweet pepper relish.
sushma iyer says
Hi Angel..
That sounds delish.. thanks a bunch for sharing your tips and tricks it would be helpful to many others reading this.. that is so generous of you.. Grilled apples plus brie two of my favourite things need to try this soon.. so yum!!!
Eva says
Hi Angel
So you replaced biga with starter? Could you share the amout and process
Freda @ Aromatic essence says
This is so awesome, it looks just like the bakery kinds!! Love the detailed tutorial to make this bread.
sushma iyer says
Thank you freda.. so glad to know that this post on panini bread was informative.. thank you <3