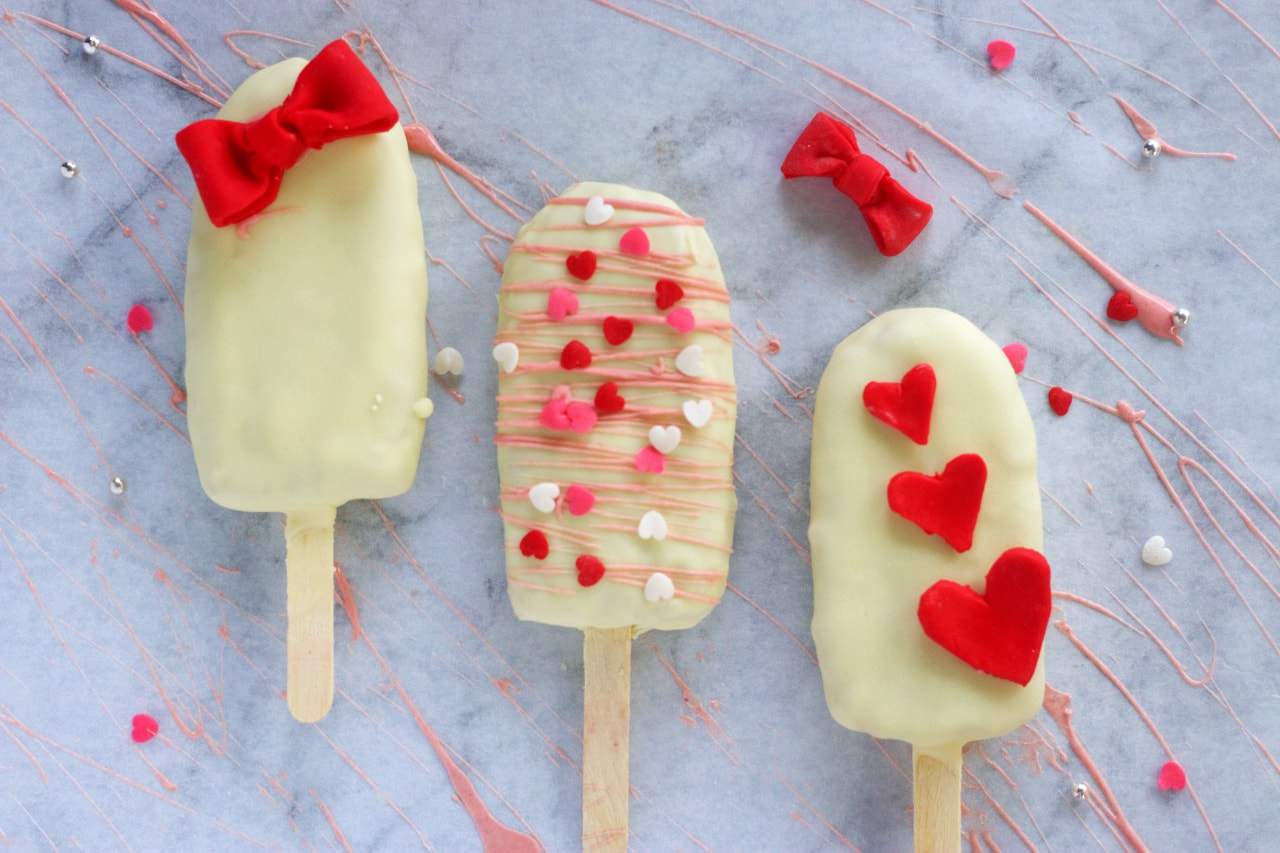
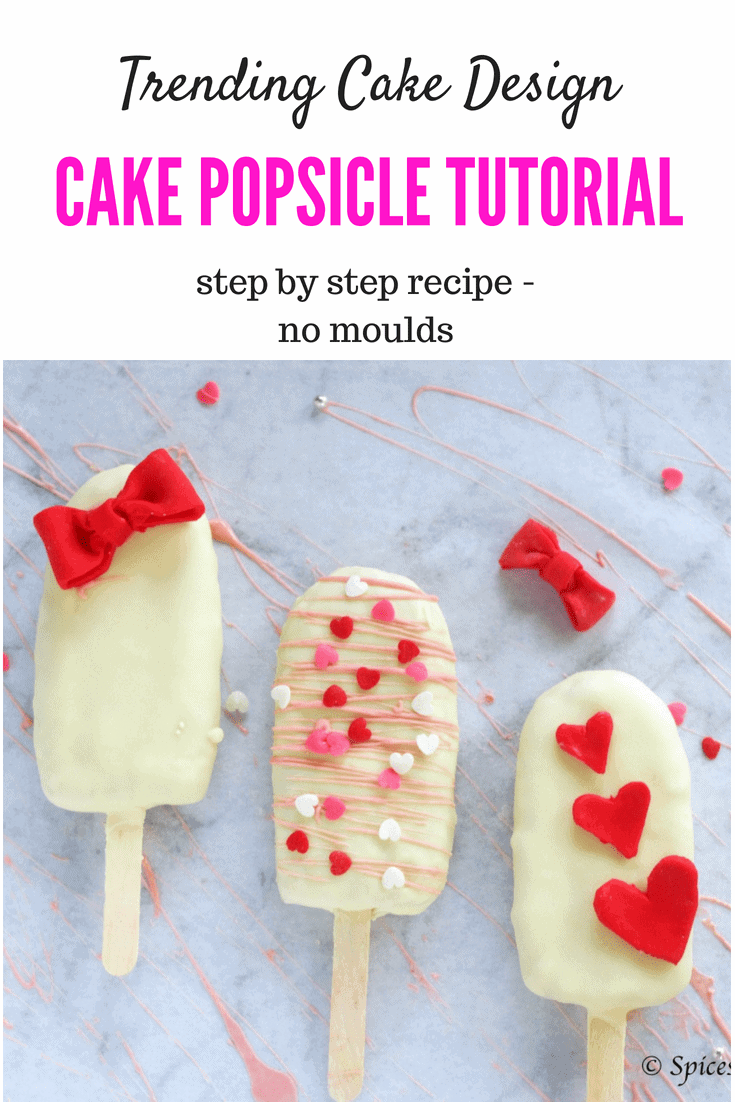
Cake Popsicles are the latest trending cake designs in the market.
A step by step tutorial recipe post on how to make DIY cake popsicles. Perfect dessert ideas for kids birthday or valentines learn all the details to make the cake popsicles without using any moulds.
Cake Popsicles - one of those recipe post which brings me so much happiness in putting it forth in this small community of ours.
To be honest I am attached to each and every blog post that I write. It is my passion, my dream, my love to bake and when I add a recipe post that you guys find informative and useful then nothing like it.
Your single comment; be it in a blog post or on social media posts makes me feel out of the world.
And that is what I love about this creative community.
It gives me the freedom to express, the freedom to write, the freedom to try new things and share some creative recipes, ideas and information.
One such creative post that I am sharing today is - Cake Popsicles which is basically a simple and easy cake pop recipe
If you are someone like me who spends way lot more time on Pinterest or Instagram.. yeah I get it not proud of that habit of mine; trying to get over it.. 😀
So ok not way more time but even while browsing the internet you might have come across these cute little Cake Popsicles or cakesicles somewhere.
I have seen images of Cake Popsicles in Disney theme, farm animal themes, MR and MRS theme, and so many others.
Even though I was overwhelmed by the images and intrigued to try those but hey mama kehti hai (mom says); whenever you are trying something new:
A. Try it in lesser quantities and
B. Try the simpler version first.
And I clearly stick to those principles just to avoid too much of food wastage and also to gain confidence; you know just in case things does not work the way you wanted.
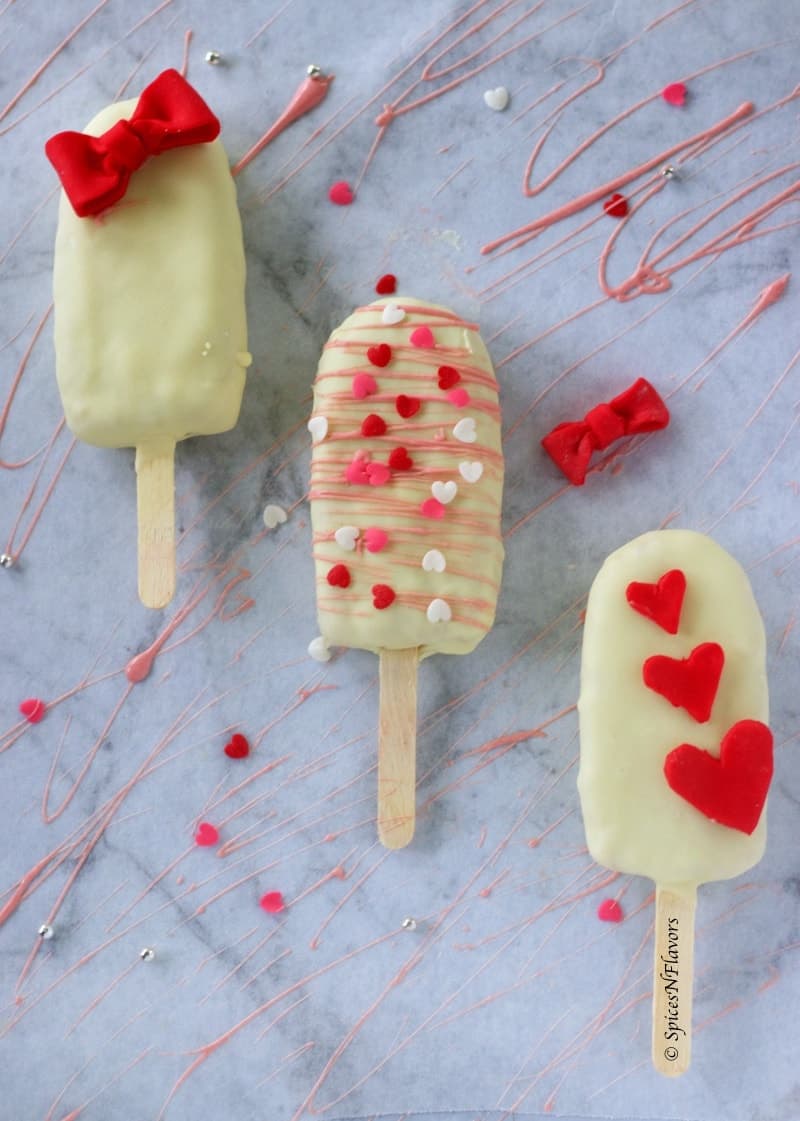
But as far as these cake batter popsicles were concerned; I really really liked the simplicity of the designs. Sometimes simple is beautiful. Don't you agree?
Oh and by the way I guess we must officially declare this year as the year that marked amazing trends as far as the food industry is concerned.
Be it the alphabet cream tart cake or number cake or Instant pot recipes (well its been popular for a really long time now but still, the craze has not decreased) or now this Cake Popsicles.
I thoroughly enjoy getting creative at times and trying different unusual recipes other than the cakes, cookies or cupcakes.
Before we begin with the step by step recipe post on Cake Popsicles Tutorial; let me first tell you that is absolutely not necessary to make these cake pops recipe from scratch.
What do I mean by that?
All I meant is any type of cake would work just fine for this recipe.
Be it Vanilla Cake or Chocolate Cake, with eggs or without eggs, store-bought or fresh homemade just anything will work as long as it is a cake.. 😛
Do I limit my creativity to just trying this for my family or can I take it to next level?
Oh yes, absolutely I believe the sky is the limit when it comes to creativity. You can make this for any occasion that you can think of like this
A. Baby shower Cake pops or Gender Reveal Cake pops.
You can coat the Cake Popsicles with a blue or pink colour and then decorate it with some baby shoes, napkins, diapers etc in place of hearts and bows that I have made.
B. Graduation Cake Pops
Decorate the Cake Popsicles in dark chocolate and make a graduation hat, tie or just a rolled paper to indicate your certificate. Or check this pin from Pinterest; I loved the shirt pattern in this one.
C. Birthday Cake Pops
Oh, how can I leave this occasion behind? You can customise the Cake Popsicles as per your birthday theme. I really loved these cute little animal farm themed popsicles; would work amazingly if you are planning for an animal theme party.
Coming to the flavours. What different Cake Pops Flavours can you use?
Firstly the base - Think of any flavoured base and you can use that.
Vanilla Cake, Chocolate Cake, Red Velvet Cake, Coffee Flavoured, Pistachio or Almond Flavoured, Sponge Cake just anything.
Secondly the frosting - Again its the same.
Use any frosting of your choice - Whipped Cream, Butter Cream, Ganache and in any flavours.
Third - The Chocolate Coating.
Milk, Dark or White any type of compound chocolate would work
And finally for decorations use fondant, marzipan or sprinkles.
Today, I have used my favourite Eggless Vanilla Cake as the base, Whipped Cream as the frosting, White Chocolate for coating and marzipan for decorating.
Now let us see a step by step tutorial post on how to make Cake pops or Cake Popsicles.
Step 1:
Prepare the cake of your choice and allow it to cool completely. I am using Eggless Vanilla Cake here.
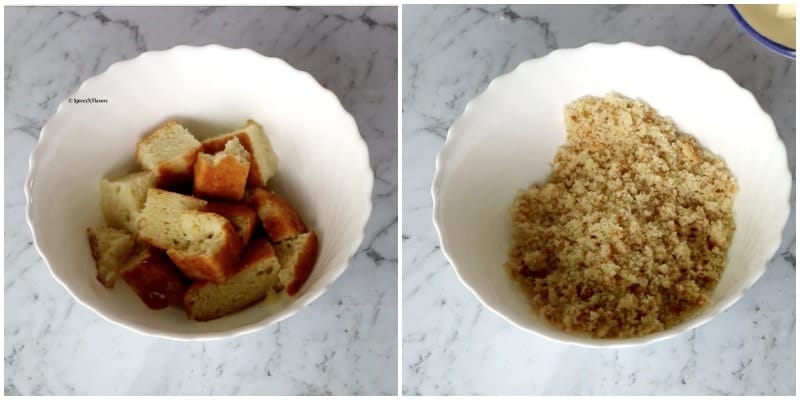
Step 2:
We will start by crumbling the cake so that it resembles fine crumbs.
Pro Tip: For a whiter and smoother look trim the top and bottom crust of the cake. But if you are lazy just like I am and you are not making this for commercial purpose then just let it be. 😛
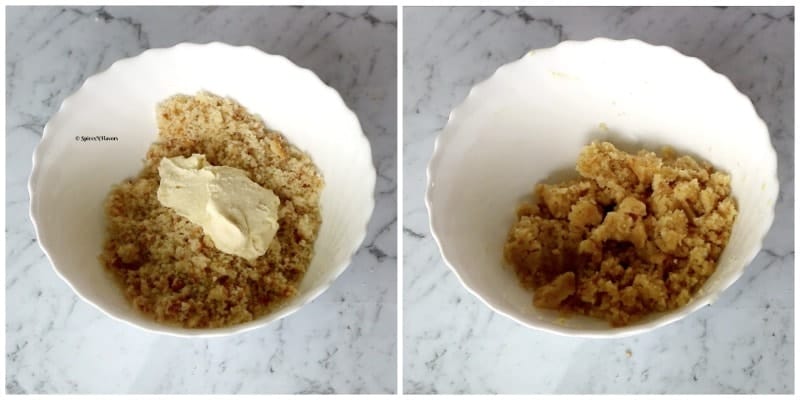
Step 3:
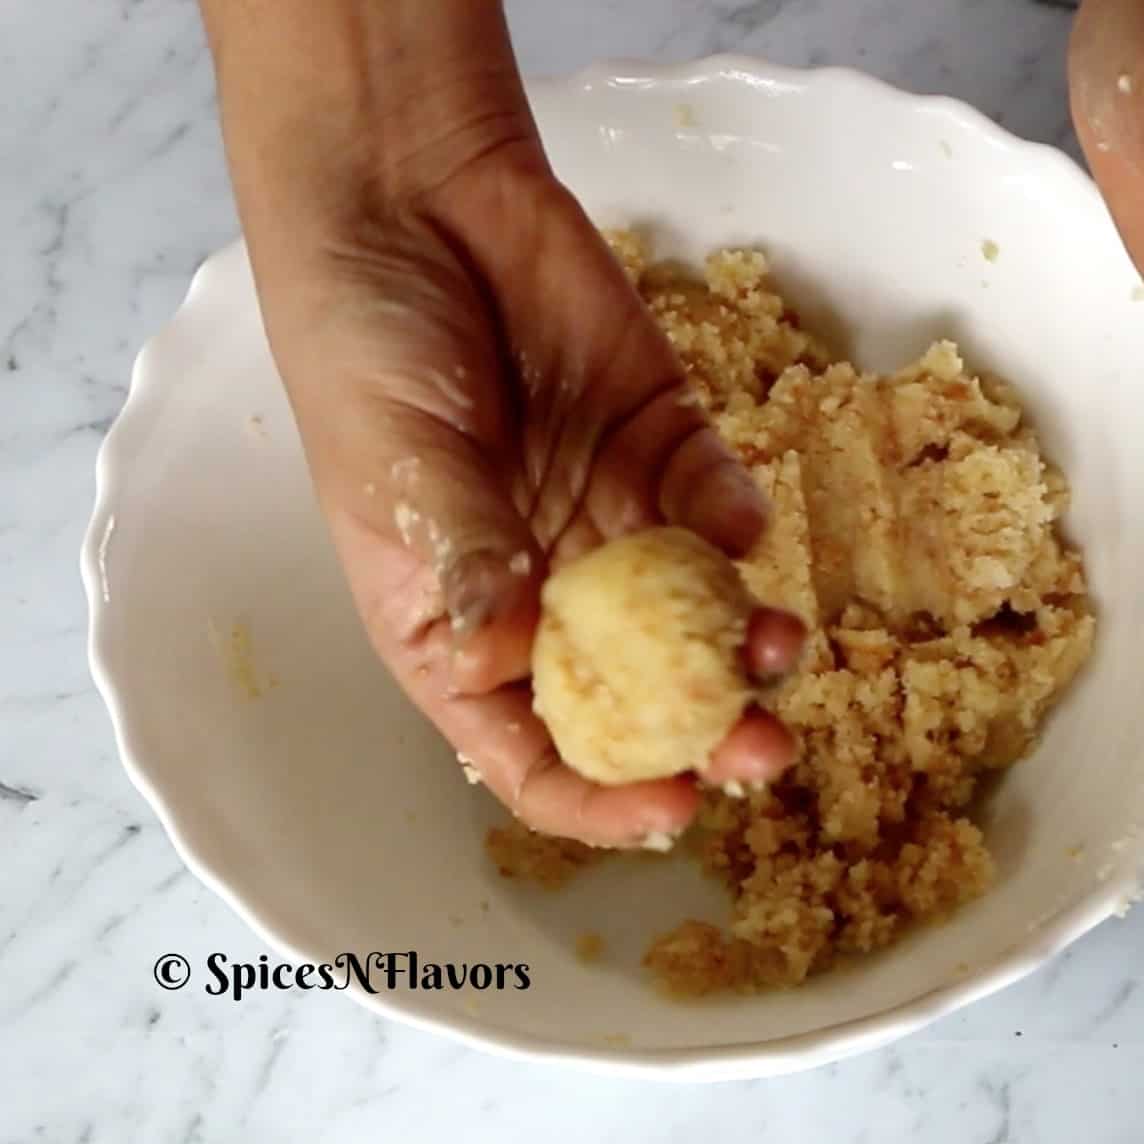
Add a tbsp of frosting at a time and combine everything until it forms a dough.
Test: Pinch out a portion of dough in between your hands. If it holds its shape you are good to go.
Pro Tip:
Start by adding little frosting at a time. The amount of frosting will depend upon the moistness of the cake. So you can always add more if needed but if you add way too much the cake would turn sticky and you won't be able to shape it.
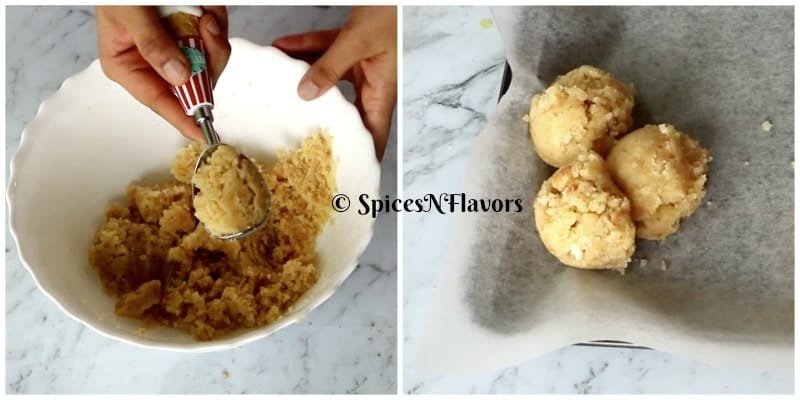
Step 4:
All you now have to do is shape it into a popsicle.
For that, you will have to divide the cake batter evenly. I am using an ice-cream scoop for the same. I figured out that 3 scoops of cake batter worked just fine for me to get the height and width of the popsicle I needed.
You can adjust the same accordingly.
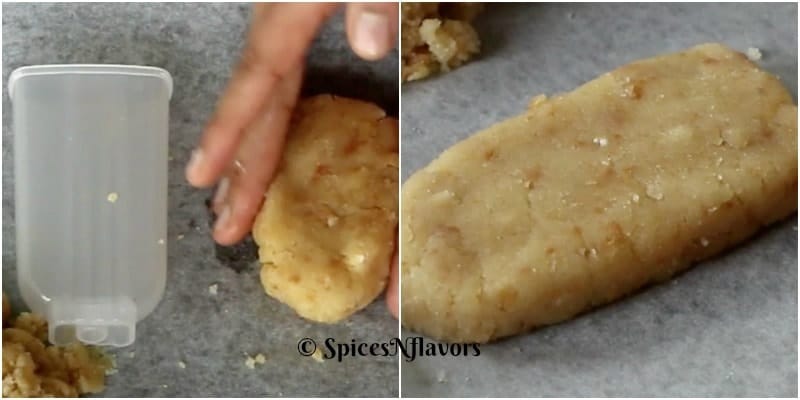
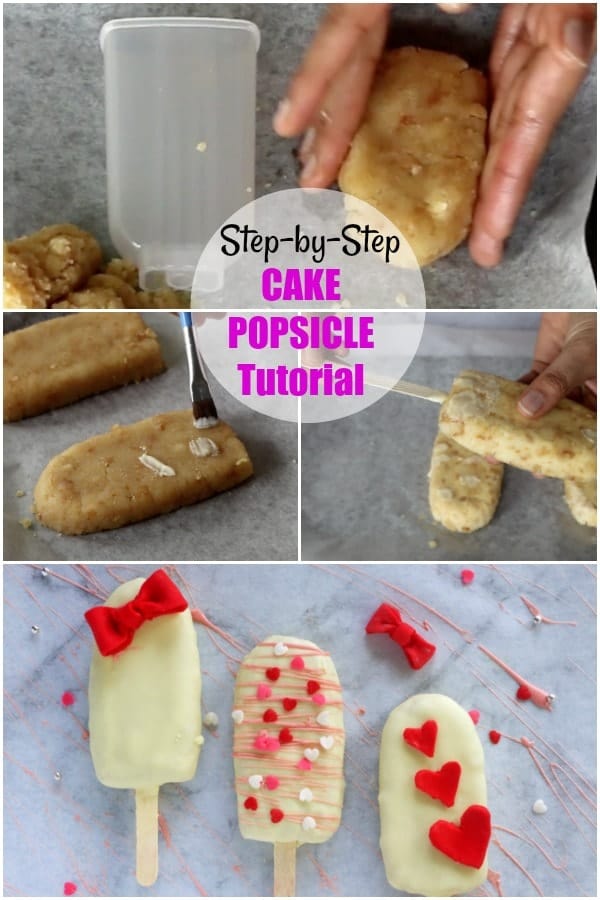
Step 5:
Using a reference mould as your guide shape the cake batter to resemble the popsicles. (Refer video to get an idea on how I shaped my popsicles).
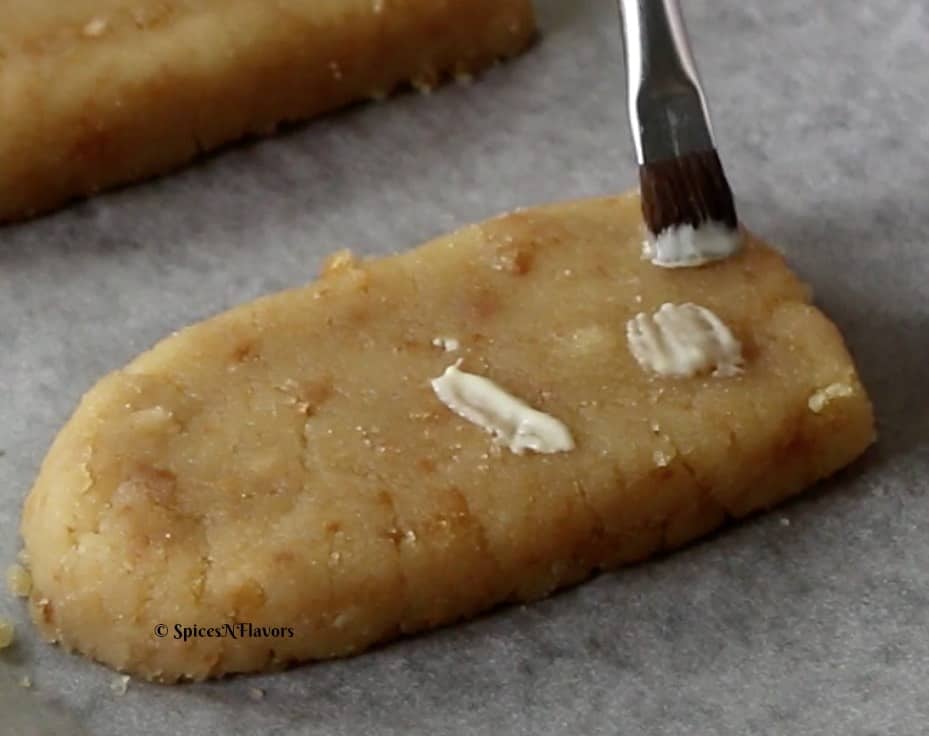
Step 6:
Paint some melted chocolate on the visible cracks to smoothen the top of the cake pops.
Step 7:
Freeze the cake molds for 30 mins to an hour.
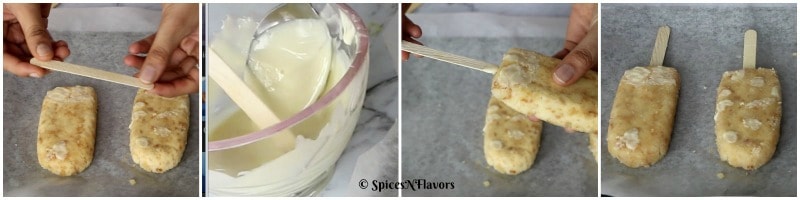
Step 8:
Dip the edge of the ice-cream sticks into melted chocolate and insert in the base of the frozen cake pops.
Let this rest and in the meantime prepare decorations of your choice.
Step 9:
I made some bows and hearts using frangipane. The same icing that I used to make my Unicorn horns and ears in the Unicorn Cake that I had made.
You can check my video tutorial if you would like to know how I made it.
Step 10:
Melt some white chocolate using bain marie method. I have shared a detailed post on how to melt chocolate the right way. You can check that too it has lots of useful information shared.
Keep this melted chocolate ready in a glass or mug into which you can dip the entire popsicle in one go.
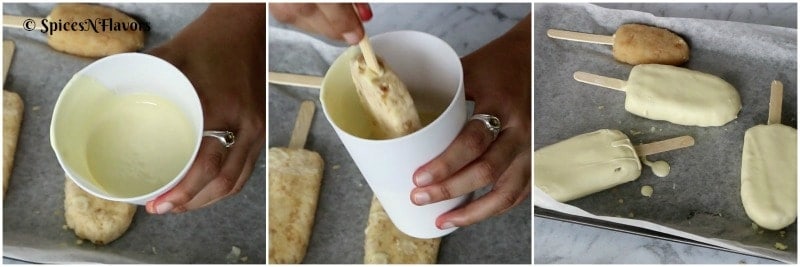
Step 11:
Finally dip the frozen cake pops into the melted chocolate in one go. Let the excess drip off.
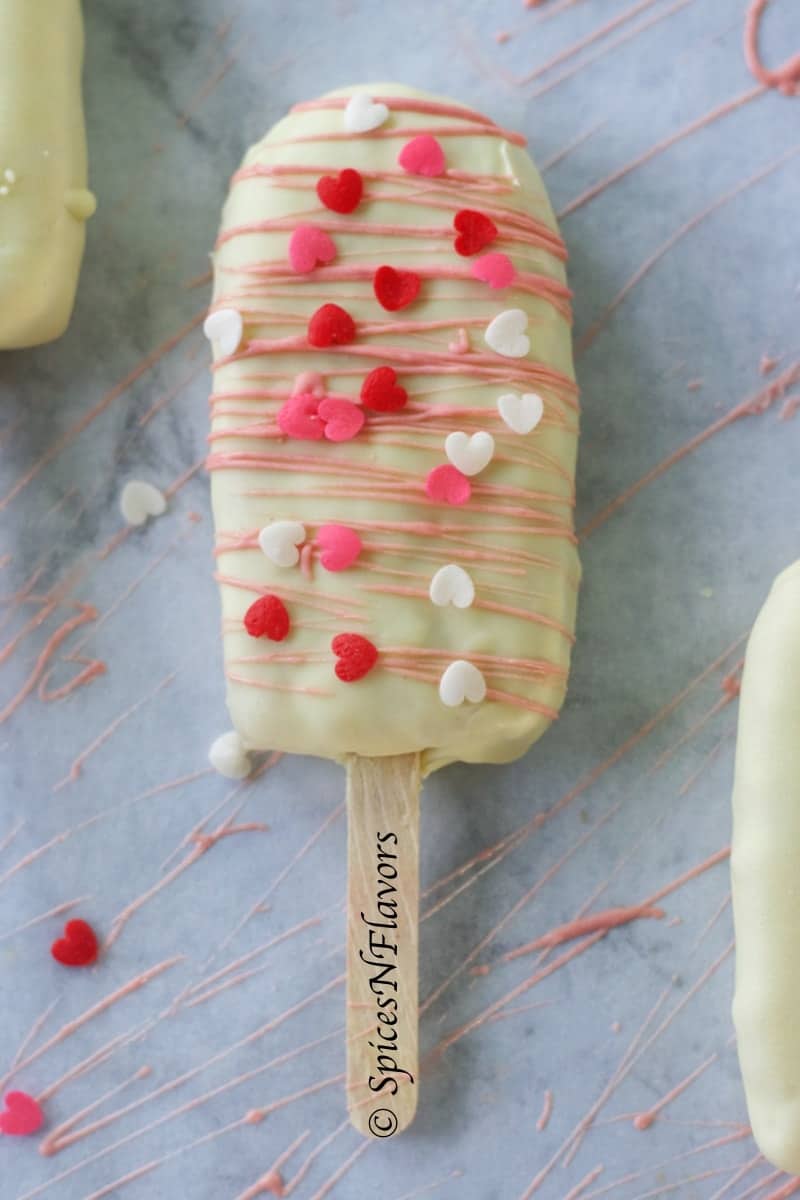
You will observe that in just few seconds the chocolate will solidify. And before that happens you have to add the sprinkles if you are using any.
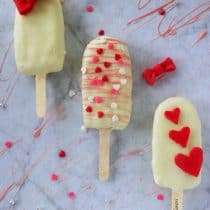
Or if you are decorating like I did then just allow the chocolate to solidify and then decorate your Cake Popsicles as needed.
Yes, it may seem like a lot of steps but all the steps are pretty basic and easy to follow make this a very simple cake pops recipe.
Here is the detailed video:
Cake Popsicles Tutorial
Ingredients
- 1 (6 inch) Cake (refer notes)
- 1/4 cup Frosting of your choice
- 3 no Ice-Cream Sticks
- 450 gms Compound Chocolate
- Sprinkles, marzipan or fondant for decorations
Instructions
- Crumble the cake until it resembles sand-like texture. (Trim the top and bottom crust for an even cake pops)
- Add the frosting of your choice little by little and combine it to form a dough like consistency.
- Divide the batter evenly. I figured out 3 scoops of cake batter worked fine for each popsicle.
- Give the cake batter a popsicle shape and freeze for 30 mins to 1 hour.
- After an hour take the cake popsicles out. Dip the tip of the ice-cream sticks into melted chocolate and insert at the base of the popsicles. Put it back into the freezer. Meanwhile, prepare the decorations of your choice.
- Take the melted chocolate in a cup or mug. Dip the popsicle straight into the mug until it coated from all sides. Allow the excess to drip off. Decorate as needed.
If you like this detailed step by step tutorial post and want me to share more of this kind of posts then do let me know by tagging me, tweeting me or Instagram me. I would love to hear from you.
Notes:
1. Any type of cake will work here. Vanilla, Chocolate or Red Velvet Cake. Even cake from a box mix will also do. I have used my Eggless Vanilla Cake recipe. However, I have halved all the ingredients and baked it in a 6-inch cake. So for eg: If the recipe says 1.5 cups of flour I have used just 3/4 cups. Likewise halved all the ingredients.
2. I have used regular whipped cream frosting. Used 1/4 cup of whipping cream and 2 tbsp of icing sugar and some vanilla essence and whipped everything to get stiff peaks. Start by adding 1 tbsp of frosting at a time to the cake crumbs to get it into a dough. A little goes a long way.
3. One mistake that I did was I just melted 200gms of chocolate to dip our popsicle into it. But later on, I realised that it was not enough to cover my large popsicle and hence you see that it is not all smooth. I mean not the way I wanted. So the next time I must remember to use 400 gms of melted chocolate for the same. You guys also enough chocolate to cover your popsicle in one go.
4. Since the Cake Popsicle is really cold; the chocolate coat on it will solidify in few seconds. So if you are planning to add sprinkles to it then do it immediately.
Go Creative and decorate your Cake Popsicles as you like 🙂
Conclusion:
If you are someone who loves Choco-Bar icecream then you would definitely love this too. That is because the chocolate coating on top cracks exactly like the way an ice-cream does.
And when you use your favourite cake and favourite frosting recipe then nothing can go wrong right.
IF you would want to make this Cake Popsicles for a commercial order then I would highy recommend you to buy a popsicle mould for smoother and neater finish.
But if you just want to try your hands on these trending Popsicles just for a time then definitely follow these steps.
Pin this for later
I will see you soon with yet another recipe
Until then
Hugs
Sushma
Shyla says
If I am decorating my popcicle using fondant, how many days in advance I can do it? I just want to keep my decors in good shape.
Thanks
sushma iyer says
HI Shyla.. you can store the cakesicles for long if you have covered it in fondant. You can make the decorations like 2 3 days ahead of time and store in an air tight container and on the day of use place them on cakesicles.
Gwen McNeal says
Thank you!!!
sushma iyer says
my pleasure gwen.. glad to know that it was helpful.. thank you