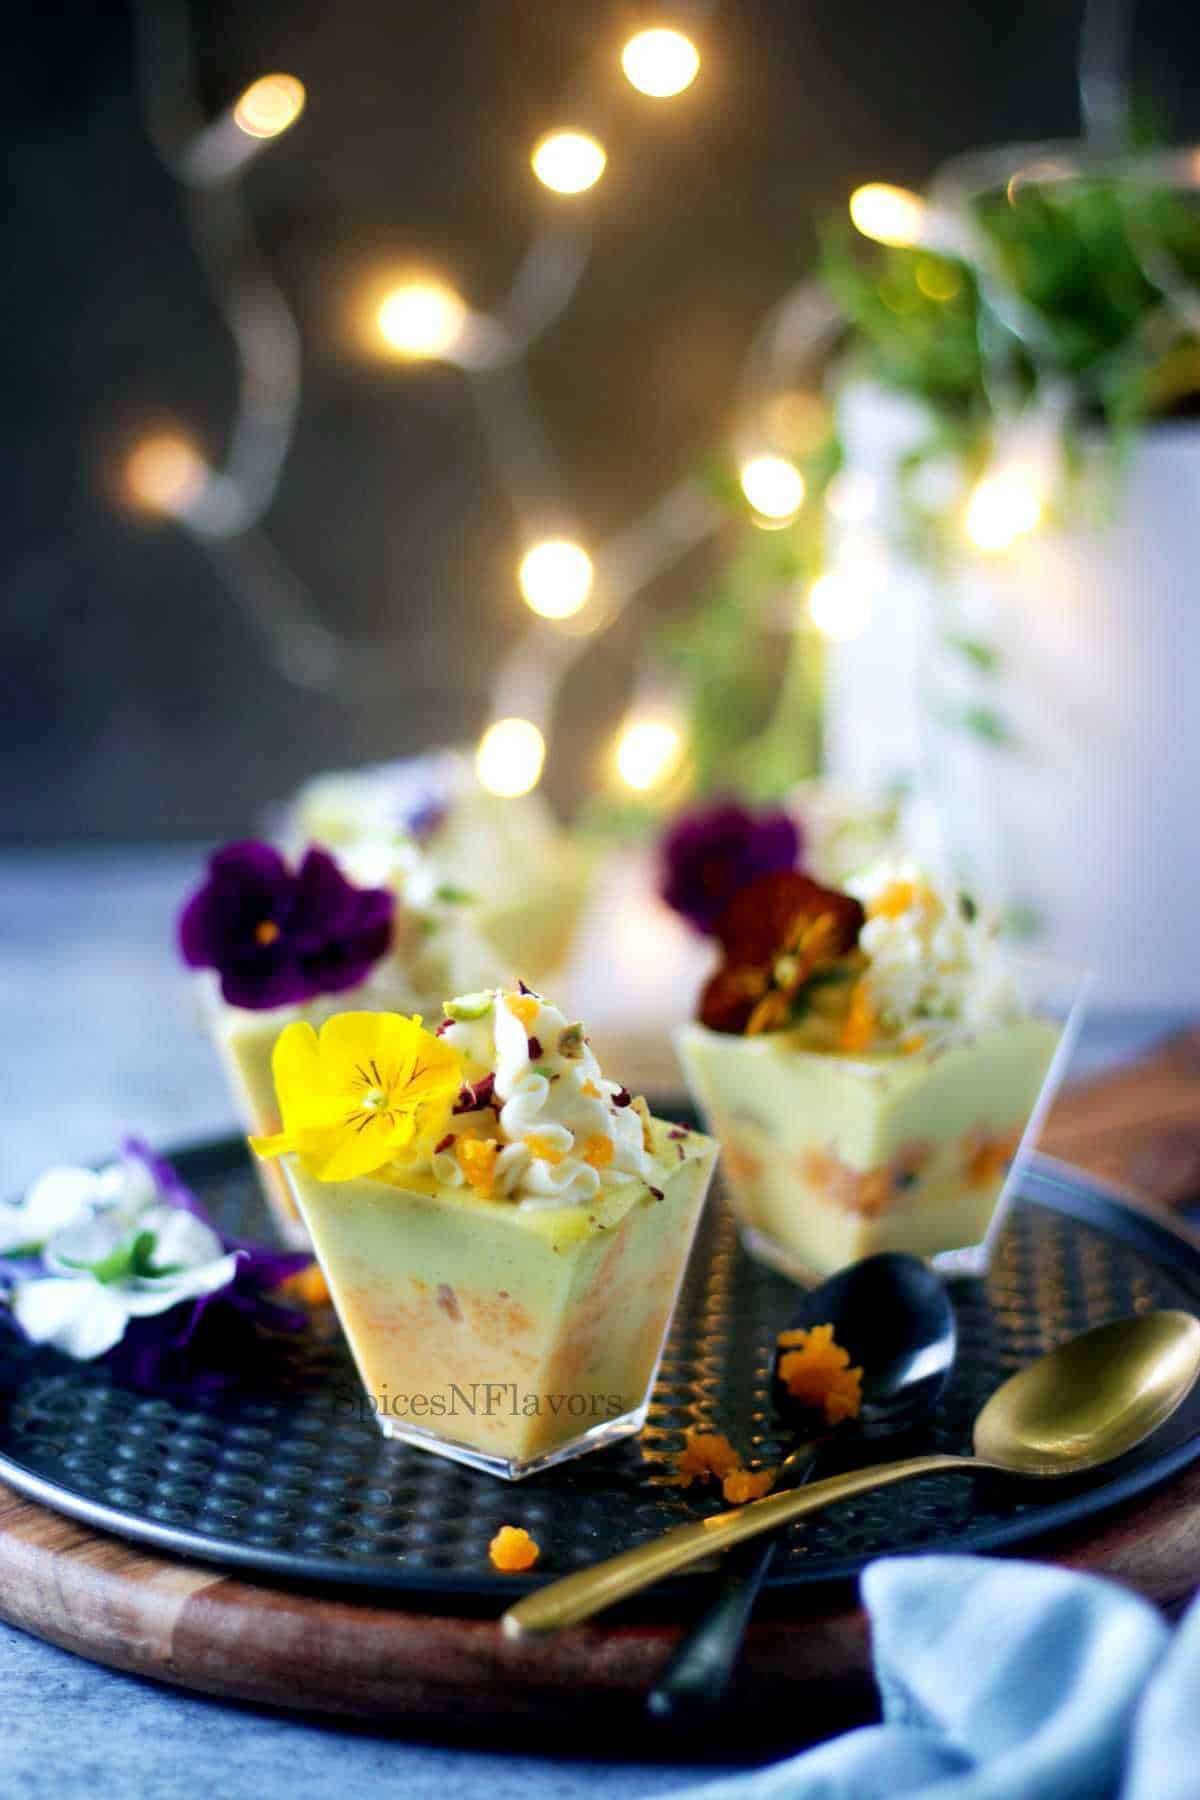
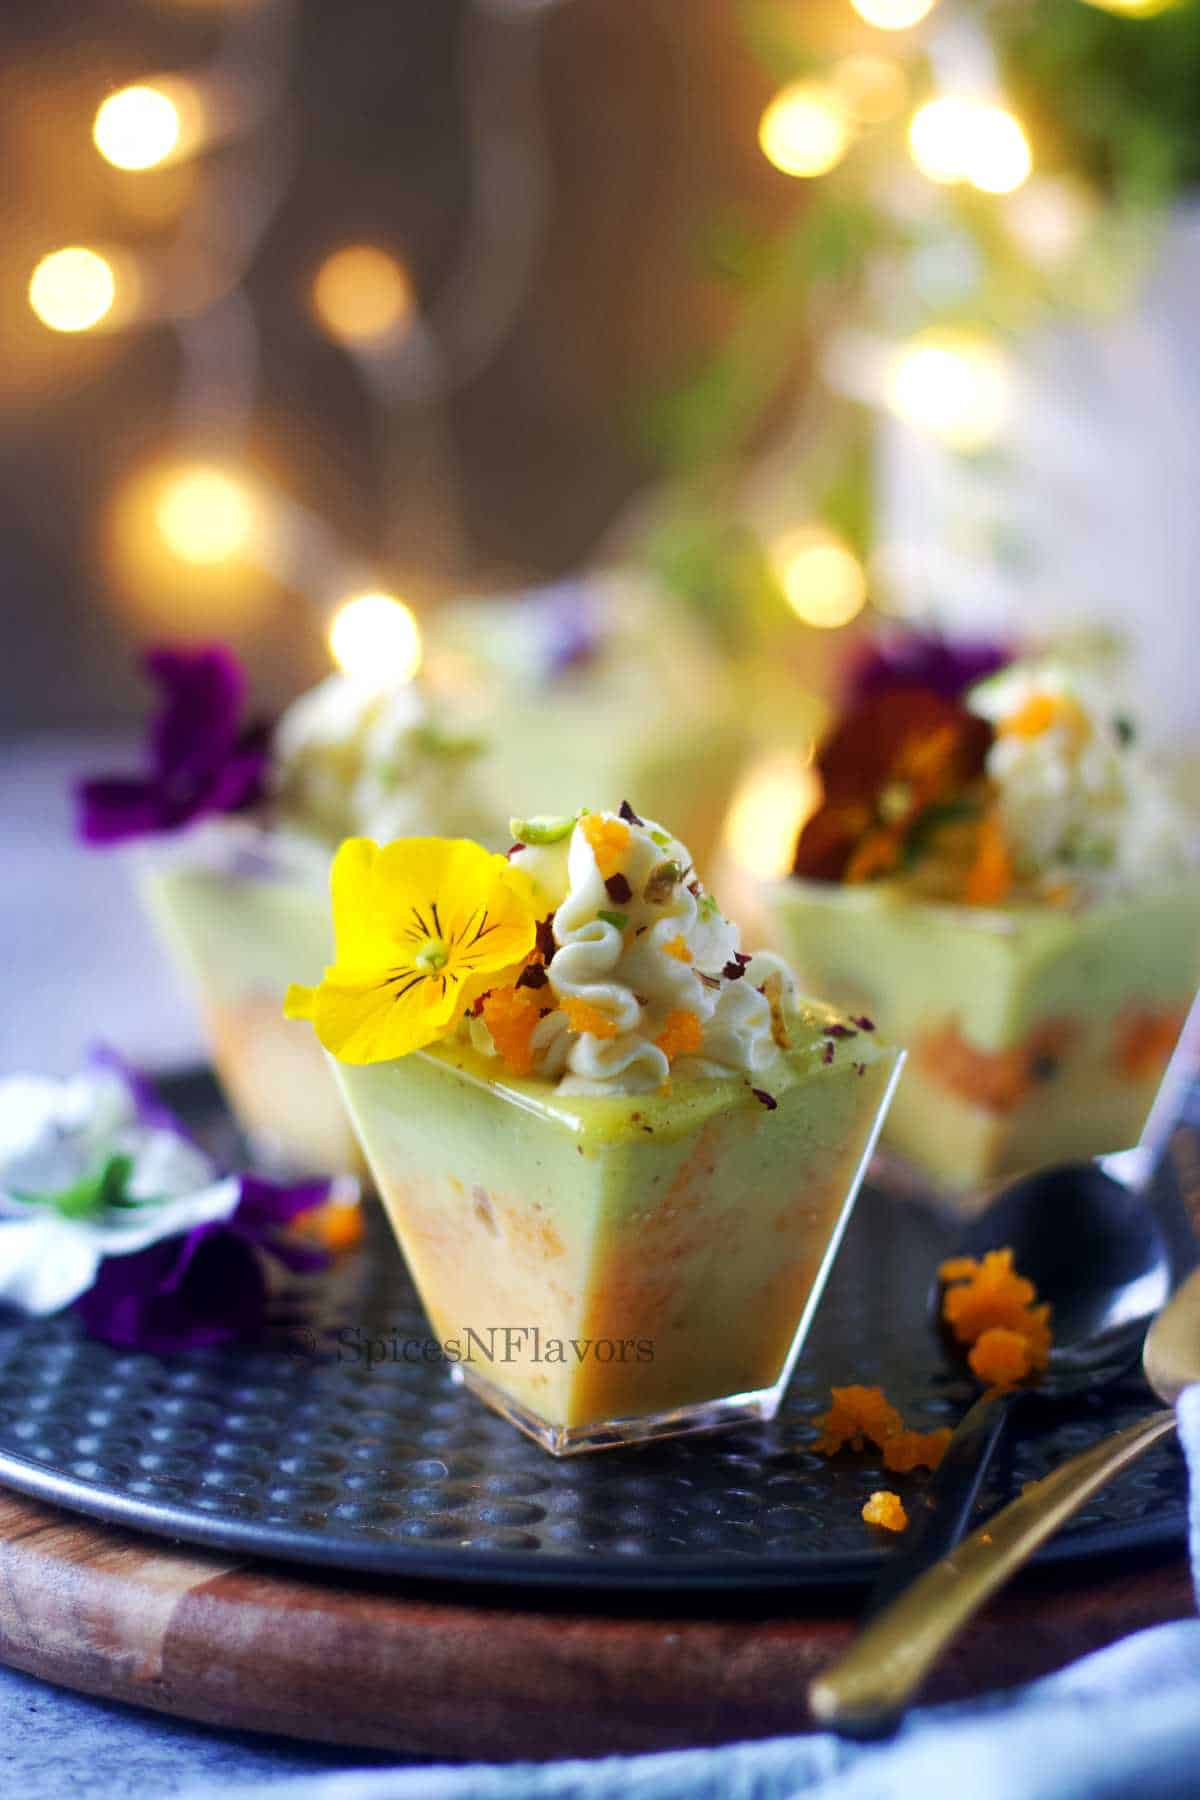
Rasmalai Trifle is an easy and fun Indian Fusion dessert perfect for a party or festive season as it takes just 10 mins of your Cooking Time.
You can simply pack it in a jar and sell it, it is thatttttt goooodddd.
Why make this Recipe?
- Look at that!! How uber cute is this!! It will certainly steal the show.
- Super easy to put together.
- Can be made in advance.
- The best fusion dessert I have had TILL NOW.
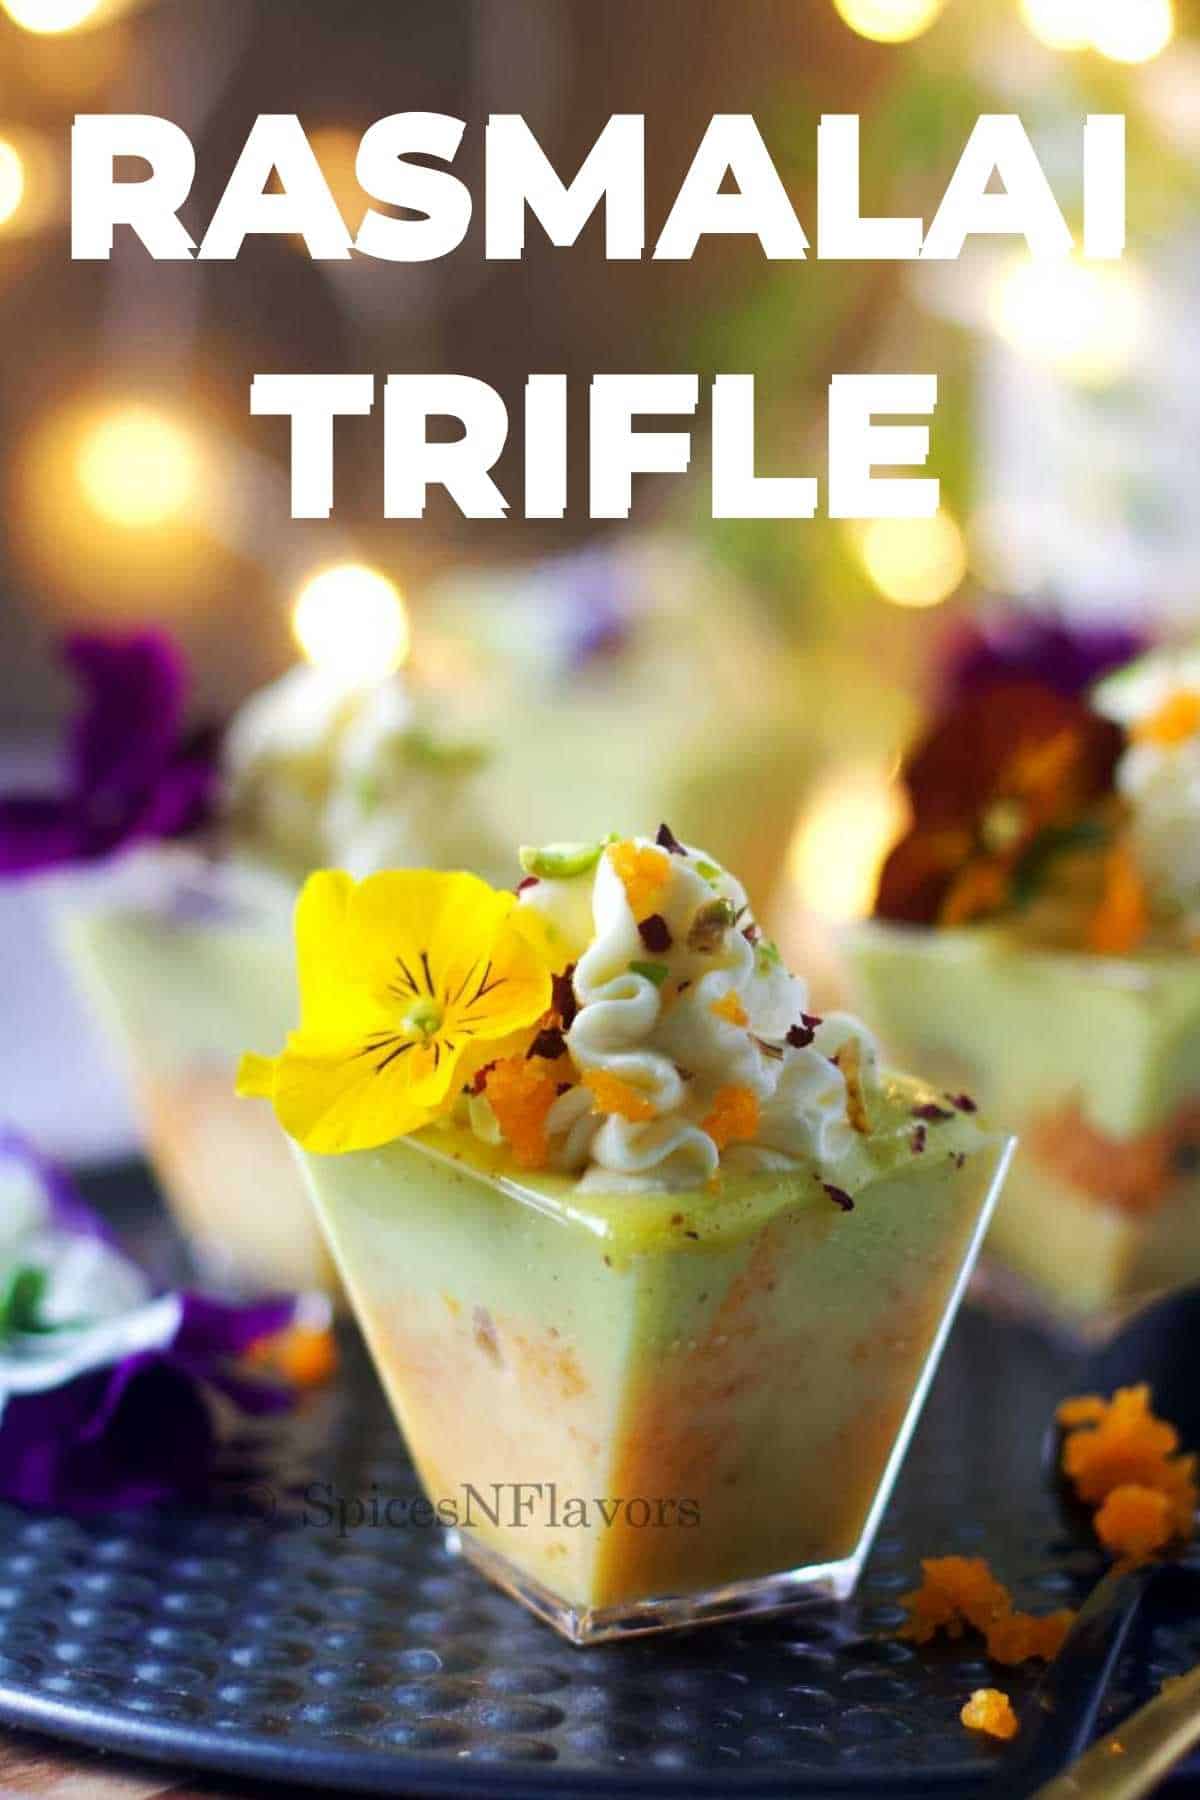
This Rasmalai Trifle has layers of melt in your mouth cream, the richness of the pistachios, the creamy and silky sweetened milk with a subtle texture from the laddu and rasmalai piece and finally the soft and spongy rasmalai cake; this Indian fusion dessert is pure nirvana.
You know me - I certainly have a flair with fusion desserts!!
Be it Gulab Jamun Cake or Gajar Halwa Shots or even Indian Kheer with a twist you guys have loved them all.
Trust me when I say this, Rasmalai Trifle is THE BEST DESSERT I have made so far!!
Shhhh.. Just don't let anyone know how ridiculously easy this one is to make..
Ingredients Needed:

Ingredients Notes:
- Rasmalai - This is one Indian sweet that I can make even in my sleep. I have a detailed full-proof step by step recipe with 9 secrets for the same (click here for the recipe) but you can also buy it from the stores if you like or try these no fail shortcut version of making Instant Rasmalai at home.
- Rasmalai Essence - It adds to the flavour. But if you do not have it handy check the substitutions below.
- DIY Nut Powder: Simply pulse together 2 tbsp pistachios and 2 tbsp Almonds until fine. Pass it through a sieve and then use.
- Cake - I have used my Hot Milk Cake recipe here. You can use any vanilla cake base for the same.
Step by Step Tutorial:
Step 1 - Prepare the Rasmalai Pudding.
This is the only cooking step you need to make the Rasmalai Trifle. This out of the way and the dessert comes together in just 5 mins.

In a saucepan combine together the cornflour, pistachio powder, almond powder, cardamom powder and sugar. Whisk to mix and break any lumps. (images 1-4)
Then whisking continuously add in the milk and cream. (images 5-6)
Add the Rasmalai Essence (image 7) to this if you do not have it then you can choose to add a big pinch of kesar to the milk instead.
Put this on flame and stirring continuously mix until everything thickens. This would take anywhere between 10 to 13 mins.
You can also add yellow food colouring at this stage if you would like to have a colour contrast or skip it.
So just keep stirring until the pudding thickens.
It is crucial to form a lump free pudding for that velvety and melt in mouth texture, so be attentive and do keep stirring.
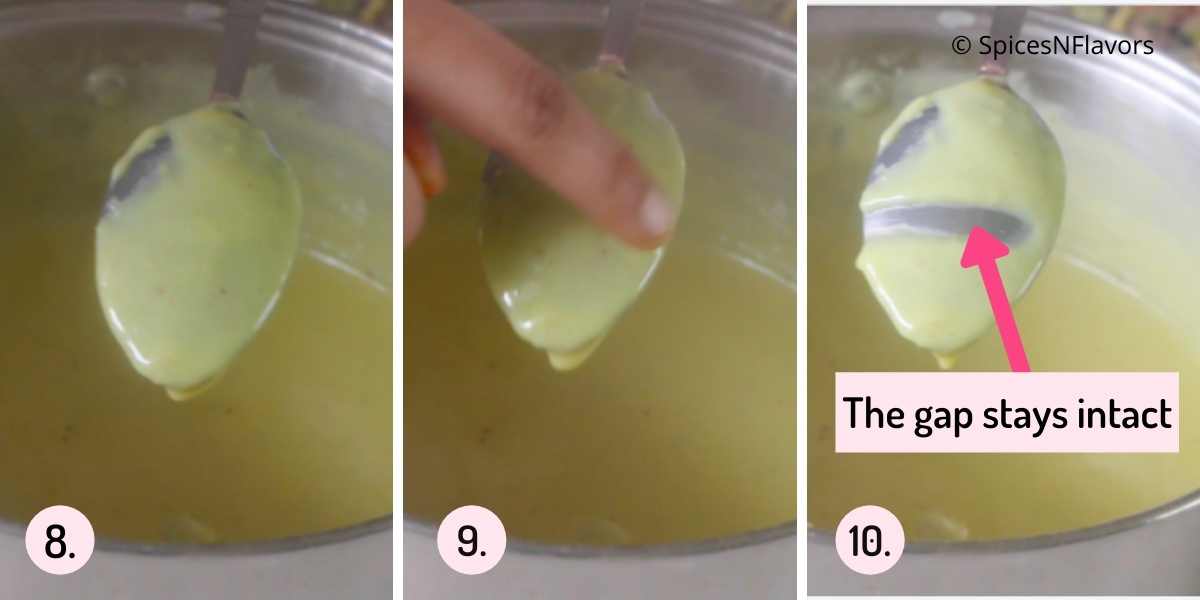
A good indication to check whether your pudding is ready or not is by dipping a spoon in it and on the back side of the spoon run your finger, if it stays still without having the rush to flow then your pudding is ready. (images 8 - 10)
Simply transfer it to another bowl to cool completely.

Cover with a cling wrap in a way that it touches the pudding so that there is no formation of skin on top. (image 11)
Let it cool completely in the fridge for about an hour or so.
When you take it out it would have set completely by now. Simply add it to a mixing bowl and whisk until it is smooth again. Set aside. (image 12 -13)
Step 2 - Whipped Cream
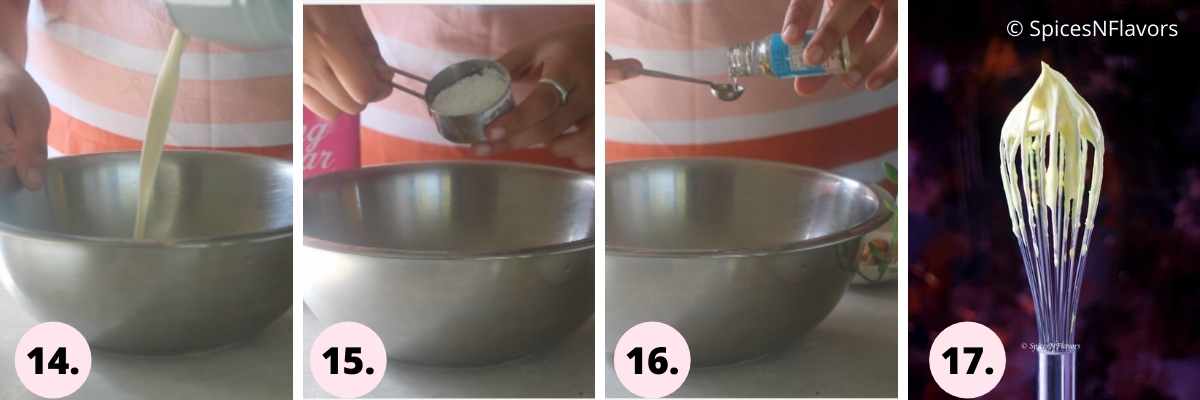
In a mixing bowl, combine together the cream, icing sugar and rasmalai essence.
Whisk until stiff peaks form. (images 14 - 17)
Alternatives:
- If you do not have rasmalai essence you can add 1/4 cup of Rasmalai Milk as the flavouring agent.
- You can also add 1 tsp cardamom powder and a big pinch of kesar instead or
- Choose to add 3 tbsp Pistachio Powder.
- Or you can also use store bought Cool Whip that is ready-made whipped cream instead.
Step 3 - Assembling the Trifle
You can either use trifle bowls or simply individual containers for the same like I have done here.
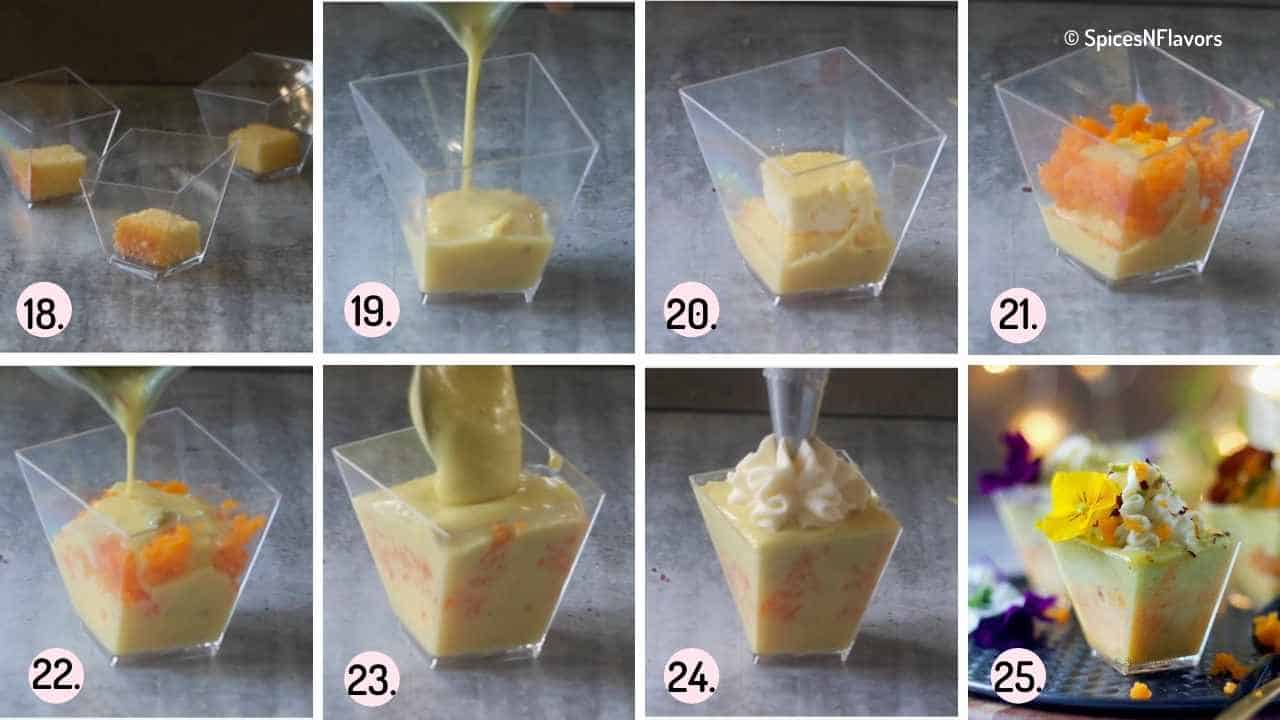
First Layer: Cake - I am using my Hot Milk Cake as the base here. You can use any of your favourite Vanilla Cake base too.
Second Layer: Rasmalai Milk - Soak the cake with some Rasmalai Milk. I am using homemade Rasmalai here. You can buy it from stores if you prefer.
Third Layer: Rasmalai Pieces - Adding in some rasmalai piece on top.
Fourth Layer: Motichoor Ladoo - Using this just for adding some contrast in terms of colour. You can skip it if you want to.
Fifth Layer: Rasmalai Milk - Some more milk to fill in the gaps
Sixth Layer: Rasmalai Pudding - Add the prepared pudding on top.
Seventh Layer: Whipped Cream - Top it with the prepared Rasmalai Whipped Cream
Finally garnish it with some rose petals, pistachio slivers, edible flowers or you can also use some more ladoo crumbs or simply place a Rasmalai piece on top. (images 18 -25).
Serve chilled.
That's about it. The easiest Indian fusion dessert - Rasmalai Trifle is ready.
Recipe Tips:
- It is important to keep on stirring the pudding to make it lump-free.
- Everything should be cold or at least at room temperature while assembling the trifle.
- Over-whipping the cream would cause it to split and curdle so just whip until stiff peaks form.
Storage Instructions (Shelf Life):
Always store the dessert in your refrigerator.
Once assembled it would stay good for about 4 days.
Make Ahead Instructions:
- Cake: Homemade cakes stays good for about 3 days on your counter top and in the fridge for about a week. Simply cling wrap and store.
- Homemade Rasmalai: Stays fresh for about 3 to 4 days in an airtight container in the refrigerator.
- Rasmalai Pudding: Stays good in the fridge for upto a week.
If planning to make it for a party I would say you can make everything 2 days prior and assemble on the day of the party.
Planning for a Bake - Sale? Then I would say you can keep a span of 4 days interval as once assembled the trifle will last for only 2-3 days.
Lazy Hack:
Since Diwali is right around the corner and you would be having many other things to make here is my lazy hack for you guys.
You can simply buy store-bought Vanilla Cake or you can also buy a Cake-Mix and make the cake at home. Or you can also choose to use lady fingers as the base for this trifle.
Similarly Rasmalai is also easily available in the Indian Stores both in fresh and frozen form so it is very convenient to buy.
Use Cool Whip that is ready made whipped cream.
All you would have to do is prepare the pudding at home and assemble the night before your party. It is that simple.
Recipe FAQ's
You can use Mason Jars to assemble the trifle or use plastic containers with lids. Arrange the layers, seal it and then it would be easier to sell.
Simply flavour your cake base with cardamom powder instead of vanilla. Soak the cake in rasmalai milk, sandwich some rasmalai pieces and top with cardamom scented cake and repeat. Or you can also choose to follow the recipe layers mentioned in this Rasmalai Trifle.
Trifle: Often served as a dessert, a trifle always has a cake base to begin with which is mostly soaked in some liquid be it fruit juice or alcohol to keep it moist followed with the layers of choice including jelly, fresh fruits and a custard base and topped with cream.
Parfait: Can be served for breakfast or dessert. Need not have a cake base. Can be served by layering yogurt, granola, fruits and nuts for breakfast or simply ice-cream, fruits and nuts for desserts. Basically served in layers in individual glasses for breakfast or dessert.
Cake Jars: Are basically miniature version of cake. All the layers in a cake are arranged in a jar for the ease of portion control and serving.
More Indian Fusion Dessert Recipes:
- Instant Rasmalai recipe
- Rasmalai Cookies
- Gajar ka Halwa Shots
- Gulab Jamun Cake
- Milk Powder Burfi Bars.
Wish to Join US for the love of BAKING? Subscribe to our newsletter and Youtube channel. Follow along on Facebook, Instagram, and Pinterest for all the latest updates!

Rasmalai Trifle
Ingredients
- 150 gms (5 oz) Cake Slices
- 250 gms Rasmalai
- 3 Motichoor Ladoo (optional)
For Rasmalai Pudding
- 3 tbsp Cornflour
- 1/4 cup Assorted Nut Flour (refer notes)
- 1 tsp Cardamom Powder
- 1/2 cup Sugar
- 1.5 cup Milk
- 1/2 cup Cream
- 1/4 tsp Rasmalai Essence (refer notes)
- Few drops of Yellow Food Colour (optional)
Whipped Cream
- 175 gms Whipping Cream
- 1/4 cup Icing Sugar
- 1/4 tsp Rasmalai Essence (refer notes)
Instructions
Step 1 - Prepare the Rasmalai Pudding
- In a saucepan combine together the cornflour, pistachio powder, cardamom powder and sugar. Whisk to mix and break any lumps.
- Then whisking continuously add in the milk and cream.
- Add the Rasmalai Essence to this if you do not have it then you can choose to add a big pinch of kesar to the milk instead.
- Put this on flame and stirring continuously mix until everything thickens. This would take anywhere between 10 to 13 mins.
- You can also add yellow food colouring at this stage if you would like to have a colour contrast or skip it.
- So just keep stirring until the pudding thickens.
- A good indication to check whether your pudding is ready or not is by dipping a spoon in it and on the back side of the spoon run your finger, if it stays still without having the rush to flow then your pudding is ready.
- Simply transfer it to another bowl to cool completely. Cover with a cling wrap in a way that it touches the pudding so that there is no formation of skin on top.
- Let it cool completely in the fridge for about an hour or so.
- When you take it out it would have set completely by now. Simply add it to a mixing bowl and whisk until it is smooth again. Set aside.
Rasmalai Whipped Cream
- In a mixing bowl, combine together the cream, icing sugar and rasmalai essence and whip until stiff peaks form.
- Transfer to a piping bag with 1M Piping Nozzle
To Assemble
- Start by adding the cake layer followed by a tbsp of Rasmalai Milk.
- Place a rasmalai piece on top.
- Crush the ladoo in your fingers and then fill the gaps with it.
- Pour more rasmalai milk on top until it reaches the rasmalai piece that you just layered.
- Add couple of tsp of prepared Rasmalai pudding.
- Finally add a swirl of Rasmalai Whipped Cream.
- Garnish with rose petals, pistachio slivers, crumbs of ladoo, edible flower or decorate the way you like and then serve chilled.
Video
Notes
- The shot glasses used in this recipe can hold upto 1/3 cup of water and with the measurements shared here I could make 20 such glasses.
- Make sure to keep on stirring the pudding to make it smooth and lump-free.
- Do not overwhip the cream if making at home.
- To make your work even more easier you can choose to use store bought cake or even lady fingers as the base, use store bought rasmalai and cool whip.
- Use 1/4 cup Rasmalai Milk (without the nuts)
- Or 1 tsp of cardamom powder and big pinch of kesar
- Or 3 tbsp Pistachio powder.
- Last but not the least use ready to whip cream from the stores 😀
Sunita Agarwal says
hi
need help
whats the self life of these cups
can we make ut a day prior
plz do answer
sushma iyer says
Hi Sunita.. yes definitely.. you can make it a day or two prior 🙂
Cynthia says
Teied it yesterday loved it...thanks so much
sushma iyer says
Yay!!! I am so pleased to learn this.. thank you for taking the time to share your feedback with us.. appreciate it <3
Nidhi Singhal says
It came out so well... thank you for your recipes! You describe each step n nuances so well!
sushma iyer says
Hi Nidhi..
that is amazing.. thank you for sharing your wonderful feedback with us.. appreciate it 🙂
Pallavi Dureja says
It's really gud to see ur receipes. They are awesome and very easy
sushma iyer says
Yay!!! Glad to know that you think that way Pallavi. Thank you
Cynthia says
Hello I am keen on preparing this tempting dessert, is fresh cream (like Amul fresh cream) used for preparing pudding...pls guide...thanks
sushma iyer says
Yes you can use fresh cream for pudding 🙂
Cynrhia says
Thanks for the derailed recipe... whilst making the pudding which cream should we use fresh cream or whipping cream in liquid form...pls let me know...
sushma iyer says
Hi Cynrhia. You can use any type of cream to be honest.. But for puddings and mousse I prefer using fresh cream.. Hope this helps
Regards
Sushma
Cynthia says
Thanks for your prompt reply..wl share my feedback soon