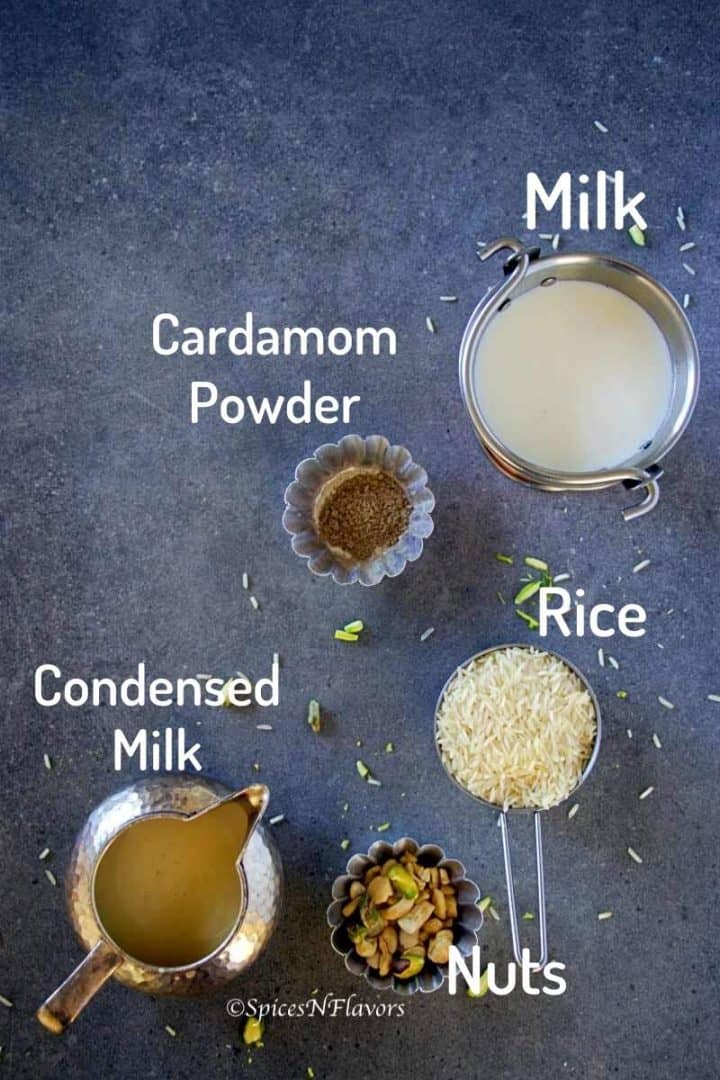
Instant Pot Kheer - a royally luxurious Indian Dessert made using pantry staple ingredients yet indulging you in a mouthful of creamy and sweetened pudding working together in a melodious harmony.
This is your favourite old fashioned and classic Indian Rice pudding recipe now made easy!!
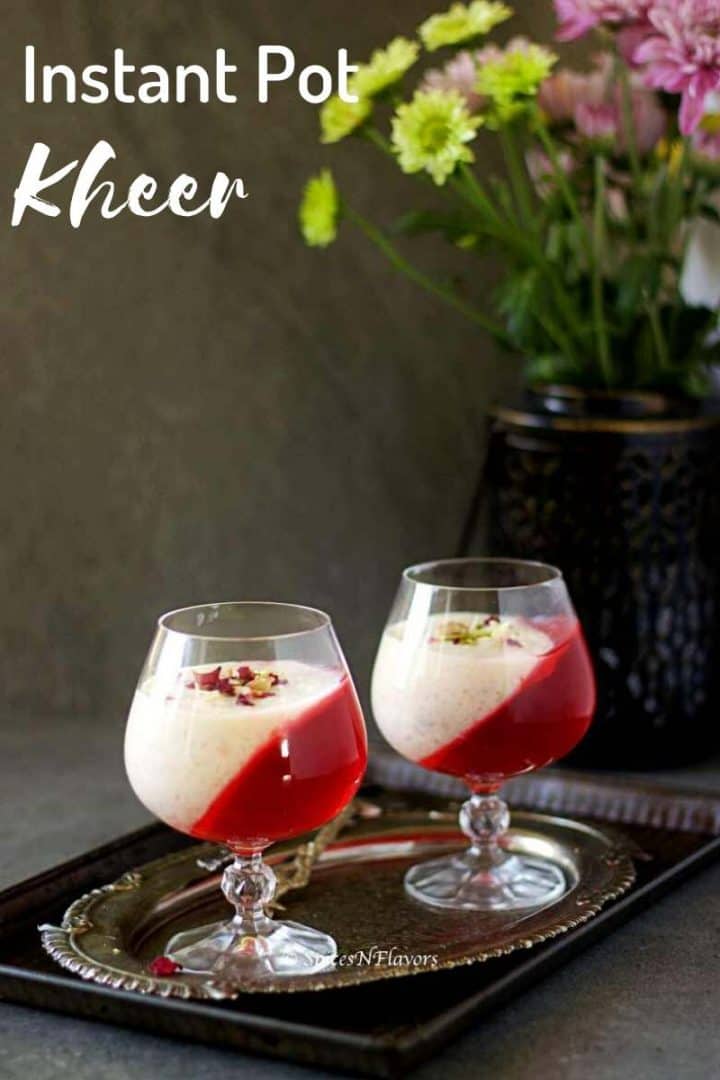
What is a Kheer??
Kheer is basically a type of sweetened pudding, traditionally made by simmering and stirring milk until it reduces to half the original quantity and then cooking either of the following: milk, vermicelli, sago, carrots, broken wheat, etc. and usually sweetened using sugar.
That's the technical bit.
But just randomly stop any Indian you meet and ask don't even ask just say Kheer - and watch the smile hitting from ear to ear on his face.
Known by Kheer in north India, Payasam in South India and Payesh in eastern India this is nothing but pure nostalgia!!
Do let me know what do you call Kheer in your mother tongue?
The one dessert that is literally made in every single Indian family and each one have their own version.
Even now this was a part of my Home Restaurant Anniversary Celebration about which I had shared on Instagram.
This Indian Kheer is a twist on childhood indulgence of Mom made Kheer; combining the usual 3 ingredients - Milk, Sugar and Rice.
And that is why I love making this Kheer recipe
- It is made in an Instant Pot - so basically hands-free recipe with minimal to no stirring whatsoever.
- This being a basic recipe you can flavour it up with endless combinations. (Read along have shared few of them for you).
- This recipe is made using condensed milk so this makes a creamy and delightful dessert.
- Gets done in 35 mins involving just 5 mins of your active time.
I hope I have convinced you enough to try this recipe.
So let us see,
How to make it in a step by step format
Step 1 - Rinsing and Soaking the Rice.
Wash the rice, twice and soak it in the water for 15-30 mins.
Then drain and set aside.
This helps the rice to cook faster.
I use Basmati Rice to make Kheer and my mom always uses Sona Masoori (short grain rice) to make Payasam.
Step 2 - Making the Kheer
Put your Instant Pot on Saute mode.
Add in the ghee (pic 1) (clarified butter)
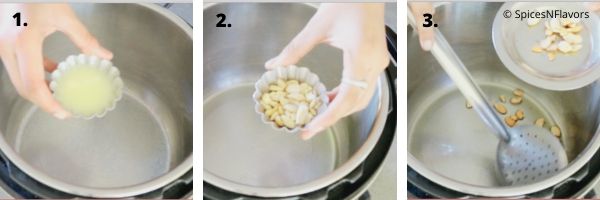
Once the display reads "HOT"
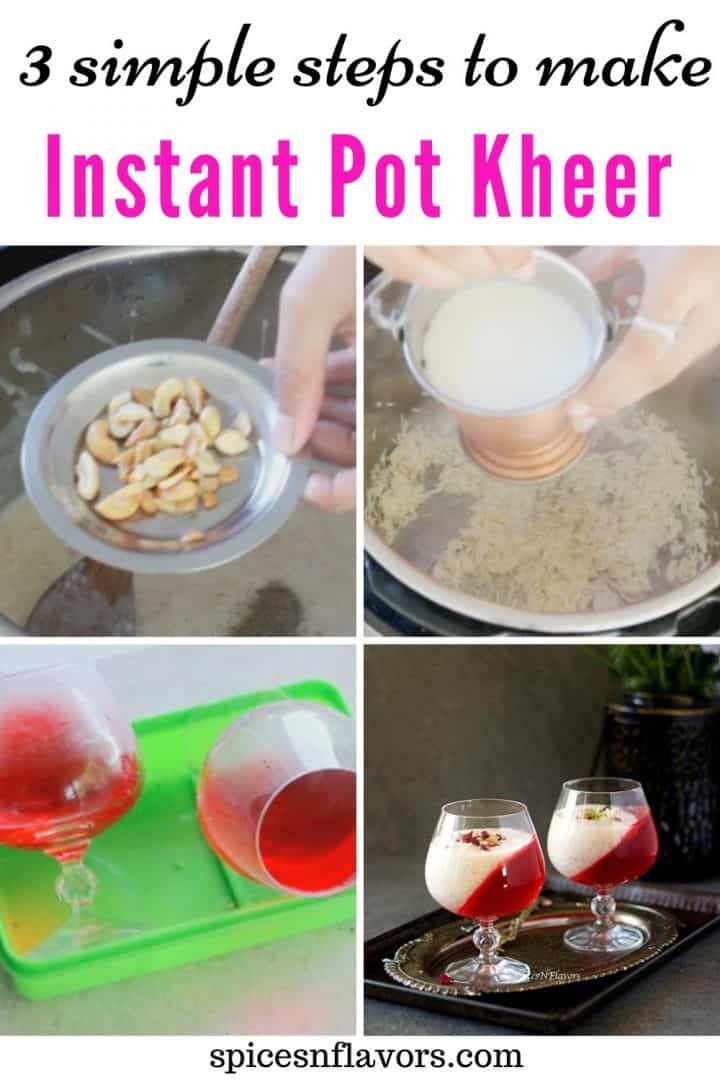
Fry the cashew nuts (pic 2) in it until it turns golden brown. Take it out on to a plate (pic 3).
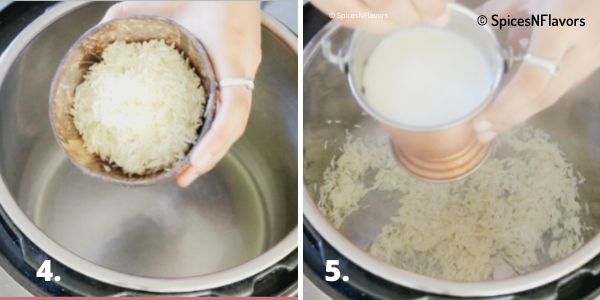
To the remaining ghee in the pot, add in the drained rice (pic 4). Saute for 1-2 mins.
Add in the milk (pic 5).
Stir it once.

Put the lid on. Vent to sealing mode (pic 6).
Select Porridge mode (pic 7) and let it auto-cook for 20 mins (pic 8).
Allow the pressure to release naturally.
Open the lid.
Give it a gentle mix.
Do not stir vigorously as there are chances that some milk might have stuck to the base of the pot and you would end up mixing that too.
Add in the condensed milk (pic 9). Mix to combine.
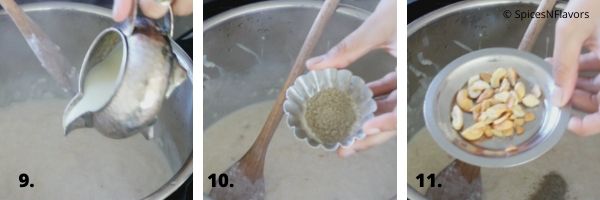
Flavour it up by adding cardamom powder (pic 10) and the fried cashew nuts (pic 11).
The kheer is ready.
You can either serve it warm or chilled. Have shared the details below.
Wasn't it super easy??
How to Serve Kheer?
The million dollar question - Is Kheer served hot or cold?
Like I was saying you can serve it hot/warm or chilled.
1. Warm - In a Bowl
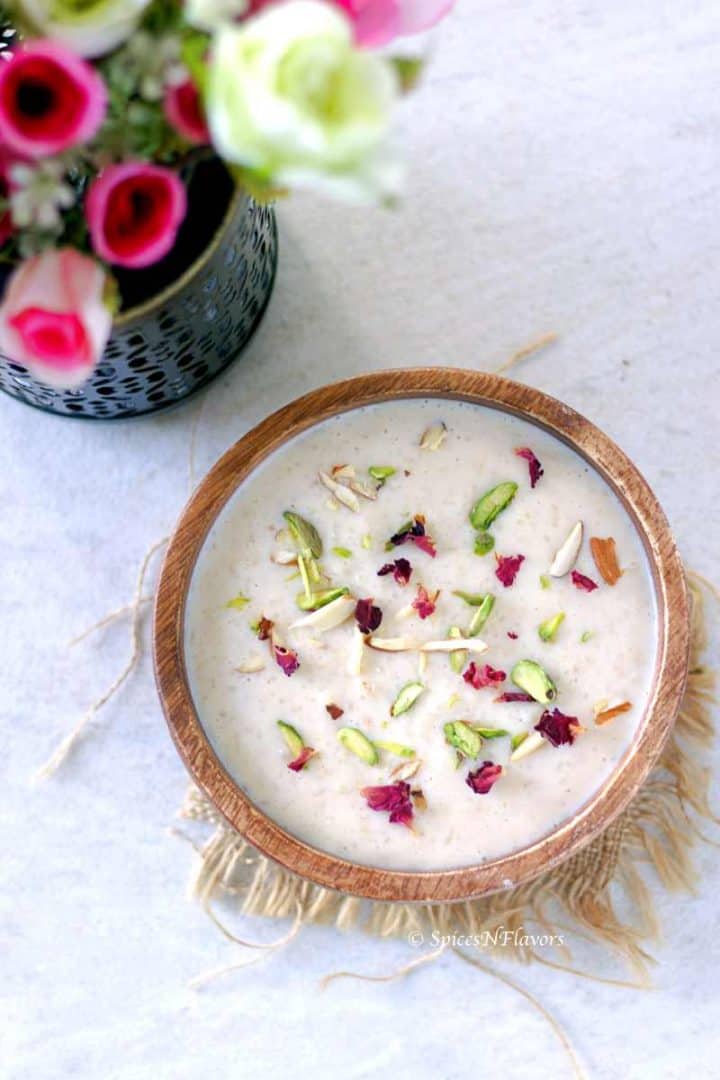
If serving it warm, transfer it to a bowl.
Garnish it with some pistachios, slivered almonds and dried rose petals or even saffron strands.
And serve.
2. Chilled
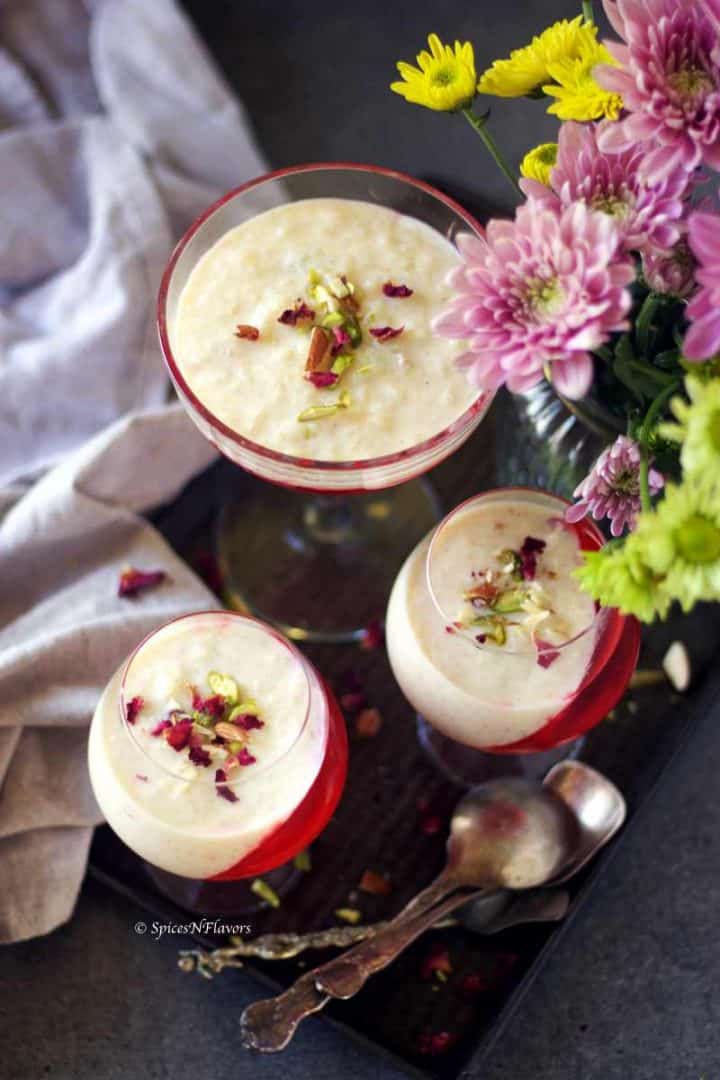
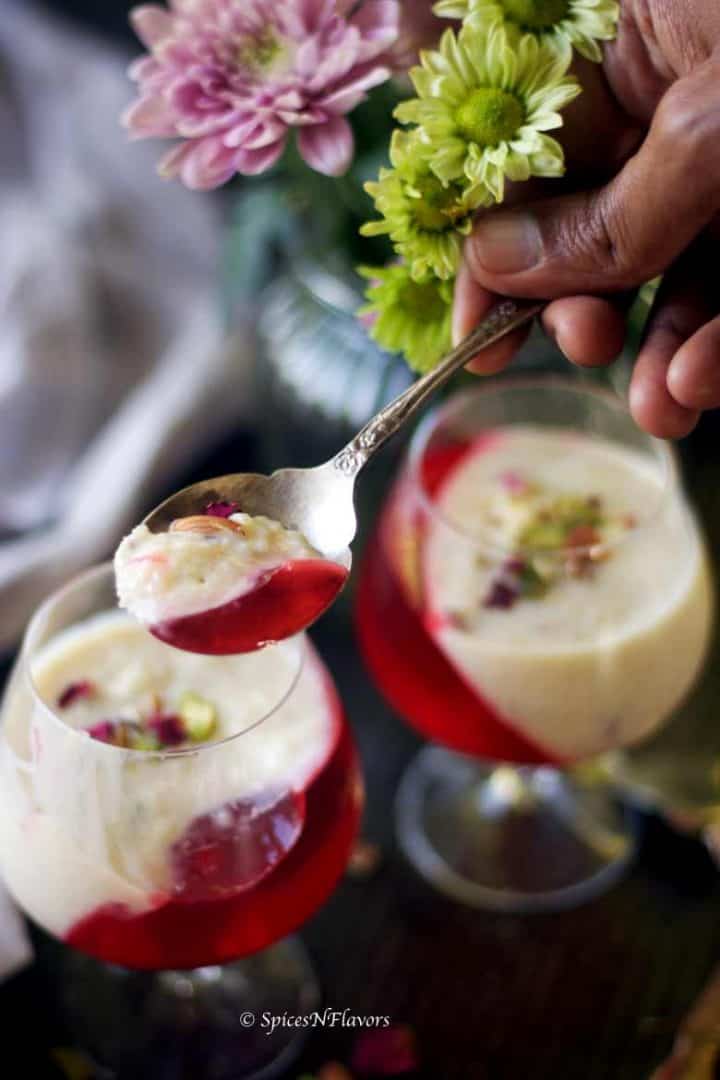
If you love enjoying your kheer chilled, I would recommend you to serve it with a jelly like I always do.
Yes, I had shared this 5 years ago on the blog but now updating it with good pictures, instant pot version and stove-top version.
So ever since then, we love having our Kheer this way.
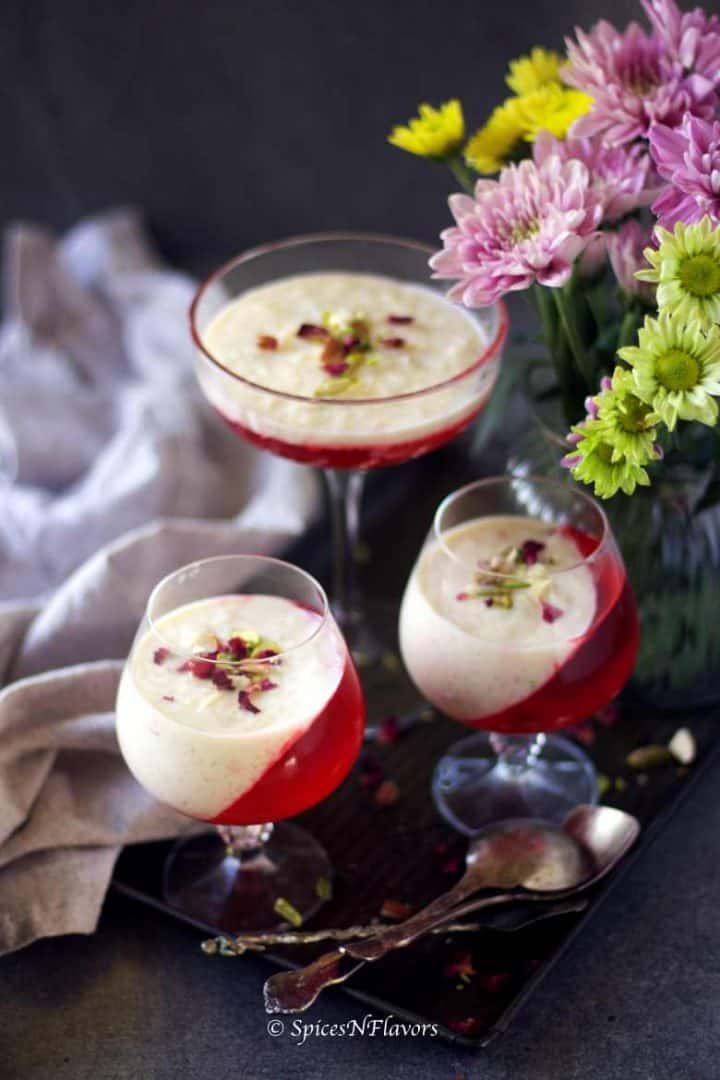
Basically you are making a layered Indian dessert here - the two layers: Kheer and Jelly.
Prepare the jelly as per packet instructions.
If you are a vegetarian make sure that you are buying a vegetarian one as otherwise the jellies in the market has gelatin in them.
Then pour it onto your glasses.
For titling it from one side place it on a box in an angle.
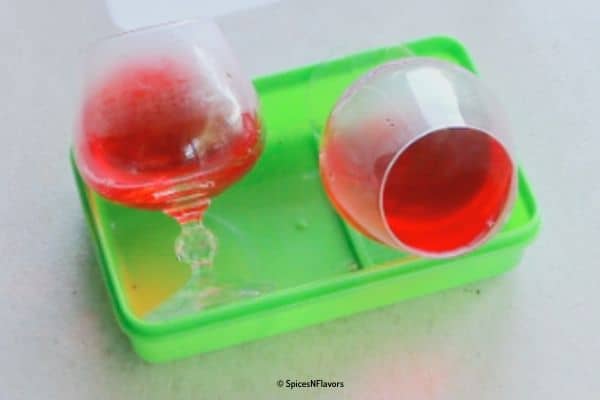
Allow it to cool completely then pop it into the fridge to set.
Once set pour the kheer on the other side and ta-da you have a gorgeous dessert ready to impress.
Garnish it with some nuts and grab praises from everyone 😉
3. Fancy Dessert Ideas:
If you are a fan of fancy desserts or simply love fusion Indian desserts then you can try serving these over tart base.
I have both eggless and egg based tart recipes on the blog that you can try.
Just bake the tarts and once it is cooled down, add in the kheer layer and then you can layer it up with some stabilized whipped cream garnished with some chocolate decorations.
OR you can also try out the Caramel Disc decoration that we did with our Kalkandu Pongal recipe.
Some Variations and Substitutions that you can Try:
1. Fruits and Vegetables:
In place of rice, you can make use of carrots, lauki or fruits like apple or mango to make the kheer.
Or you can also use both rice and any root vegetable or sturdy fruit of your choice.
In that case, it won't be called as Kheer but with the addition you add like for eg: Carrot Kheer, Apple Kheer.. so on and so forth.
2. Another common type of Kheer that you can try is using - Vermicelli, Sago. If making for kids you can also try adding Makhana, Oats, Quinoa, Dalia (Broken Wheat) and Brown Rice to increase the nutritive value.
3. Non Dairy Milk : You can use almond milk or coconut milk to make the Kheer. That would give you Almond or Badam Kheer or Coconut Kheer.
4. In place of cardamom powder you can use cinnamon powder, nutmeg powder, few saffron strands, rose water etc or a combination of the spices to flavour your kheer.
5. With Nuts/ Nut-free: In place of cashew nuts you can add other nuts like almonds or pistachios or a combination of those or simply skip the nuts to make it nut-free.
6. Sweeteners: I have used condensed milk -makes our job easier and yields a creamier texture but you can also use regular sugar, brown sugar or even jaggery.
Troubleshooting common Problems:
1. What to do if Kheer is too thick?
Now before we troubleshoot that you have to understand What causes thickening of Rice Kheer?
Once you know that you will be able to fix many of your Milk Based desserts.
Rice is nothing but starch right, and you know starch causes a liquid to thicken while cooking.
And since rice is a major ingredient of kheer, it thickens the liquid which is milk upon cooking and further thickens while cooling.
So by simply reducing the quantity of rice in this recipe you can get a slightly less thickened kheer.
The other way to sort it out is to add more milk right before serving.
2. Should you wash rice before making rice pudding?
Yes but not until the water runs clear like you would do while cooking plain rice.
In this case we want starch to some extent to thicken the kheer right.
So for that I recommend washing the rice twice for making this Indian style rice pudding.
3. How do you know when Kheer is done?
This is not a problem if you are making it in the Instant Pot.
That's why I call it a magical pot because of the numerous hacks you can do in your POT.
Porridge setting takes care of that.
This would be a problem when you are making it on a stove-top.
You have to look for these two signs:
- The milk is reduced to half the quantity of what you started.
- Take two to three granules of rice in between your fingers and try to press it. If it breaks apart easily without having the need to apply pressure then you know your rice is cooked too.
Those are the signs indicating the kheer is done.
4. Why does kheer develop burnt taste sometimes?
If you are making it on a stove-top you need to keep on stirring the milk or else it will stick to the bottom of the pan and start burning.
This fragrance then mixes the milk and causes the entire kheer to smell burnt.
To avoid this you can use a heavy bottom pan and stir it continuously to make sure that the milk doesn't stick to the base.
In an instant pot, this is not a major problem.
There are very less likely chances for the milk to stick and burn.
And that's the reason I also recommend to not stir the mixture vigorously once the cooking cycle is done.
Some Frequently Asked Questions:
What type of Rice can we use?
I prefer using Basmati Rice.
Whereas my mom has always used Sona Masoori (short grain rice).
So you can you use either of the two.
Can I make the Kheer with leftover rice?
Yes you can.
Once the milk is reduced to half.
Add the cooked rice and condensed milk and mix. Add 1 cup of cooked rice for every litre of milk used.
That's a really quick fix I would say.
Can I make kheer with jaggery or brown rice?
Yes you can.
Once the rice is cooked and the milk is also reduced to half.
Take it off the flame and allow it to cool for around 5 mins.
Meanwhile melt jaggery in some water. Sieve to remove impurities then add it to the rice and milk mixture. Mix to combine.
This ensures that the jaggery is well mixed with the kheer.
But do note that this would change the colour to brown.
You can use brown sugar too and follow the same procedure as mentioned.
Why does rice kheer develop a brown colour while cooking?
The brown coloration comes from the caramelization of sugars at the base of the pot (caramel is brown in color), which then gets distributed throughout the kheer when it is stirred.
If you want to prevent that (to keep the kheer white), heat should be kept low, and the kheer should be constantly stirred to prevent sugar from sticking to the bottom.
This cannot be avoided when making in a pressure cooker though.
But trust me honestly, that pinkish, creamish brown hue is something I absolutely love and prefer my kheer to be that way.
How to reheat Kheer?
I prefer to reheat in a microwave safe bowl in an interval of 30 sec depending upon how hot I need.
One can also reheat on stove-top - but do remember to stir it frequently.
If you find that the kheer has gone way too thick upon cooling, now is the time to add some milk and then re-heat.
How long does it last in the fridge?
Milk Based desserts doesn't last long so I would advise you to store it for no more than 2-3 days.
However, you can freeze this for upto a month in freezer safe container.
Can I use Low-Fat milk?
No. I do not prefer making Kheer with low fat milk as it doesn’t taste creamy and smooth as it should.
Do I have to make Jelly for serving the Kheer?
No absolutely not.
It is not a compulsion. It is just my way of making and serving the kheer.
You can serve it in a bowl too without the Jelly.
How does the Jelly taste with the Kheer?
The Jelly is an interesting way to flavour the Kheer.
Jelly gives a slight tart berry flavour which goes well with the creamy sweet Kheer.
Are Rice Pudding and Rice Kheer one and the same?
Well, I would say Rice Kheer is a type of Rice Pudding but not exactly the same.
As each and every country has their own way of making it.
Leave behind country when each and every household has their own way of making it.
The recipe even varies from state to state in India.
Can I make it Vegan?
Yes you can.
Substitute milk for coconut or almond milk.
And condensed milk with sugar.
Here are my top 5 Tips to make perfect Kheer every single time:
- Use full-fat milk to get the best results.
- Ensure to keep on stirring the milk so that it doesn't stick and burn if making in a stove-top.
- Soaking the rice in water considerably reduces the cooking time.
- Plain Kheer is so boring. Make sure to jazz it up with some flavour like cardamom, cinnamon, nutmeg, rose water, kewra, saffron strands - either individually or in a combination.
- Frying the nuts in some ghee adds in an amazing flavour and I highly recommend doing it for Milk Based desserts.
More Indian desserts recipes:
- Rasmalai Recipe - Grab the 9 Secrets that No One Shares
- 15 mins Milk Powder Burfi
Wish to Join US for the love of BAKING? Subscribe to our newsletter and follow along on Facebook, Instagram, and Pinterest for all the latest updates!
Tag us on Instagram: @spicesandflavors to get featured on our stories.
Pin this for later:
Indian Rice Kheer - Instant Pot / Cooker / Stovetop version
Ingredients
- 2 tbsp Ghee (Clarified Butter)
- 2 tbsp Cashew Nuts
- 1/2 cup Basmati Rice
- 1 litre (4 cups) Full Fat milk
- 1 tin (14 oz) Condensed Milk
- 1 tsp Cardamom Powder
- a packet of jelly (optional)
Instructions
Instant Pot Method
- Rinse and wash the rice twice to remove any dirt or impurities. Soak the rice in fresh water for 15-30 mins. Drain the water and set aside.
- Put your Instant Pot on Saute Mode. Add the ghee to it.
- Once the display reads HOT add in the cashew-nuts and fry till golden brown. Take it out onto a plate once done.
- To the leftover ghee, add the drained rice and saute for 1-2 min followed by the addition of milk. Stir the milk once.
- Close the lid. Vent to sealing position. Choose the porridge mode. Let it auto-cook for 20 mins.
- Allow to depressurise naturally and then open the lid.
- Give the milk and rice mixture a stir. Do not stir it vigorously or else you might accidentally scrape any milk sticking at the base of the pot.
- Add in the condensed milk, mix it through. In goes the cardamom powder and fried cashew nuts and mix that too.
- Serve it warm in a bowl garnished with some nuts and saffron strands or chilled alongside jelly.
How to make Jelly Layer
- Follow the packet instructions to make the jelly. Pour it to your glasses at an angle (as shown in pictures in the above paragraphs).
- Allow it to come to room temperature and then chill it in the fridge until set.
- Once set add the chilled kheer to the other half portion. And serve them garnished with nuts of choice.
Stove-top version:
- Rinse and soak the rice for 15-30 mins.
- In a heavy bottom pan, add the ghee and allow it to heat up then add the cashew nuts and fry till golden brown and take it out.
- To the same pan add rice and saute for a minute. Add the milk and bring it to boil. Lower the temperature and keep stirring until the milk is reduced to half and the rice is cooked too.
- Add in the condensed milk and mix that through.
- After another 10 mins or so add cardamom powder and fried cashew nuts.
- Combine everything well and your kheer is ready.
Pressure Cooker Kheer:
- Follow the rinsing and soaking as well as frying the cashew nuts step as mentioned above.
- Then add rice to the cooker and saute it followed by the addition of milk.
- Simply put a stainless steel plate or a spoon inside. Close the lid and on medium low flame let it cook for till you get one whistle or 35 to 45 mins max.
- Allow the pressure to release naturally and then open the cooker.
- Add in the condensed milk, cardamom powder and the nuts and mix well.
Video
Notes
- The preparation time mentioned above includes the soaking time of the rice. However, the cooking time mentioned above does not includes the time the instant pot takes to come into pressure and depressure once cooked.
- Also, I have mentioned the time required to cook the stove-top and pressure cooker kheer separately in the instructions so please take that as a guide.
- Soaking the rice in water beforehand helps to cook it faster.
- Frying the cashew-nuts in ghee adds a beautiful flavour to the dish.
- If making it on your stove-top make sure to stir the kheer continuously.
Substitutions:
- Milk: I recommend using full-fat dairy milk for this recipe. You can substitute with low-fat milk but the kheer won't be as creamy as with the full-fat ones.
- Rice: I prefer using Basmati Rice but any sticky rice would work. My mom uses Sona Masoori short-grain rice. Even brown rice would work.
- Condensed Milk: You can substitute with sugar, jaggery, brown sugar or any other sweetener of your choice.
- Flavour: Traditionally Kheer is flavoured with cardamom powder, rose water or saffron strands. Other than that you could also use cinnamon powder, nutmeg powder or a combination of different spices.
- Nuts: In place of cashew nuts one can also use pistachios or almonds. Or completely skip the nuts to make it nut-free.
How to make Vegan Rice Kheer:
Substitute dairy-based milk with any non-dairy ones like coconut or almond. And condensed milk with sugar.Conclusion:
This Instant Pot Rice Pudding recipe is a classic old fashioned Indian desserts which is now made so easy that anybody can make it.
This Kheer recipe is a twist on childhood indulgence of Mom made Kheer. combining the usual 3 ingredients - Milk, Condensed Milk and Rice
In the post find details on how to make kheer in a step by step format.
Along with different variations to make it, troubleshoot the common problems that you could face and also find my PRO-tips.
I will see you soon in my next one.
Until then
Hugs
Sushma


Leave a Reply