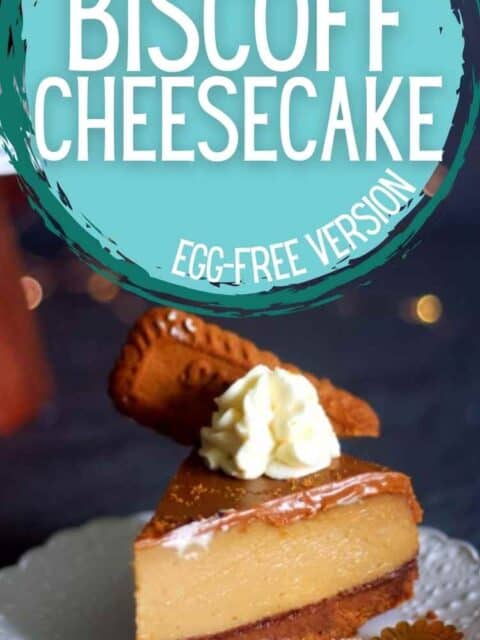
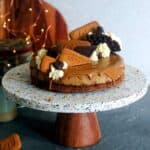
Biscoff Cheesecake - Ultra smooth and silky, almost mousse like; this unusually luxurious dessert combination of Lotus Biscoff and Cheesecake is going to leave you addicted. Eggless and full of cookie butter flavor, I bet you won't stop at one slice.
I absolutely love making trending recipes. Chocolate Pop It is my current obsession.
Even though Biscoff has been trending for a long time now, somehow I never got a chance to try as it was not available locally in stores.
And finally I gave in and ordered the Lotus Biscoff Spread and the biscuits online.
What is Biscoff Cheesecake anyway?
It is basically a cookie butter cheesecake. Made using Biscoff Spread which is essentially a smooth creamy spread that has Biscoff Biscuits (as branded by Lotus), alongwith the addition of sugar, vegetable oil and other all natural ingredients. And Biscoff Biscuits in turn is a ginger spiced biscuit commonly known as Speculoos cookies. So Biscoff Cheesecake is essentially a smooth and creamy cheesecake, with a deep brown sugar, butter and spice flavor to it.
Why try this Recipe?
- It has a very unusual flavour profile which is definitely worth a try. It feels like warm hugs with the subtle note of spices, creamy smooth mouth-feel and so aromatic reminding us of Fall in every bite.
- An eggless recipe, so everyone can enjoy it. I promise you won't miss the eggs!!
- The more the cheesecake sits, the more flavourful it becomes. Kind of pure Magic. So definitely can be made ahead of time.
- Biscoff spread can be swapped with any other flavouring of choice. So one recipe and so many variations to make.
Ingredients for Lotus Cheesecake.
As I am referring to Lotus Spread a lot in the post, I would like to clear it out that it is NOT a SPONSORED POST.
It is commonly known as that in the market so I am using the term, please feel free to use any other brands making cookie butter spread if that is what you prefer.

- Biscoff Biscuits: It is basically a speculoos biscuits. So you can use that or any ginger based biscuit base for this recipe. I am using Lotus Biscoff Biscuits.
- Biscoff Spread: As mentioned any cookie butter spread can be used instead.
- Lemon Juice: Brings about a tartness in the recipe. You can skip it if not handy.
Step by Step Tutorial
Step 1 - Prepare the Cake Pan.
I am using a 7 inch springform pan here.
Line the base of the pan with parchment paper in a way that the paper is hanging out of the pan.
This trick makes it super easy to unmould the cheesecake once baked.
Step 2 - Prepare the Crust
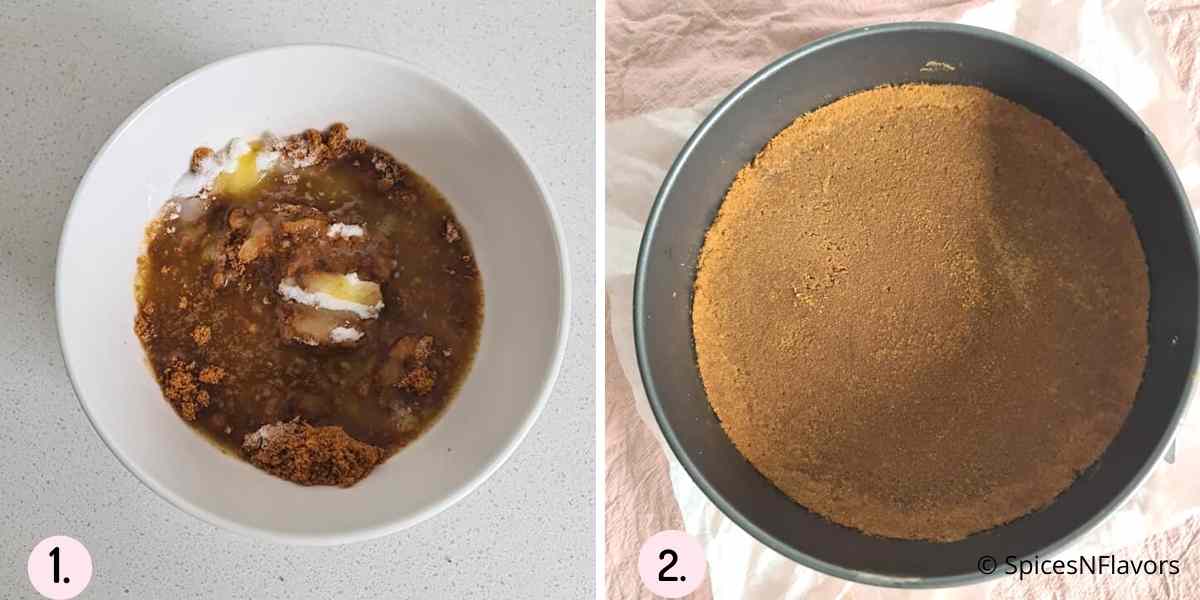
To the crushed biscuits add sugar and melted butter (image 1).
Combine till it holds its shape when pressed between your palms.
Then transfer it to the prepared pan.
Press gently till it covers the entire cake pan and gets a smooth top. You can use the back of your measuring cup to smoothen the top (image 2).
Then bake in a preheated oven of 160°C for 10 mins. Keep in the refrigerator till you make the cheesecake batter.
Step 3 - Cheesecake Layer
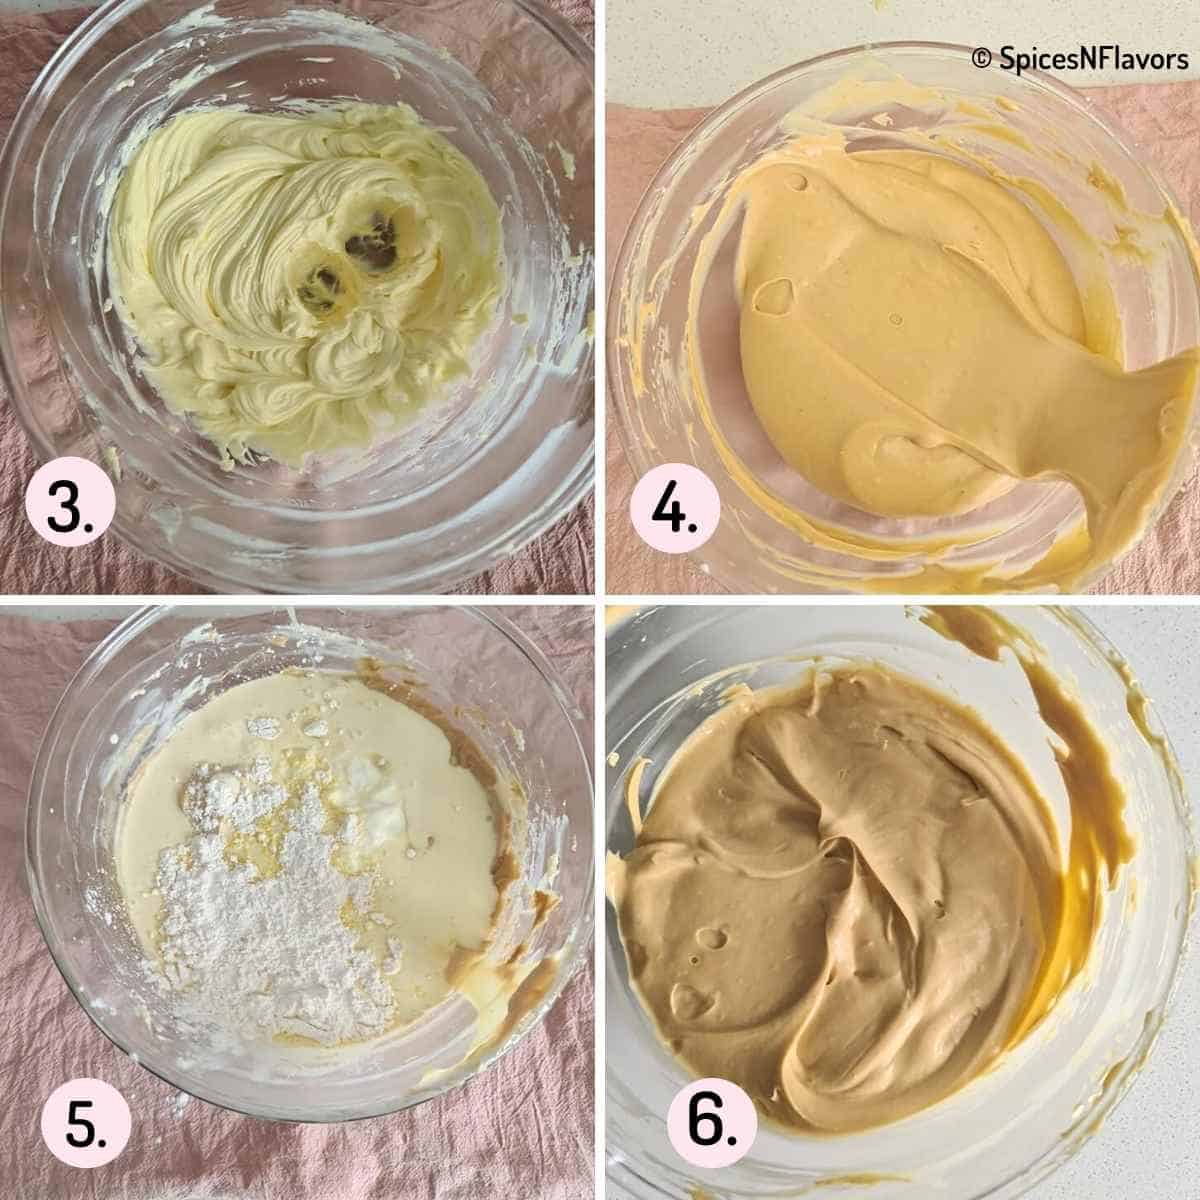
Beat together the cream cheese and sugar until creamy (image 3).
Add the biscoff spread and beat well till combined (image 4).
In goes the cream, condensed milk, yogurt, custard powder and lemon juice. Beat till everything is smooth and creamy.
Layer it on top of the biscuit layer (image 5 and 6).
Take 2 square shaped aluminium foil. Place the springform pan on top of it.
Cover the base and sides of the pan with the aluminium foil (image 7).
Step 3 - Baking the Cheesecake
Preheat the oven to 160°C.
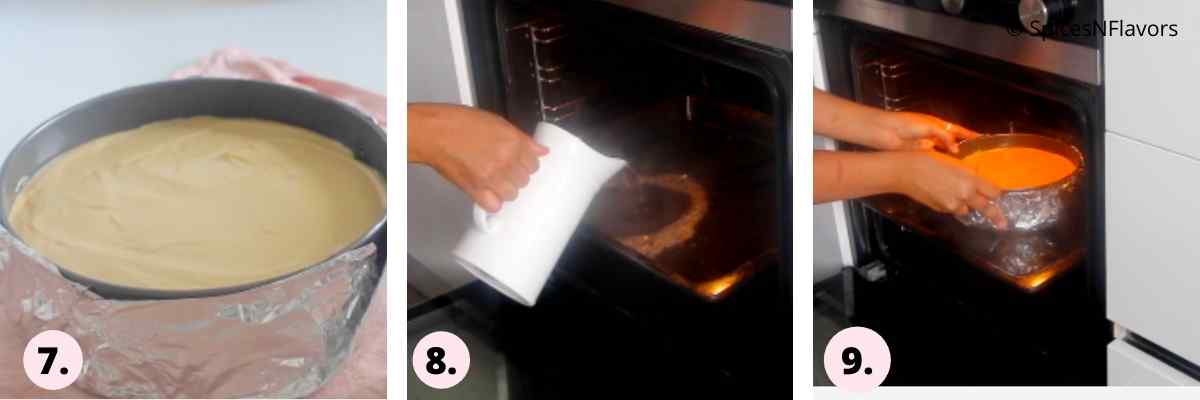
Fill a baking tray with boiling hot water to about to one two inches (image 8).
Place the springform pan in it (image 9).
Bake the cheesecake for 40 to 45 mins. Or until the edges are set but the centre is still jiggly. Don't worry it will set while cooling.
When you bake a cheesecake in low temperature for long along with the combination of steam generated, you can be assured to get a crack-free and moist cheesecake as opposed to a dry texture.
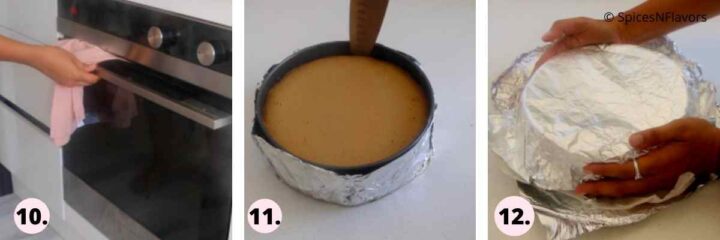
Once done, switch off the oven place a tea towel on your oven door and let the cheesecake sit for another 10 mins (image 10).
This would ensure the cheesecake does not get a sudden temperature shock which can make it to deflate.
How to Bake Biscoff Cheesecake in the Instant Pot?
Prepare a sling using aluminium foil and place the pan with the cheesecake batter on top of it.
This Pumpkin Cheesecake recipe post has all the details of making the sling.
Add 1 cup Hot Water to the base of your instant pot. Place your trivet.
Slowly release the spring form pan over the trivet with the help of the sling
Cover the Instant pot with lid. Vent to sealing.
Set the Instant Pot Manual High for 40 minutes.
Once Done, Let the pressure release naturally.
Take it on your counter-top and let sit for 20 mins and then chill in the fridge overnight.
Step 4 - Cooling the cheesecake
Whether baked or no bake, either way cheesecake is a dessert that needs refrigeration.
After 10 mins, take the cheesecake out of the oven, run a knife around the edges to release the cheesecake from the sides (image 11).
This would also ensure that the cheesecake won't deflate whilst cooling.
Let is sit on your counter top for 20 mins or so and then wrap an aluminium foil on top (image 12) and chill in the refrigerator for 4 hours but preferably overnight.
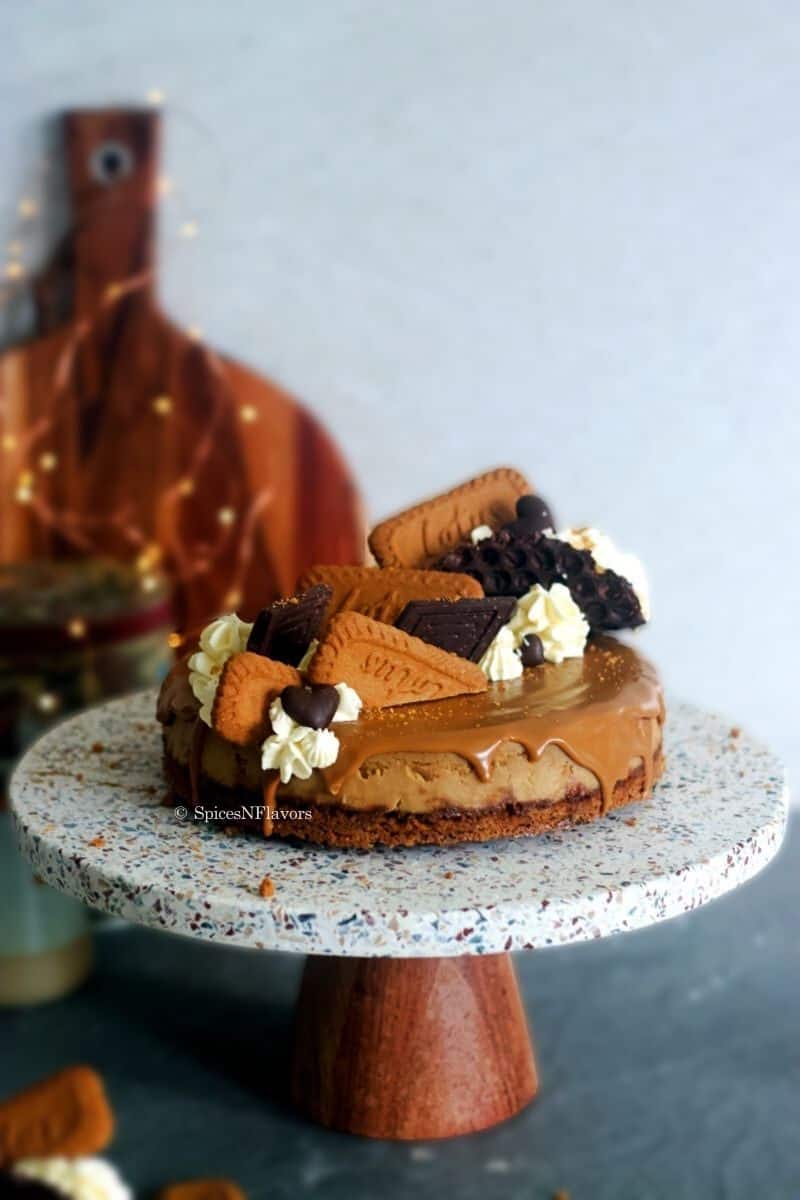
Step 5 - Biscoff Cheesecake Decoration.
Once chilled, unmould the cheesecake from the pan and place it on a cake board or desired board.
A classic Biscoff Cheesecake would have a biscoff spread layer on top.
To make that, simply microwave the spread for few seconds to get it in to pouring consistency.
Then pour the spread on top of the cheesecake layer and allow it to drip.
Decorate it as per choice.
I have made a chocolate tacos and then using homemade whipped cream for some designs on top.
Storage Instructions:
Always Store the cheesecake in the refrigerator. It will stay good for 5 days.
Either use a cake box or simply slice the cheesecake and keep the slices in an air tight container and then refrigerate.
Can you freeze Biscoff Cheesecake?
Absolutely. Freeze this cheesecake for up to 3 months!
After it is baked and cooled, un-mould it, place it on a cake board and then freeze the entire cheesecake until it’s firm to the touch (about 3 hours).
Once frozen wrap the entire cheesecake in a couple layers of plastic wrap and then foil.
When you’re ready to enjoy the frozen cheesecake, place it in the fridge overnight, then unwrap and enjoy it the following day.
Just make sure to add the cookie butter drizzle and the cream toppings when you are ready to serve the cheesecake.

Baker's Tips:
- Room Temperature Ingredients; especially the cream cheese needs to nice and soft for it to be mixed well with the sugar. Having other ingredients at room temperature also helps to get an even mixing.
- Baking your crust for 10 mins helps it to set well. So when you add the cheesecake batter on top, the crust won't come off which can sometimes cause your cheesecake to have a gritty texture at times.
- It is essential to beat the cream cheese and sugar well before adding the rest of the ingredients. This helps to prevent formation of any lumps.
- Do not over-beat the ingredients, you do not want the cream to over-whip and curdle.
- Cook the cheesecake in a low temperature, nice and slow, alongwith the steam from hot water, to ensure that the cheesecake cooks evenly without curdling.
- Do not give a temperature shock to the cheesecake by removing it from the oven once your timer goes off. Let it cool in the oven with your oven door slightly ajar and then take it out to cool completely.
- Whether you are making a baked biscoff cheesecake or a no bake biscoff cheesecake it is important to refrigerate them for a minimum of 4 hours, preferably overnight.
Recipe FAQ's
Firstly cooking it low and slow gives it an amazing texture. So when a cheesecake sits in the oven for this long there are chances of it curdling; specially when you use eggs. The top also dries out and develops cracks. When you bake in a water bath, the water surrounding the pan will never get hotter than 212 degree. This gives the center of the cheesecake time to cook without overcooking the outside, and also the top doesn't get dried out because of the steam produced by the water. So no cracks and a guaranteed smooth and creamy texture.
Since this is an eggless cheesecake recipe, you do not have to bake it for long as compared to a regular cheesecake. 40 to 45 mins is a sweet spot. What you are looking for is that the sides are set well and are firm but when you shake the pan gently to and fro the centre is still jiggly and is not set. Don’t worry, it’ll set as it cools and that’s what keeps the cheesecake so creamy and soft.
Well yes absolutely. Nutella, Peanut Butter or any Nut Butter would be an ideal choice. If you are not a fan of Biscoff then you can skip it in the filling, but keep the biscuit crumb base and the cookie butter spread topping on to get a subtle flavour.
Yes sure you can. But I would still recommend baking at least the base that is just the biscuit crumbs so that it does not come off when you add the cheesecake batter giving a gritty texture. Follow all the steps as mention just instead of baking, keep it in the refrigerator overnight. The texture won't be the same but the cheesecake will be set and firm to slice.
Instead of setting the cheesecake in the springform pan, line a muffin tray with cupcake liners and follow the steps as mentioned in the recipe. This is how you make cheesecake cupcakes. You can also turn this recipe into biscoff cheesecake bars by baking it in a 9 inch x 13 inch pan for 38-42 minutes at 325 F or 165 C.
Related Recipes:
- Instant Pot Mint Cheesecake
- Instant Pot Cinnamon Roll Cheesecake
- No Bake Pineapple Cheesecake
- No Bake Cheesecake without condensed milk
Wish to Join US for the love of BAKING? Subscribe to our newsletter and Youtube channel. Follow along on Facebook, Instagram, and Pinterest for all the latest updates!
Eggless Baked Biscoff Cheesecake
Ingredients
For Cheesecake Base
- 220 gms (1 packet) Biscoff Biscuits, crushed
- 2 tbsp Sugar (caster or icing)
- 97 gms (1/3 cup + 1.5 tbsp) Melted Butter
For Cheesecake Batter
- 250 gms (1 cup + 2 tbsp) Cream Cheese softened
- 75 gms (1/3 cup) Sugar
- 200 gms (1 cup) Biscoff Spread
- 80 gms (approx 1/3 cup) Condensed Milk
- 60 gms (1/4 cup) Yogurt
- 150 gms (2/3 cup) Cream
- 2 tbsp Custard Powder or Cornflour
- 2 tbsp Lemon Juice
200 gms Biscoff Spread for dripping
Instructions
Step 1 - Prepare the Springform Pan
- Line the base of a 7 inch springform pan with parchment paper in a way that the paper is hanging out of the pan. This trick makes it super easy to unmould the cheesecake once baked.
Step 2 - Prepare the Biscuit Layer
- To the crushed biscuits add sugar and melted butter.
- Combine till it holds it's shape when pressed between your palms. Then transfer it to the prepared pan.
- Press gently till it covers the entire cake pan and gets a smooth top. You can use the back of your measuring cup to smoothen the top.
- Then bake in a preheated oven of 160°C for 10 mins. Keep in the refrigerator till you make the cheesecake batter.
Step 3 - Cheesecake Layer
- Beat together the cream cheese and sugar until creamy.
- Add the biscoff spread and beat well till combined. In goes the cream, condensed milk, yogurt, custard powder and lemon juice. Beat till everything is smooth and creamy.
- Layer it on top of the biscuit layer.
- Take 2 square shaped aluminium foil. Place the springform pan on top of it. Cover the base and sides of the pan with the aluminium foil.
Step 4 - Baking
- Preheat the oven to 160°C. Fill a baking tray with boiling hot water to about to one two inches. Place the springform pan in it. Bake the cheesecake for 40 to 45 mins.
- Or until the sides of the cheesecake sets but the centre is still jiggly. Don't worry it will set upon cooling.
- Once done, switch off the oven place a tea towel on your oven door to keep it opened very slightly and let the cheesecake sit for another 10 mins. This would ensure the cheesecake does not get a sudden temperature shock which can make it to deflate.
Step 5 - Cooling the Cheesecake
- After 10 mins, take the cheesecake out of the oven, run a knife around the edges to release the cheesecake from the sides. This would also ensure that the cheesecake won't deflate whilst cooling.
- Let is sit on your counter top for 20 mins or so and then chill in the refrigerator for 4 hours but preferably overnight.
Step 6 - Biscoff Cheesecake Decoration
- Warm the biscoff spread in the microwave for few seconds to get it into pourable consistency.
- Pour it on top of the cheesecake till it starts dripping from the sides.
- Then decorate it with some homemade whipped cream. I have used some chocolate tacos, whipped cream and lotus biscuit for the decoration.
Video
Notes
- Biscoff Biscuits and Spread are basically a speculoos ginger spiced biscuits and cookie butter. So in place of Lotus brand you can use any brand that you like.
- Room Temperature Ingredients; especially the cream cheese needs to nice and soft for it to be mixed well with the sugar. Having other ingredients at room temperature also helps to get an even mixing.
- Baking your crust for 10 mins helps it to set well. So when you add the cheesecake batter on top, the crust won't come off which can sometimes cause your cheesecake to have a gritty texture at time.
- It is essential to beat the cream cheese and sugar well before adding the rest of the ingredients. This helps to prevent formation of any lumps.
- Do not over-beat the ingredients, you do not want the cream to over-whip and curdle.
- Cook the cheesecake in a low temperature, nice and slow, alongwith the steam from hot water, to ensure that the cheesecake cooks evenly without curdling.
- Do not give a temperature shock to the cheesecake by removing it from the oven once your timer goes off. Let it cool in the oven with your oven door slightly ajar and then take it out to cool completely.
- Whether you are making a baked biscoff cheesecake or a no bake biscoff cheesecake it is important to refrigerate them for a minimum of 4 hours, preferably overnight.
- This recipe would fit perfectly for a 7 inch springform pan. You can use the same recipe for 6 inch too. But double the recipe for 8 or 9 inch.
- You can make the cheesecake in the Instant Pot too. Follow the instructions mentioned in the post above this recipe card.
Leave a Reply