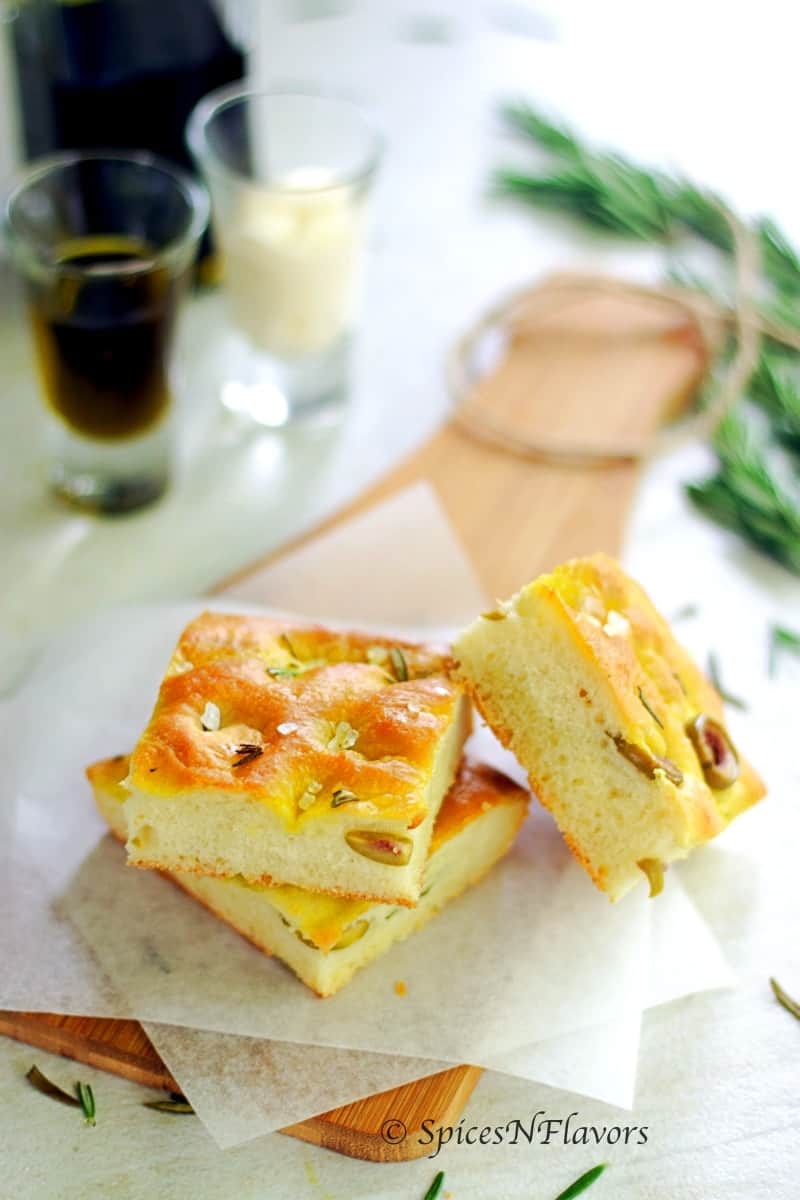
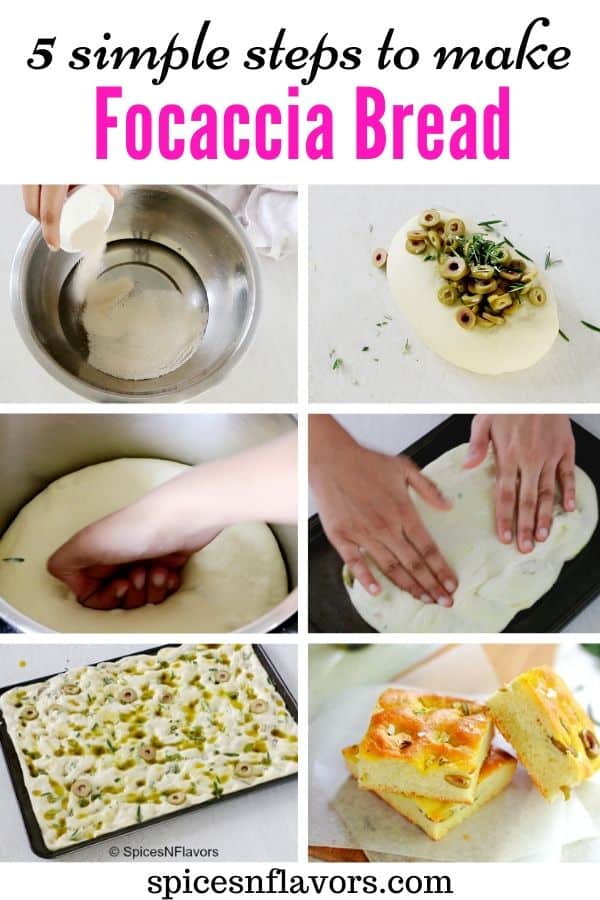
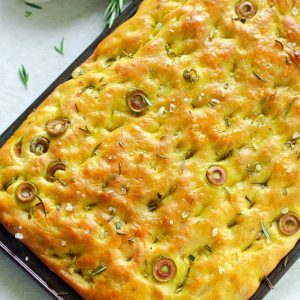
This easy Focaccia Bread recipe comes together in just 5 simple steps. Flavoured with rosemary and olives dipped in good quality Olive Oil this, homemade focaccia makes a rich, flavorful, and soft bread with crispy edges and crusty top that you're going to love!!!
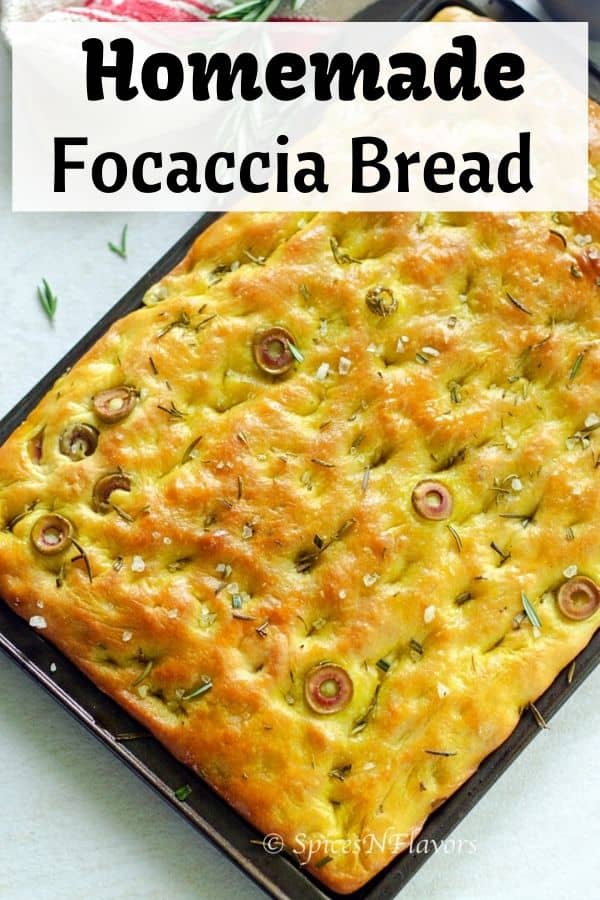
I just love Baking!!! (no surprise there 😉 )
And off-lately on our Youtube channel, I have got so many requests for sharing homemade bread recipe, saying you love seeing bread baking - the tips, techniques, methods and my way of explanation.
This brings me so much joy - especially the Pita Bread recipe has been winning many hearts <3 <3..
By now I got to know that you guys really enjoy the detailed step-by-step recipes.
So let us now see..
How to make Focaccia Bread at home - step by step?
Step 1: Preparing the Dough
Like every other bread recipe, we would start by preparing the dough.
How to make focaccia bread without a mixer?
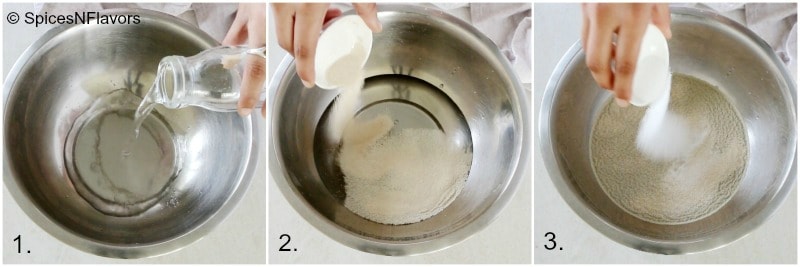
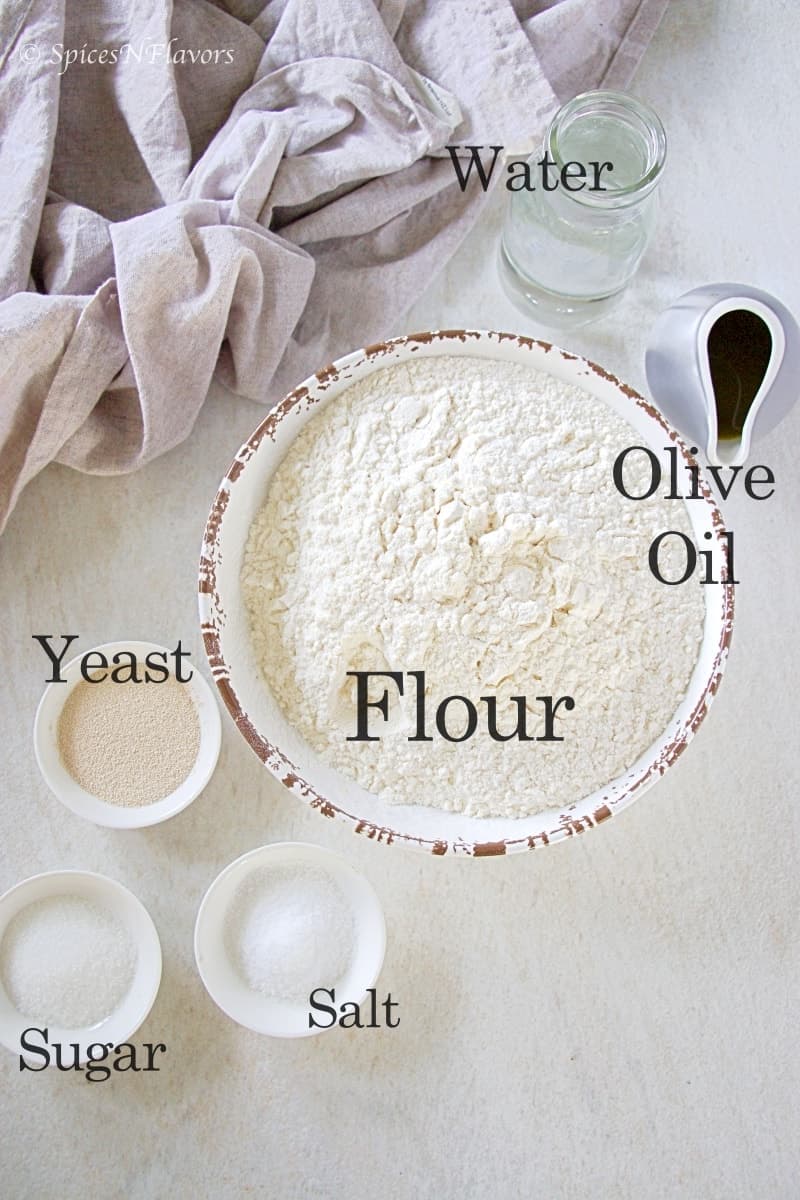
To a bowl add the water (pic 1) , yeast (pic 2) , sugar (pic 3). Give it a stir and add the dry ingredients - flour and salt (pic 4) along with olive oil (pic 5) of course.
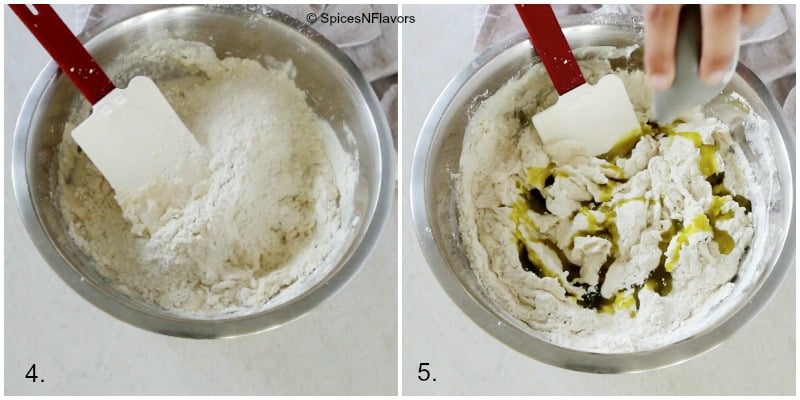
Using a spatula combine everything to a dough. (You may have to use your hands at a later stage).
Once combined take it out on to your worktop and knead for a good 15-20 mins until soft and elastic.
This is our good old plain focaccia bread dough (pic 6).
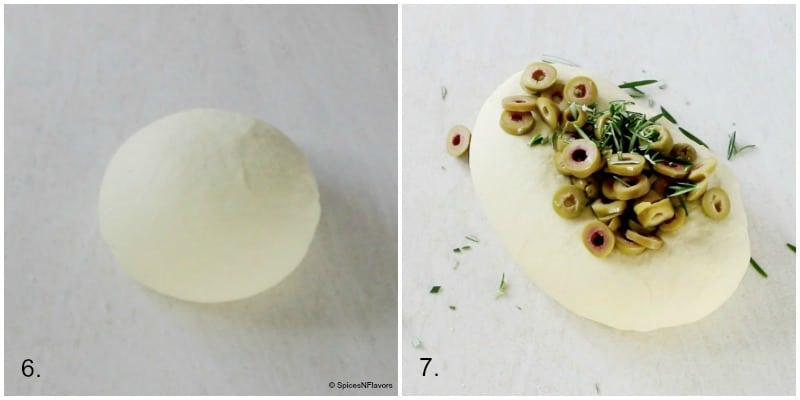
You can use this as the base and go for any focaccia toppings of your choice.
For today, I am gonna make herb focaccia bread specifically rosemary focaccia bread along with olives (pic 7). (I will list down few other variations that you can try down below in the post).
Once you add the toppings, do not knead for long, just until everything is mixed together.
As you might end up squishing the toppings.
Focaccia bread recipe in a mixer: The steps remain the same - combine flour, salt, sugar, yeast, olive oil and water in the bowl of your stand mixer.
Once it comes together as a dough - knead further for 8 mins.
Take it out and then add the toppings of your choice, combine and proceed to Step 2.
Step 2 - First Proofing
Once the bread dough is prepared the next step that follows is Proofing.
I understand that many of you do not know what proofing is!!
So I have written an entire blog post explaining the same - Can you proof dough in Instant Pot. Feel free to check that out if you like.
Like always, I will be proofing my dough in the Instant Pot.
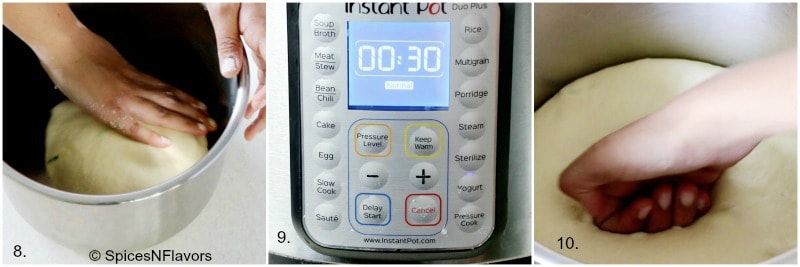
So simply spread some oil on to the base and sides of the inner pot (pic 8).
Place the dough into it and coat the dough with oil too on all sides so that it does not dry out while proofing.
Close the lid. Choose the Yogurt Mode and set the timer for 30 mins (pic 9).
Bulk Proof: 30 mins
Knockback: 20 mins
By Knockback (pic 10) what I mean is after 20 mins, punch the dough at the centre to remove any air bubbles, give it a round shape once again and let it prove for the remaining time which would be 10 mins.
How to Proof on Counter-Top?
Obviously you do not need an Instant Pot to proof the dough if you do not have one.
But wait!! Seriously you do not own an Instant Pot yet??
Girl, you are missing out on so much!!!
Anyways, round up the dough and place in a lightly oiled bowl, cover with a tea towel and leave in a warm place to ferment.
You can use the same bowl in which you kneaded the dough in the first place to ferment.
Bulk ferment for 45 mins and Knock back at 30 mins.
So the total time of the first proofing is 45 mins after 30 mins punch the dough to release any air bubbles and let it prove for the remaining 15 mins.
Step 3: Intermediate Proving
After the first proofing (bulk fermentation), remove the dough from the bowl and gently knead to remove all the air bubbles.
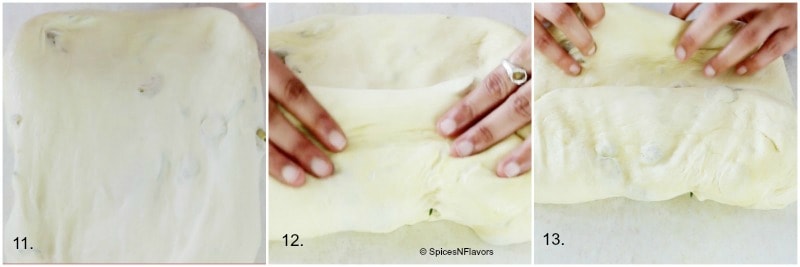
What I like to do is spread it out into a rectangle (pic 11) then fold it into thirds (pic 12).
Put the remaining part on top (pic 13) and then give it a round shape.
The dough goes back into the pot, cover with a tea towel and give it an intermediate prove time of 15 minutes.
Step 4: SHAPING:
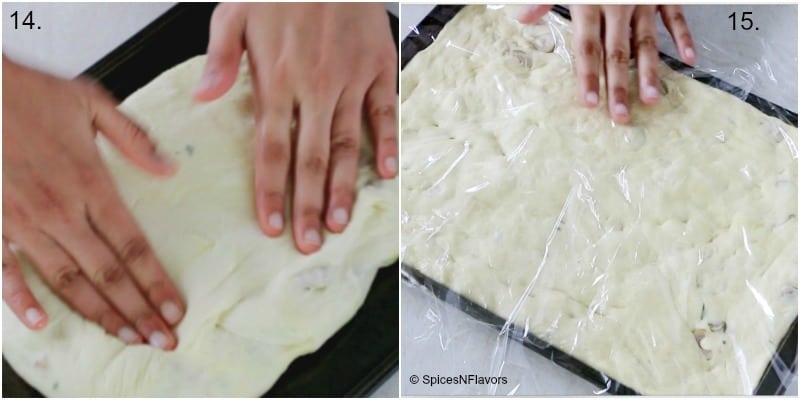
Once rested, take the dough out onto an oiled baking tray (pic 14) and stretch the dough so that it takes the shape of the tray.
Cling wrap and allow it for final proofing - 30 mins (pic 15).
Things to do in the meanwhile:
- Chop the rosemary finely, set aside and also cut the olives.
- Keep some olive oil ready
Step 5: Baking
After the second proofing, press dimples into the dough, sprinkle a generous amount of olive oil
Don’t be shy when you “dimple” the dough.
Make sure to poke your fingers all the way to the base of the pan and actually make little holes with your fingers.
This would create nice deep dimples that won’t disappear in the oven whilst baking.
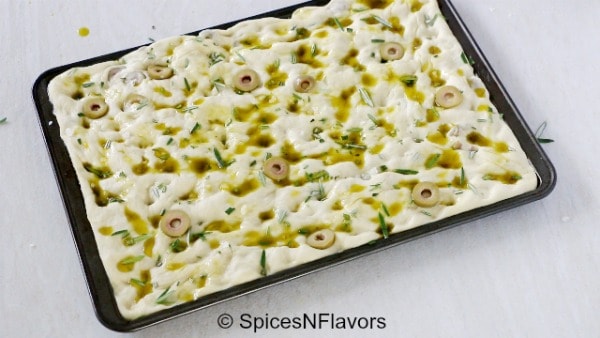
Top it with a sprinkle of sea salt on top. fresh herbs - rosemary in this case and the olives.
It makes a pretty presentation contrasting with the golden crust once baked and also imparts a unique flavour and crust.
Talking about the sea salt I like Maldon. A bit more expensive than kosher or regular salt but a little will go a long way. Use it as a “finishing” salt rather than an everyday salt.
Bake in a preheated oven of 210°C for 20-30 minutes
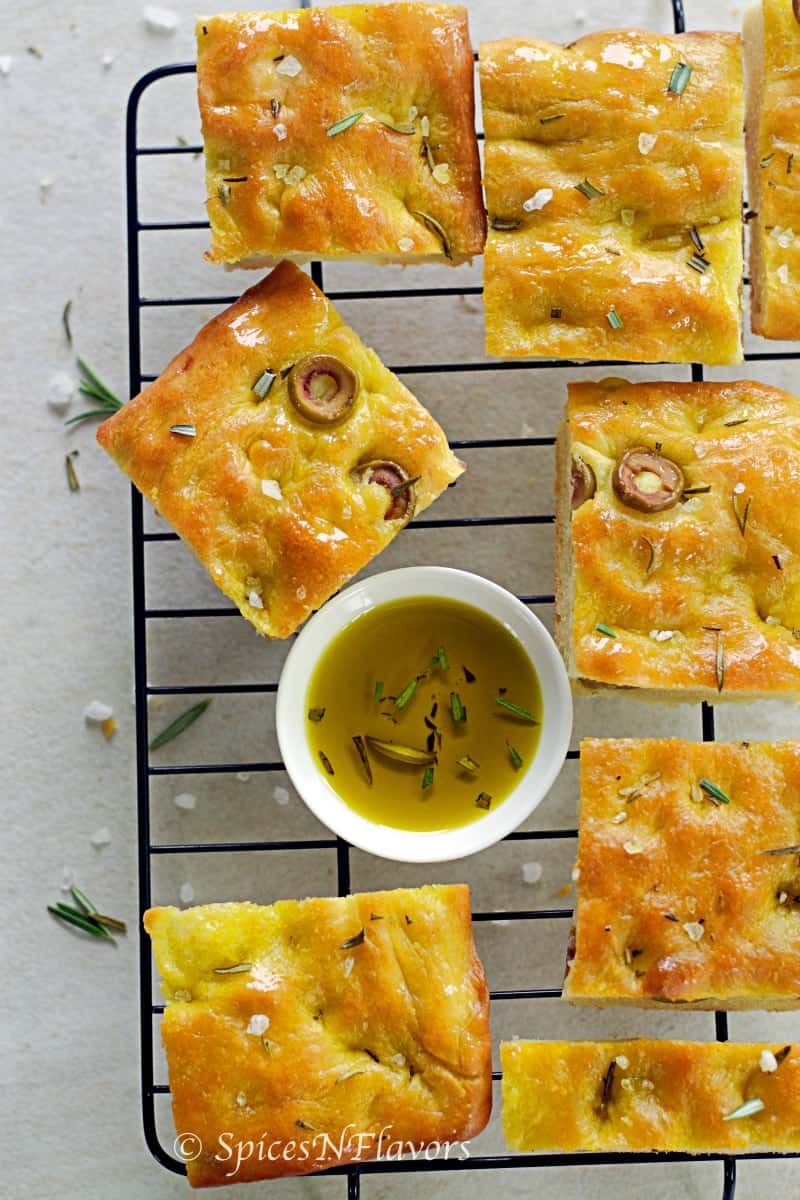
Once baked remove from oven and place immediately onto a cooling rack, brush with olive oil while hot.
Best served when warm but allow it to cool just a bit and then slice and enjoy.
Yes, just like how good quality of sprinkling salt would make a whole lot of difference, same is the case with all the ingredients that go into making this focaccia bread recipe.
Focaccia Bread Ingredients Explained:
1. Olive-Oil
Olive oil can make or break any Italian Bread recipe.
I truly believe that the Alladin's magical secret to making the best focaccia bread is a good quality Olive-Oil.
Every little bite should taste of good olive oil.
Not only does it impart a beautiful flavour to the bread but also helps in developing the texture of the bread.
Of course, you do not have to shell out a lot on the same, just use the one that you love and use regularly in your kitchen.
I use this particular brand of olive oil and absolutely love it.
2. Fresh Herbs
Fresh herbs totally elevate the flavour quotient of any bread.
I love Rosemary focaccia, so I have added rosemary and my family also loves focaccia bread with olives so added a bit of that too.
Rosemary is my go-to herb for making bread. If you guys remember had used it to make the Instant Pot Artisan No-Knead Bread too.
Other herbs like thyme, chives can also be used.
Find a few other focaccia bread toppings ideas in the post.
You can also opt for dried herbs instead of fresh ones. The substitution details can be found in the recipe card below.
3. Warm Water, Sugar and Yeast help the bread rise and gives it the structure.
Yeast feeds on sugar and warm water provides the ideal temperature conditions for it to strive.
Unlike our bagel bread recipe, focaccia can be made using All-Purpose Flour. It is considered as one of the easiest bread recipes.
Even though this is an easy focaccia bread recipe one would definitely need some patience while making it, as technically you would be allowing this bread dough to proof 3 times.
Other than Rosemary and Olives here are my favourite
5 ideas for Focaccia Bread Toppings
- Caramelised Onion:
Saute red onions along with some brown sugar and yellow mustard seeds in hot oil. Allow it to cool completely and add it to the bread dough. - Cherry Tomatoes along with herbs of choice.
- A combination of cheese
- Garlic Focaccia Bread - a popular flavour combination. Adding bits of roasted garlic over the bread would also be amazing!
- Focaccia Bread Art is something that I am eyeing on off-lately typically using Asparagus, Tri-Colour Bell Peppers and some herbs. (Yes..Yes.. that's a hint you would soon be seeing it on the page.. consider subscribing to our Youtube channel for regular updates).
Check out our Star Bread recipe for more flavour variation inspiration.
Focaccia pizza is loved by so many of you all!!
You can treat the focaccia bread as pizza. Once the plain focaccia bread is baked, top it with your favourite cheese, sauteed mushrooms or tomatoes and bake until bubbly.
What to serve with Focaccia Bread? or How to serve Focaccia Bread?
Apart from treating it as a pizza base, you can also serve it as a side course to dip into your favourite soup.
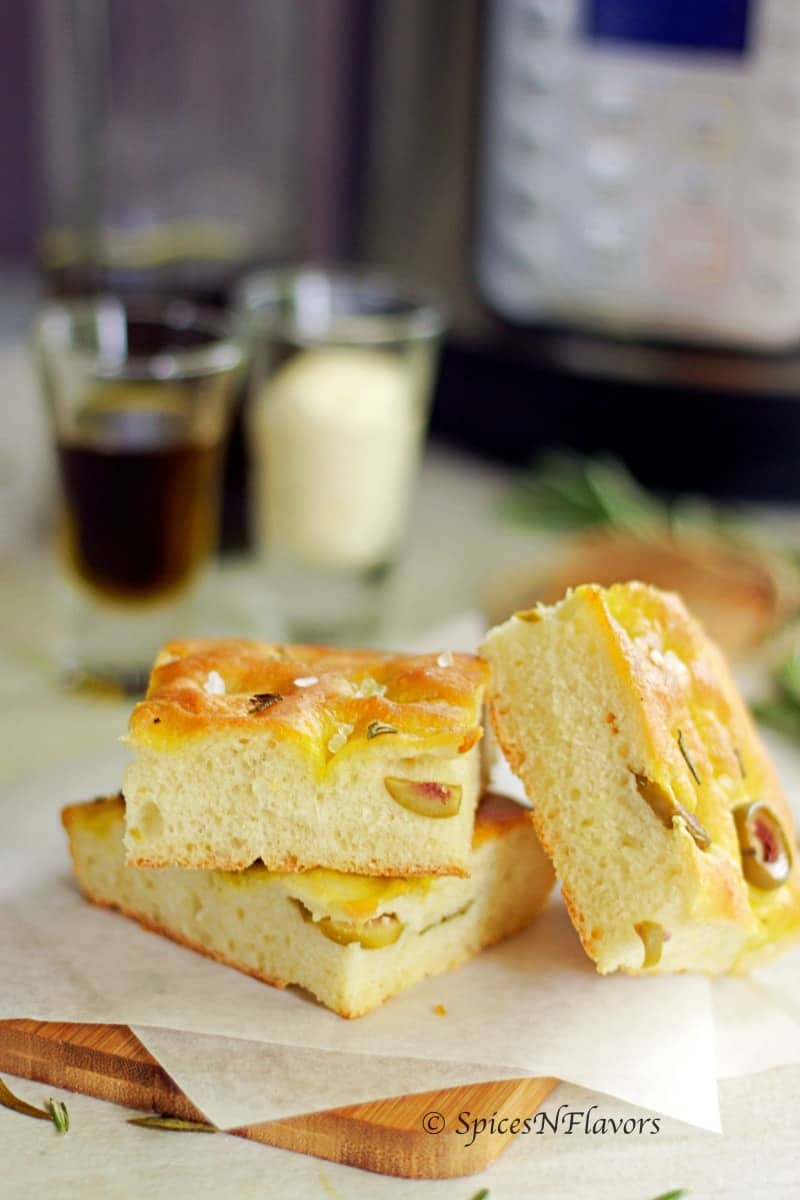
You can also choose to serve it as an appetizer in a party by slicing it into small rectangles and serving them in a shot glass with a dipping sauce.
Wondering what to dip Focaccia Bread in?
My Favourite Dipping Sauce Recipe
I often serve it with Mayonnaise because I always and always end up preparing stuff right till the very end moment and end up getting late.
And hence take this store-bought Mayonnaise to the next level by adding few additional ingredients like Coconut Milk and a little bit of apple cider vinegar and sugar
Doesn't take much of your time and at the same time, your guests would be totally bowled over by the unique taste of it.
How to store Focaccia Bread?
Wrap the bread in plastic wrap, then in foil.
Refrigerate and use within 2 days or freeze it for about a month
Can you reheat Focaccia Bread?
Even though bread tastes the best when fresh if you have any leftovers from the previous day, simply warm them in a 325 °F preheated oven the next day for 8-10 minutes until warmed through.
However, I would suggest the best way to use the leftovers would be by making croutons for your favourite salad.
Follow my 3 top tips to make the Best Homemade Focaccia Bread every single time!!
- Do not skip the steps of punching down the bread dough to remove the air bubbles as that is how the bread would have few small air pockets when it is baked.
- Always oil the baking tray in which you will be baking the bread. The oil gets absorbed into the bottom of the focaccia, adding flavour and crunch.
- Go all out while making dimples in the bread dough right before baking, do not shy away. You want to go all the way down right when you touch the base of the pan that way the dimples won’t disappear in the oven.
What size Baking Tray are you using for making Focaccia?
The one that I recommend is of 15x10 inches in size.
I absolutely love the champagne gold coloured baking tray.. It is on my wishlist.
Of course, colour does not matter here and you can use any tray that you have at home of the recommended size or check this one online.
Now that you have everything that you need to make Focaccia bread at home let us see
Other than that you would need regular tools like mixing bowl, wooden spatula, measuring scale, stand mixer and instant pot if using.
IF YOU LIKE THIS RECIPE OR HAPPEN TO TRY IT THEN SHARE YOUR EXPERIENCE BELOW IN THE COMMENTS BY GIVING IT A STAR RATING OR LET ME KNOW BY TAGGING ME, TWEETING ME OR INSTAGRAM ME. I WOULD LOVE TO CONNECT WITH YOU AND YOUR POSTS.
CONSIDER JOINING THE COMMUNITY OF 100K SUBSCRIBERS ON OUR YOUTUBE CHANNEL FOR REGULAR UPDATES.
Focaccia Bread Recipe from scratch
Focaccia Bread Recipe in 5 simple steps
Ingredients
- 4 cups (500 g) All-Purpose Flour/ Maida/ Plain Flour
- 2 tsp (12 g) Salt
- 1 + 1/4 cups (300 ml) Water
- 2 tsp (10 gms) Sugar
- 2 tsp (8 gms) Instant Yeast
- 2 tbsp (20 gms) Olive Oil
- 100 gms Olives
- 15 gms Rosemary
- About 1/4 cup olive oil, sea salt, rosemary and olives to sprinkle on top
Instructions
Step 1 - Prepare the Dough
- In a mixing bowl, combine together water, yeast and sugar. Give it a stir and add the flour and salt little at a time and mix. Finally, add in the olive oil and combine until it comes together as a dough.
- Transfer to a lightly floured surface and knead for 12-15 mins until you get a soft and elastic dough.
- Add the toppings of your choice to the plain dough and combine. Do not knead too much once you add the toppings.
- Do remember to reserve some to sprinkle on top right before baking
- To make it in a stand mixer - Once it comes together as a dough simply knead for 8 mins.
- Take the dough out of the stand mixer. Add the toppings and combine using hands.
Step 2 - Bulk Ferment (First Proofing)
- Instant Pot Bread Proofing: Brush some oil in the inner pot. Transfer the dough into it and apply some oil on top of the dough as well.
- Cover with a lid and bulk ferment for 30 mins.
- After 20 mins knock back the dough to remove any air bubbles and allow it to proof for the remaining time which would be 10 mins.
- How to proof on a counter-top: Oil the bowl in the which you kneaded the dough. Transfer the dough into it and tap the remaining oil from your hands on top of the dough.
- Cover with a tea towel and allow it to proof for 45 mins and knockback at 30 mins.
Step 3: Intermediate Proofing
- After the first proofing, take the proofed dough on to a clean worktop and knead again to avoid the formation of air pockets in the bread once baked.
- Simply spread the dough out into a rectangle and then fold it into thirds.
- Give it a round shape, put it back into the bowl or pot, cover with a tea towel and allow it to rest for further 10 mins.
Step 4 - Shaping
- Grease the baking tray (15x10 inches) with some olive oil.
- Transfer the rested dough into it and push it to all the four corners of the tray in order to take the shape of the baking tray.
- Loosely cover with a cling wrap and allow it to rise for the second time.
- Second Proofing - 30 mins.
Step 5 - Baking
- After 30 mins, press some dimples on top of the bread. Don't be shy or afraid to press really deep dimples such that your hands are literally touching the base of the pan.
- Pour in a generous amount of oilive oil on top.
- Sprinkle with sea salt, roughly chopped rosemary and olives that you had reserved from step 1.
- Bake in a preheated oven of 210°C (410°F) for 20-30 mins.
- I like to enjoy it warm with a bowl of hot soup.
Video
Notes
- Do not knead the dough after adding the toppings as you might end up squishing the toppings.
- Make generous dimples on the bread dough deep enough that your fingers touch the pan so that they remain intact while baking.
- Serve the bread warm accompanied with soup of your choice or as an appetizer in a party along with my creamy coconut dip (recipe given in the post).
- Check out the post for more ideas on different toppings that you can use, pictorial step by step recipe and also for the details all the tools and equiments needed to bake the bread.
Conclusion:
Even though this is an easy focaccia bread recipe but let me warn you this has quite a bit of step so patience would be your best friend here.
All the efforts would be worth it when you first bite on to the freshly baked homemade bread.
It is a rich and highly flavourful bread with good quality olive oil and the sprinkling of Meldon Salt creating the magic along with the addition of fresh herbs.
Soft and chewy bread with crusty top evenly browned all around this bread would surely win the hearts of your friends and family.
I will see you soon with yet another one
Pin this to your Bread board on Pinterest
Until then
Hugs
Sushma
SpicesNFlavors is a participant in the Amazon Affiliate Program. The Amazon Affiliate Program is designed to provide a means for sites to earn advertising fees by advertising and linking to products on Amazon. The price you pay as a consumer does not change, but if you make a purchase through one of our links, we receive a small commission – and we continue delivering delicious recipes to you!

Anne says
Hi Sushma,
Can you please write up the correct measurements? I put 4 cups of flour as written in the recipe and had to throw out the dough as that's not correct. I see you have put 4 cups is 500 grams of flour which is definitely not correct. Can you please correct this so others can also follow the correct recipe so they dont also have to waste their dough like me.
Kind regards
Anne
sushma iyer says
Hi Anne.. I am so sorry you had to face this.. But my 1 cup of flour is 120 gms. So 4 cups comes to 480 gms which is close to 500 gms and 20 gms here and there won't cause a bread to go runny. I believe there might be some mistake while you were making. Did you add or miss out on any other ingredient please?
Amitkumar Pandey says
I made focassia bread for the first time after following this recipe. It came out good.
Please also share recipe for eggless cinnamon rolls.
sushma iyer says
Yay!!! That sounds fabulous.. Yes cinnamon rolls are on my to do list too.. will try to share at the earliest. Thank you for taking the time to share your wonderful feedback with us.. appreciate it 🙂
Regards
Sushma
Lakshmi Sevugan says
If I use dried Rosemary how much gms should I use? I will not be able to get fresh ones here in my place. Waiting eagerly for Ur reply
sushma iyer says
Hi Lakshmi
Around 1 tsp should be fine.. thank you
Prachi says
Hi, can you use a glass baking tray for this bread?
sushma iyer says
Hi Prachi.. yes you can if it is oven safe..
Regards
Sushma
ANNE ROBINSON says
How much olive oil to add to the flour mixture in the beginning? You mention j/4 cup at the end, but this sounds like you brush it on the baked bread.
sushma iyer says
Hi Anne..
First let me apologise for not updating it the quantity. Sorry about it. It is 2 tbsp or 20 gms Olive Oil. Have now updated it.
The 1/4 cup mentioned is the one used to pour on top of the bread right before baking once you press the dimples 🙂
Thanks and Regards
Sushma
Rekha says
Hi.yourbrecipenof focaccia is too good.i just wanted to know about the rack.di we need to put it on lower rack or middle rack for baking.i have 52 l Morphy Richards oven.please confm.temp 210 is fine for 20-25 min.will wait for your reply.thanks
sushma iyer says
Hi Rekha
I always bake anything and everything in the middle rack of my oven. I am not aware of the Morphy Richards oven as never used an oven in India. Sorry about that.. but yes middle rack should be fine is what I feel. And the temperature is in degree celcius so please do note that. thank you 🙂
Shilpa says
Have you tried using any other flour?
sushma iyer says
Hi Shilpa..
You mean you want to know about baking focaccia with different flours?? Then yes you can try maida, bread flour or wheat flour
Regards
Sushma